
by California Casualty | Nurses |
If a natural disaster strikes your community, what will you do?
As a nurse, your first instinct is to help. Whether you work at a school, a hospital, or clinic setting, your skillset is uniquely valued during a disaster. Here’s how you can help your patients cope after a natural disaster.
What types of natural disasters can you expect in your area?
Different parts of the U.S. are more prone to certain disasters than others, according to Popular Science. You’re more likely to experience wildfires in the western states and snowstorms in the Midwest and northeastern U.S. Tornadoes are common in south-central states while hurricanes often strike along the eastern seaboard. There are earthquakes in the west, and flooding happens pretty much everywhere. Not only do these disasters result in property damage, but they can also cause severe injury and even loss of life. Your nursing skills are much needed to minimize pain and suffering.
Why do nurses play key roles in a disaster?
As a nurse, you are a trusted professional. People look to you for guidance. You not only bring expertise in the medical field, you know how to coordinate care while helping to comfort patients, relieving some of their stress and fear.
In addition, disaster preparedness was likely part of your nursing training. If it wasn’t, or if you need a refresher, consider a disaster certification from the American Nurses Credentialing Center.
What are ways that nurses can help in a disaster?
Nurses play pivotal roles in a disaster, delivering onsite care to the injured. Often working amid chaos and with limited resources, nurses triage patients and administer medical care. If more serious care is needed, nurses help coordinate transport to the nearest hospital. Victims of disaster may experience post-traumatic shock syndrome, and nurses also monitor patients’ mental health and guide them to resources. In addition, nurses help displaced people find temporary shelter and food and get access to prescriptions as needed.
Helping in a disaster is not for everyone. There are potential safety and security threats. There are primitive conditions. There can be a significant time commitment away from your home and family. If you are able to clear your schedule to volunteer, consider the other attributes that will help make you successful in a disaster setting: (1) Your clinical expertise covers a wide range of medical conditions. (2) You are comfortable working in high-stress situations and can work through emotions. (3) You are able to work in rough conditions, perhaps without access to electricity, water and basic supplies. If you have the skills, the time, and the desire, disaster nursing could be right for you.
What is a school nurse’s special role following a disaster?
In addition to helping onsite following a disaster, we can’t forget about school nurses and the roles they play. They deal with the mental and physical effects among students, parents, teachers and staff. For families made homeless by the disaster, or those who need mental health services, a school nurse provides important connections to community resources. Similarly, she connects staff with district resources for mental and physical health.
How can you help your community prepare for a disaster?
You don’t necessarily have to volunteer in a disaster to help your community. You can be there to help prepare for a disaster in advance by assisting hospitals, schools, and towns in the creation of a comprehensive disaster plan.
Nurses can help with community education, leading disaster preparedness clinics, and giving people the knowledge to create their own disaster plans to make it safely through a disaster.
You can utilize resources from trusted organizations in developing the right program for your school, hospital, organization, and community. Consider these resources:
How can you volunteer to help in future disasters?
If you are interested in volunteering your time, make sure you have up-to-date vaccinations for traveling, and be prepared to leave immediately. The following organizations welcome disaster-related nurse volunteers:
This article is furnished by California Casualty, providing auto and home insurance to educators, law enforcement officers, firefighters, and nurses. Get a quote at 1.866.704.8614 or www.calcas.com.
by California Casualty | Auto Insurance Info |
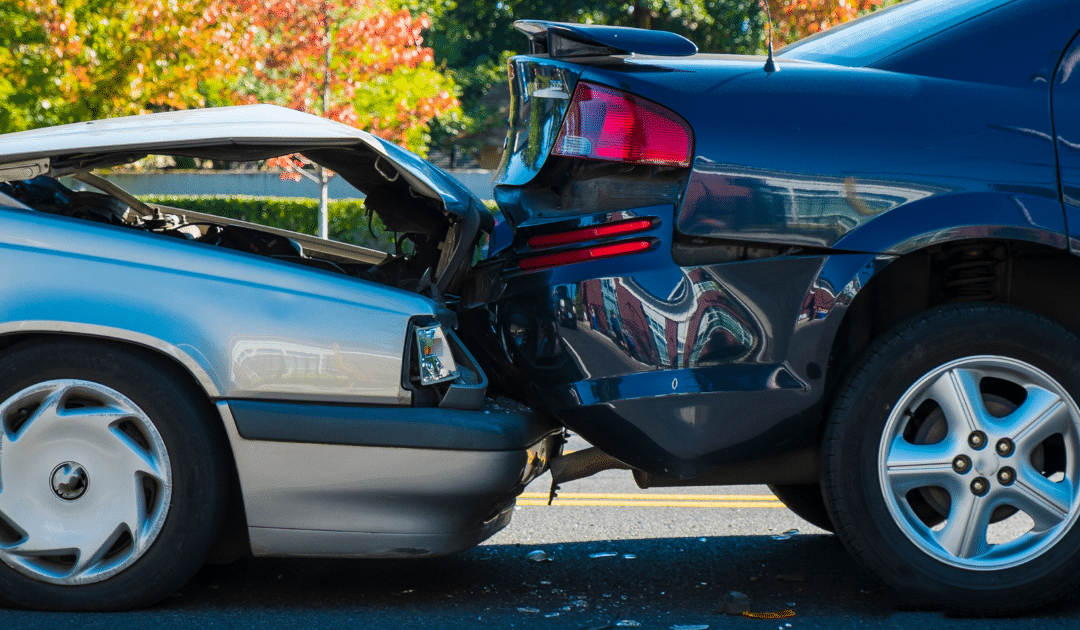
You got a new car—or a “new” used car. Now you have to figure out your car insurance. Here’s what you need to know about the most common types of auto coverage: liability and coverage for damage to your auto (comprehensive and collision).
Liability Coverage – What is it?
If you cause an accident, you are liable (responsible) for damages. Liability coverage is used to pay for those damages that you caused. Importantly, it does not cover any damage to your own vehicle; that’s covered by collision. It also does not cover injury to you and your family; it only covers the people in the other car. Liability coverage is required by law in most states.
There are two types of liability coverage:
-
- Bodily injury coverage helps pay for medical expenses, lost wages, and pain and suffering for the driver and passengers in the other vehicle.
-
- Property damage coverage helps pay for repairs for the other vehicle or for repair/replacement of property, such as a fence, damaged or destroyed in the collision.
We say “helps pay” because it depends on how much coverage you choose. The costs of an accident can be more than your insurance policy limit.
You choose a coverage limit.
Each state sets a minimum amount. The main goal of liability insurance is to protect your assets, and so you may choose a higher limit than the state specifies. You’ll want to take into account the amount of medical expenses that could be incurred in an accident. You could be responsible for lost wages for the driver. Even if he or she dies, you could be providing lost wages for the driver’s family.
Your insurance will only pay for the amount that you’ve designated. The rest comes from your pocket.
Example: Let’s say your liability limit is $50,000 per person. The driver of the car you hit has $40,000 in medical expenses. His passenger has $60,000. You would be responsible for paying $10,000 of medical costs for the passenger.
California Casualty offers a Package Discount where you may actually pay a bit less for carrying above state minimums and a discount if you carried 100/300 with your prior carrier. It doesn’t always cost a lot to bump up your coverage.
Most auto policies have three liability limits:
-
- Bodily injury liability limit per person
- Bodily injury liability limit per accident
- Property damage liability limit per accident
Limits are usually listed as follows: 30/60/15 describing $30,000, $60,000, and $15,000 of coverage respectively for bodily injury per person, per accident, and property damage. Some insurers offer a combined single liability limit that covers both bodily injury and property damage.
Liability coverage can protect you in a lawsuit.
The driver of the other car may decide to sue you. If that’s the case, your home and savings could be at risk. Liability insurance could help protect these assets by covering the cost of the lawsuit, lawyer’s fees and court costs.
Collision Coverage – What is it?
Collision coverage helps to pay to repair your vehicle or get one of equivalent cash value if yours is totaled. This applies both to accidents with other drivers and collisions with objects such as a fence or mailbox. It also covers vehicle rollovers. Unlike liability insurance, collision coverage is not usually required—unless you’re leasing a car or paying off a loan on a vehicle. However, it may be good to have.
-
- If you’re in a crash with another driver, and they were totally at fault, their property damage liability insurance will pay for your car’s repair or replacement.
- Your collision insurance kicks in if the other driver does not have enough property damage insurance—and if you don’t have underinsured (UI) or uninsured motorist (UIM) coverage.
- UI and UIM coverages are for injuries that you sustain if hit by an at-fault uninsured or underinsured motorist. You would either need to carry collision or uninsured motorist property damage (UMPD) coverage. This coverage often has a maximum limit (for example, $3,500). Most people carry one or the other but not both.
- If you were at fault in an accident, your collision insurance will cover the costs of your repairs.
Your coverage limit is the value of your car.
The maximum amount your insurance company will pay is the actual cash value of your car. If you total a used car, you’ll receive a total loss settlement that will go toward replacing your car.
With collision coverage, you will have a deductible. This is the amount that you have to pay out-of-pocket before your insurance kicks in. Choosing a higher deductible is one way to lower your insurance premiums. In most cases, you can’t buy collision-only coverage; you have to buy comprehensive coverage, too.
Comprehensive Coverage – What is it?
Comprehensive coverage is for damage to your vehicle other than collisions. Therefore, it’s not for accidents. It is for natural disasters, fires, vandalism, theft, and animals that damage your vehicle. Think of it as “bad luck coverage.” Comprehensive coverage is not usually required unless you’re leasing a vehicle or paying a car loan.
As with collision, your coverage limit is the actual cash value of your car.
Comprehensive coverage pays as much as the total value of your car—but not more. It makes sense to cover a new car. If your car is old and has little value, you may opt not to have comprehensive coverage. Just make sure if you do, that you have the funds available to repair or replace your car. With comprehensive coverage, you usually have a deductible. California Casualty does offer a policy with a zero deductible.
Do I really need comprehensive coverage?
Let’s say you have an old car, paid in full, that isn’t worth much. Car and Driver offers the following formula to determine If you need comprehensive insurance.
-
- Calculate your vehicle’s value.
- Subtract the deductible on your insurance policy.
- Subtract the cost of a six-month policy for comprehensive coverage.
- If you get a negative amount, it’s probably not worth it to continue to pay for this coverage.
Where you live may influence your decision.
If you live in a high-crime area, a wooded area with lots of deer, or a place with severe weather or flooding, you will want comprehensive insurance. It offers additional peace of mind for some likely scenarios.
Liability, collision, and comprehensive coverage are the main parts of a vehicle insurance policy. You can check the declarations page of your vehicle policy to see how much you are paying for each. For an overview of the car insurance you need, contact your insurance agent.
This article is furnished by California Casualty, providing auto and home insurance to educators, law enforcement officers, firefighters, and nurses. Get a quote at 1.866.704.8614 or www.calcas.com.

by California Casualty | Firefighters, Homeowners Insurance Info, Peace Officers |
Your home and the personal property inside are your most valuable assets. If the unexpected were to happen, give yourself peace of mind by knowing your personal possessions have an extra layer of protection by placing them in a home safe.
Keeping a durable safe inside your home is one of the best ways to ensure your valuables, personal belongings, and other important documents inside remain secure in the event of a burglary, fire, or natural disaster. But buying a safe that is water, fire, and/or theft-resistant can be quite a monetary investment.
If you are questioning whether it’s “worth it” to purchase a home safe, here are some important factors to remember.
You’ll have quick access to important information
If you need cash or important documents like your Home Warranty, you won’t have to jump through any hoops or wait to get the information you need. All of your important information will be in one place that is quickly accessible to you and your family.
Your important items will remain safe
In the event of a disaster, there may not be time to grab all of the items you would like to bring with you. With a home safe, no matter the occurrence, your important possessions will remain secure.
You can also use it for firearm & weapon storage
If you keep weapons in your home, you can rest assured knowing that they will be locked away in your safe, out of sight and reach from your children and any guests (wanted or unwanted).
What Kind of Safe Should I Purchase?
Not all safes have the same functionality. Before you purchase a safe of your own, do your research on what will work best for you and your family. If you live in a flood or wildfire-prone area, be sure to invest in a safe that protects against water or fire. If you chose to use your safe for weapon storage, remember to find a safe that protects against humidity.
Home safes also come in many different sizes, with the average home save being 1.2 – 1.3 cubic feet. If you have an area of your home that you know you would like to place keep your safe (out of the eyes of an intruder) be sure to purchase a safe with the correct dimensions, so it will fit properly in your space.
The size of your safe should also take into account what you will keep inside of it. For example, if you are storing multiple family heirlooms, along with all of your emergency documents and a full emergency kit, you may want to invest in a larger safe.
Here are some examples of what you can keep in your home safe.
Items to Keep Inside Your Safe
Personal Documents – Birth certificate, passport, social security card, marriage license, vaccination & medical history, tax returns
Important Information – Passwords, health insurance information, legal documents, wills, death decrees, immigration paperwork, & external hard drives
Money & Bank Information –Cash, bank account numbers, checks, credit cards, bonds, stock certificates, & precious metals like gold or silver
Home& Auto Information – Insurance information, contracts, warranties, permits, deeds, & titles
Weapons – Firearms, knives, bows, & ammunition
Jewelry – Expensive necklaces, bracelets, earrings, watches, diamonds, gemstones, & engagement or wedding rings
Spare Keys – House keys, deposit box keys, car keys, garage door openers, & neighborhood facility keys
Heirlooms – Trinkets, photos, & items from childhood or passed down from generations
Emergency Information- List of family cell phone numbers & addresses, family disaster plan, emergency kit,& home inventory
Owning a safe is one of the easiest ways to make sure your personal property stays protected. Save yourself worry and stress by investing in a safe for your home today – your future self will thank you.
First responders- you help keep us safe all year long; let us help you keep your valuable possessions safe too. Click here to enter to win one of THREE Liberty Safes filled with 5.11 Gear courtesy of California Casualty!
DISCLAIMER: Contest terms and conditions apply, see page for details.
This article is furnished by California Casualty, providing auto and home insurance to educators, law enforcement officers, firefighters, and nurses. Get a quote at 1.866.704.8614 or www.calcas.com.
by California Casualty | Calcas Connection, Good to Know, Homeowners Insurance Info |
Spring is here! And so are spring storms, but spring showers don’t just bring flowers, they can also bring more water than what your yard can hold. And this standing water around your house can cause water damage to your home- costing you more than you think.
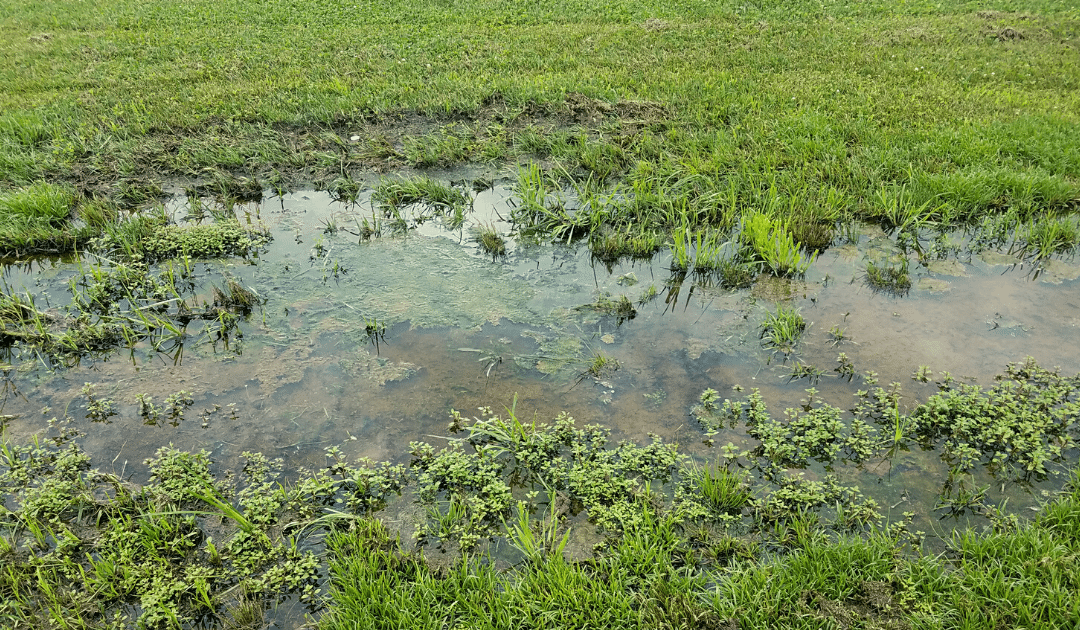
By definition, standing water is a body of water that does not move or sink into the ground. It can be caused by a number of factors: heavy rain, over-watering, poorly draining soil, improper grading, incorrect landscaping, low areas in your yard, and even water line leaks or bursts.
If you have standing water in your yard for multiple days, it can cause serious damage to your home. Not only will it be an eyesore that can ruin your grass and draw unwanted bugs, but stagnant water on the side of your home can also seep into small cracks or pores in your home’s foundation and get into your crawl space or basement, which can lead to water damage & more.
Here’s why you should address the standing water near your home now, and how you can prevent it from happening in the future.
Standing Water Can…
Ruin your basement. Water can cause cracks in your home’s foundation. This is how water enters your basement or your crawl space. Once inside it can create a musty odor and add dampness that will completely ruin flooring, drywall, furniture, electronics, etc.
Produce mold & mildew. High levels of condensation and humidity inside of your basement or crawl space create an environment for mold and mildew to thrive. This could not only affect your home, but it could also cause major health issues for you and your family.
Breakdown your home’s foundation. Over time, standing water that has made its way into your cement foundation will start to cause shifting and bowing of your structure. This is the beginning of the breakdown of your home’s foundation. If not taken care of- doors will no longer close, floorboards will start to squeak, steel beams may have to be inserted, and it could even lead to structural collapse.
Cost you thousands of dollars in repairs. A homeowner spends over $3,000 on average to repair damages to their home and property caused by water. Preventive maintenance and early detection are key to helping you save your home and your wallet.
But that’s not all, standing water can also draw unwanted pests: mosquitoes, roaches, termites, ants, silverfish, and other pests thrive in moist environments. They will seek damp areas and make your home their home if you don’t address the issue quickly.
Here’s how you can prevent standing water from getting into your home this spring.
How to Prevent Standing Water
1. Check for Proper Roof Drainage
Make sure every drop of rain will drain off of your roof correctly- starting at your gutters. Make sure they are free of leaves and sticks and that you have an attached downspout that is also clear of debris. It is also important to make sure your downspout has a downspout extension that will move water away from the foundation of your home.
2. Monitor Your Sprinkler Usage
If you see standing water, make sure to check that your sprinklers are not overwatering your lawn. First, check to make sure the sprinkler heads are functioning properly and not broken. If there is no issue, you will likely just need to reset your sprinklers to run at a less-frequent timespan. After resetting, if you are still seeing patches of barren or muddy lawn, you may have a leaky valve. Valves are responsible for distributing the water throughout the entire system, and if damaged they will need to be replaced right away.
3. Make Sure Your Yard is Correctly Graded
Grading, also referred to as lawn leveling, is the process of leveling your lawn to allow for the proper drainage of water. If you have water that is pooling around your foundation or your house is sitting on a low level, you may need to look into re-leveling your yard. Grading involves the moving of topsoil onto the yard. You will then even out the low spots with the soil and form a downward slope (around 2%) from your home’s foundation. Leveling is an intricate process, and if your yard needs re-leveled, you may need to hire a professional.
4. Aerate Your Lawn
Aerating your yard means to perforate the soil with holes (4 – 6 inches deep) to allow water, air, and other nutrients to better absorb into the soil. Not only will aeration lead to a greener, healthier lawn, but it will also alleviate soil compaction and allow water to better absorb during rainstorms. The best time to aerate your lawn is during spring and fall.
5. Mind Your Landscaping
Improper landscaping can cause water to sit at the base of your home’s foundation and ultimately make it into your home. When landscaping, avoid making any changes that will block drains or downspouts. Make sure that all of your landscaping slopes downward to create runoff and that all downspout extensions or drainage systems extend beyond your planting beds leading the water away and far from your foundation.
6. Install a Drainage System
If you are constantly struggling with standing water in an area of your yard, it may be best to look into installing a yard drain. Yard drains act like shower drains. They prevent flooding and move the water away from your yard through hidden pipes to a dry well. The dry well will then collect the water underground and slowly percolate to the soil around it
Standing water is a serious, yet largely overlooked, issue that can have serious consequences. If water has been in your yard for multiple days and won’t drain, don’t neglect it. Look for the cause of your problem or reach out to a professional. Acting today will save you time, money, and headache tomorrow.
This article is furnished by California Casualty, providing auto and home insurance to educators, law enforcement officers, firefighters, and nurses. Get a quote at 1.866.704.8614 or www.calcas.com.
by California Casualty | Safety |
Spring storms – including lightning, hail, flooding, high winds, and even tornadoes – can catch you or family members away from home. Finding safe public shelter during severe weather can be hard enough, but coronavirus has made that (like everything else!) even more difficult.
Follow these tips to stay as safe as possible from the storm and the virus.
First things first: Sheltering during a pandemic
Your number one priority during a severe storm is finding a safe place to shelter; the second priority is protecting against Covid-19. In other words, don’t let a fear of the virus preclude you or family members from seeking life-saving shelter. That said, shelters that are open will most likely post notices that those who seek shelter to do so at their own risk. If they’re able, they may provide hand sanitizer, hand-washing stations, and perhaps even face masks. They’ll also be strict about occupancy limits.
Know where to go
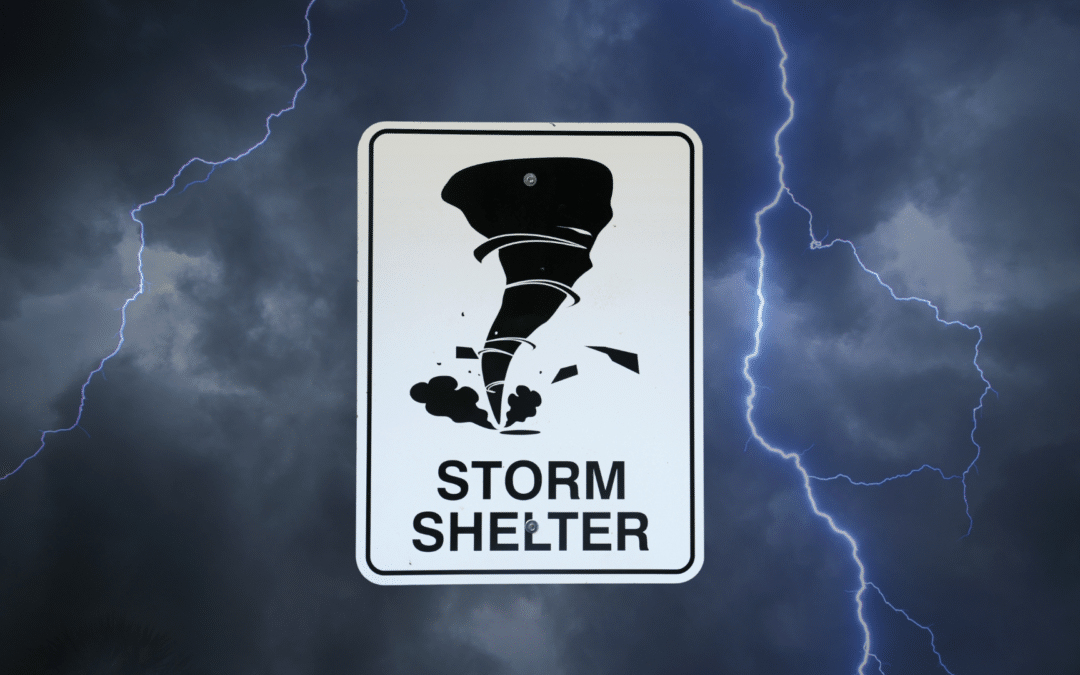
Depending on the size and population of your area, there may or may not be designated public storm shelters in your community. Check with your local emergency manager or fire department, the American Red Cross, FEMA, or other emergency weather preparedness body well ahead of the storms for shelter locations. From there, check to see which shelters are open and operating during the pandemic – you may find that some have decided to close until the virus is under control.
Where to go
When a storm does hit, even designated shelters that are open during the pandemic may close their doors due to overcapacity (public shelters aren’t designed for thousands of people). If you end up needing to find shelter on the fly, remember these tips.
-
- If seeking shelter in public buildings, seek out substantial ones. Reinforced concrete buildings are usually stormproof.
- Small rooms, such as restrooms, storerooms, windowless closets, or other small sturdy rooms, are better than large ones.
- Auditoriums and gymnasiums are not generally safe.
- Avoid high walls that could collapse.
- Get underground or under a table. Cover your head.
- If basements are not available, go to a first-floor room.
- Stay away from windows, glass, and large rooms.
- Do not shelter in a mobile home or vehicle.
Protecting against COVID
If you are able to get into a shelter (or end up sheltering with others at a non-designated location), follow the same COVID precautions that are habit by now: social distancing as much as possible, always wear a mask, and use hand sanitizer and/or wash hands frequently. Cover your sneezes and coughs and avoid touching high-touch surfaces. Try not to share food or drink with anyone, if possible. If you made it into a shelter, they will have policies and rules for protecting public health as much as possible – follow all instructions from the shelter staff.
Plan ahead
With all these various factors to deal with, you can give yourself and your family an edge by preparing in advance. Your two best weapons will be: Having a personal/family plan and staying informed. So, before the storms come:
- Make a plan. Ensure that you and your family have a plan for severe weather events. For example, if your kids are at baseball practice or you’re at work or running errands, make sure everyone knows where to go if severe weather hits. Know the local shelters that are open during the pandemic, add them to your family’s emergency plan, and make sure all family members know and can act upon the plan.
- Tune in and stay aware. All family members need to stay informed by trusted sources. Set up redundant sources of information so that you don’t miss any alerts. These might include:
-
- Phone apps and emergency/weather websites
- Programmable all-hazard radios
- Local news stations and media
- Carry supplies in your car at all times. This is a great time to double-check your vehicle’s emergency kit (and for that matter, your grab-and-go emergency kit). Replace batteries, food, water, or any other items that may be expired. If you haven’t already, add coronavirus supplies as well – masks, hand sanitizer, and soap.
It can’t get much worse than a severe storm during a pandemic, but knowing what to do and how to protect yourself and your family can give you an added layer of security and confidence.
This article is furnished by California Casualty, providing auto and home insurance to educators, law enforcement officers, firefighters, and nurses. Get a quote at 1.866.704.8614 or www.calcas.com.


