
by California Casualty | Finances, Safety |
Americans are finding themselves among another national crisis amidst the coronavirus pandemic – fraudulent unemployment claims. Across the country, employers are receiving numerous unemployment claims by imposters using the personal information of those who haven’t filed (because they are still employed).
This is simply a different form of Identity Theft where an individual’s personal identifiable information (PII) is compromised and then used to file an unemployment claim. The surge of COVID-related unemployment makes it easier for the fraudsters to file mass numbers of claims with hopes that some will go through. Unfortunately, if someone has successfully filed for unemployment in your name, not only has your PII become compromised, but you will also be responsible to pay the federal taxes owed on the amount received/reported in your name.
If you are actively working and have gotten a notice from your state or employer that someone has filed for unemployment in your name, here are 6 steps to help you get started protecting your identity and your credit.
1. Report the fraud to your employer
If you were not contacted by your employer, start by contacting your business’ Human Resources (HR) department and making them aware of the situation. For your records, the Federal Trade Commission recommends you keep a note of who you spoke to and when.
2. Report the fraud to your state unemployment benefits agency
Report the fraud to your state’s unemployment agency and let them know that it was not you who filed. You can do this quickly online, click here to find your state’s agency. Again, keep a record of your case number and who you spoke to.
3. Report the fraud to the Federal Trade Commission (FTC)
Because your personal information has been compromised you will also need to file a report with the FTC. Visit IdentityTheft.gov or call 1-877-438-4338 and to complete the ID Theft Complaint Form. You should receive a confirmation notice with the reference number assigned to your complaint within 48 hours.
4. Place a fraud alert on your credit report
Placing a fraud alert on your credit will make it harder for an identity thief to open accounts in your name, this is because a business must authorize your identity before issuing the credit. Placing a fraud alert is free, lasts one year, and will not affect your credit score. To do this, contact one of the three nationwide credit bureaus and they will inform the other two.
Equifax: (800) 525-6285
Experian: (888)-397-3742
TransUnion: (800)-680-7289
After placing a fraud alert, it’s a good idea to get your credit reports and review them for major changes. You can obtain a free copy by visiting www.annualcreditreport.com. You should also keep an eye on your credit score. You can do this by visiting a website that will not affect your score when you check, like Credit Karma.
5. Continue to monitor your accounts
In the following weeks, you should keep a close eye on your bank and other financial account statements, utility bills, credit card statements, medical bills, and medical insurance statements. If you see any unknown activity or unauthorized transactions call and report it immediately.
6. Get ID Theft Protection
Save yourself time and stress by investing in a service that will help protect your identity, like CyberScout. CyberScout is the nation’s premier provider of identity services. California Casualty customers automatically get free ID theft resolution services from CyberScout when they purchase their policy. For more information on CyberScout click here.
One in five Americans has experienced identity theft; one-third of Americans have never even looked at their credit report. As the pandemic continues to aide in the increase of online shopping and as tax season gets into full swing, it’s important now- more than ever- to be extremely cautious and protect your identity.
Here are a few more tips to help you stay safe this spring:
-
- Use complex passwords
- Don’t give out your personal information online
- Use two-factor authentication
- Purchase online through safe, trusted third-party apps like PayPal
- Sign up for credit card usage alerts
- File your tax returns as early as possible
- Use a trusted tax-preparer
Don’t wait until it’s too late, fraudulent unemployment claims and other identity theft scams can happen to anyone at any time. Take the necessary steps and precautions to make sure it won’t happen to you.
This article is furnished by California Casualty, providing auto and home insurance to educators, law enforcement officers, firefighters, and nurses. Get a quote at 1.866.704.8614 or www.calcas.com.
by California Casualty | Homeowners Insurance Info, Safety |
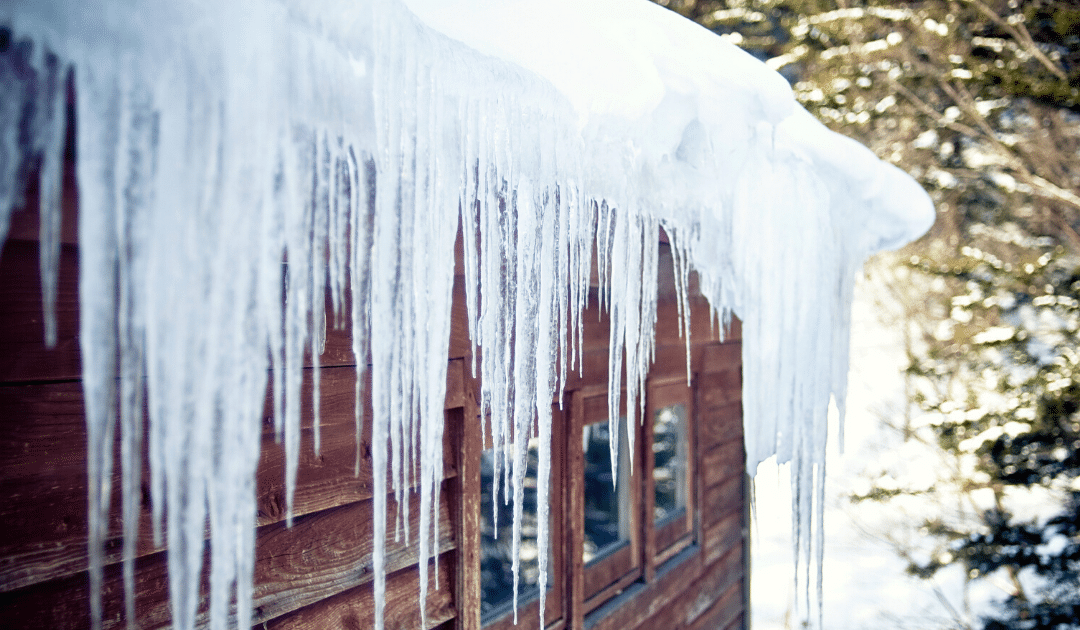
Snow build-up packs a double-punch threat to your roof – and home. As snow piles up on your roof, it creates two threats over time. One is a heavy snow weight which, if left unchecked, can pose a risk of roof collapse. The other is the formation and persistence of ice dams.
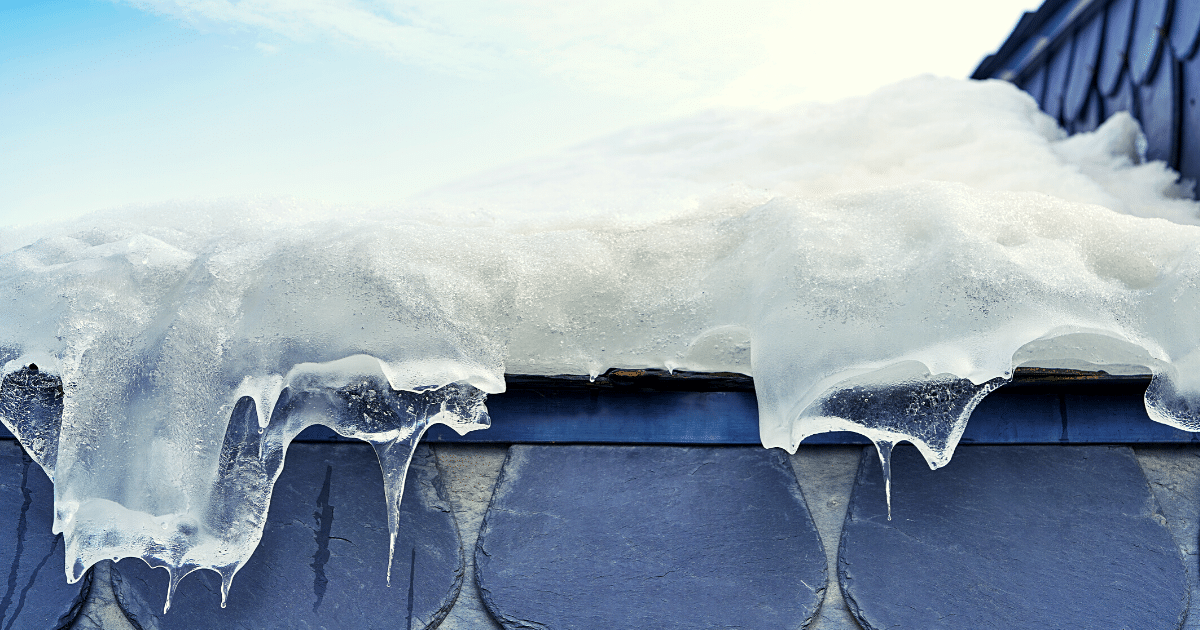
Ice dams form when warm air rises inside your house and warms the roof, melting water that then runs down the eaves. Since eaves are colder, it refreezes there and creates a solid ice block, which then backs up future run-off water behind it. The more snow you have, the more run-off will accumulate. Also, the greater the temperature difference along your roof and the more time the ice deposits have to grow, the bigger your ice dam problems will be.
Keeping both these threats at bay requires a steady habit of keeping that snow in check.
Rooftop Snow Removal
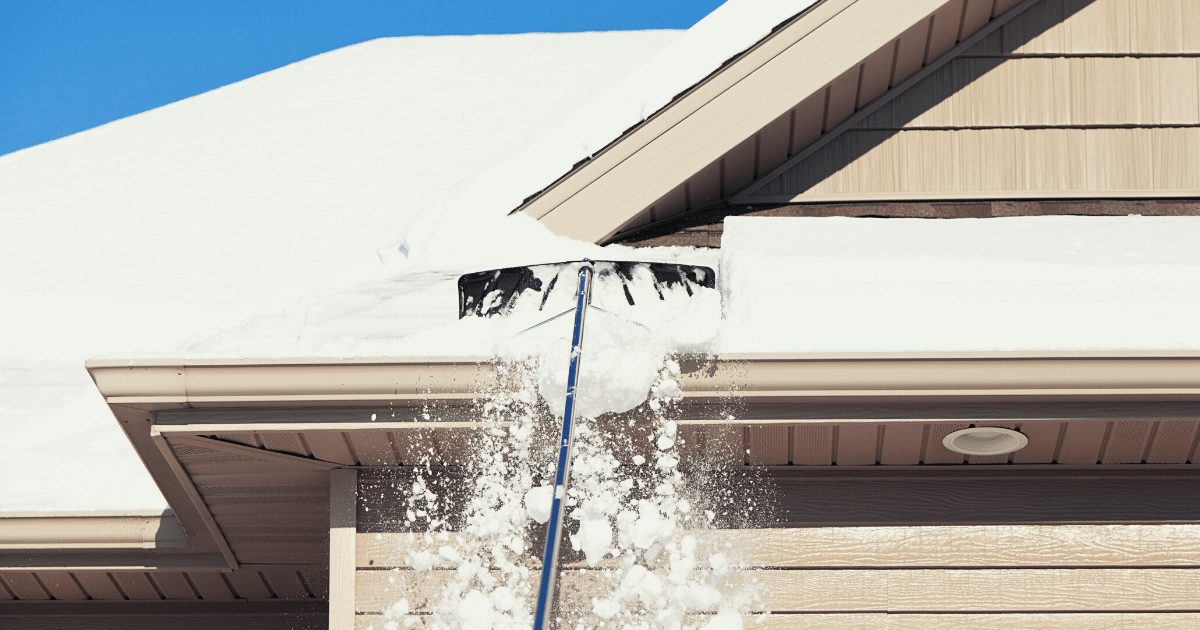
Rooftop snow is typically removed either by raking or shoveling. Your best bet as a DIYer is raking. If you live in a one-story house, you can probably do this yourself. If you live in a two-story or taller home, or you have an abundance of snow to remove, consider hiring a professional (who will most likely shovel, rather than rake). Here are some top tips for safe snow raking.
-
- Get the right rake – Look for a rake that has these important features. First: small bumpers, wheels, or rollers near the blade. These keep the blade off the roof surface, protecting it from damage. Second, the handle should have a slight bend to it. This makes it more versatile and easier to use than a straight-handled rake. Third, consider plastic over metal because it’s lighter. Finally, a telescoping feature will allow you to reach more snow.
- Buy an extension or two – If your rake doesn’t have a telescoping feature, it’s a good idea to buy extra extension poles so that you can rake as high as possible on the roof. And having an extra pole or two tucked away will be good if your main one gets bent or damaged.
- Rake regularly – Making this an ongoing task throughout the winter will help prevent build-up.
- Have a plan – It’s important to rake in a particular sequence. First, knock down any hanging icicles. Then, with a rake in hand and firm footing on the ground, work your way around the house, starting with the overhangs (which are most prone to ice dams).
- When raking, start low – Start at the bottom of the roof and work your way to the top, pulling off a foot or so of snow at a time. Be warned that starting high or pulling down too much snow could bring it tumbling down on you.
- Stand back – Give yourself some room away from the roof’s edge so that if snow dislodges, it won’t fall on you.
- Watch out for power lines – Be extremely careful not to hit any overhead lines. In fact, take an inspection walk around your house before starting to rake. Overhead lines are common in older homes.
- Think twice before salting – Salting the roof can lead to discolored shingles and dead plants or grass.
Preventing Ice Dams
Ice dams can lead to roof leaks, causing structural damage inside your home, as well as water stains, bubbling paint and wallpaper, and mold/mildew formation. Besides keeping up with snow removal (the best strategy for ice dam prevention), here are some others:
-
- Insulate your attic – This will minimize heat loss, keeping your roof cooler and melting less snow. It will also save on energy costs.
- Eliminate air leaks – Seal leaks in the attic, around the chimney, and at entry points for vents and pipes.
- Vent out the hot air – Proper ventilation will help keep heat from getting trapped and warming concentrated spots on your roof. Consider installing two motor-driven fan vents – one that draws in cold air and one that exhausts hot air.
- Turn down the heat – Dialing down your home temperature will not only help prevent snowmelt and ice dams, but also save on your heating bill. Check out our easy tips here.
- If you already have ice dams – Ice dams can do serious and expensive damage to your home – so if you have them, get them removed by a professional asap.
Preventing wintertime damage to your home saves money and headaches over time. In the case of your roof, keeping it maintained and damage-free will extend its life and protect your home’s value. Follow the strategies above and also remember – if the snow is wet, heavy, voluminous, or hardened you should hire a professional snow shoveling service. Finally, getting a pre-winter roof inspection is always a good idea, as it will surface any structural vulnerabilities or problems with your roof.
For more winter home maintenance tips, click here.
This article is furnished by California Casualty, providing auto and home insurance to educators, law enforcement officers, firefighters, and nurses. Get a quote at 1.866.704.8614 or www.calcas.com.
by California Casualty | Auto Insurance Info, Homeowners Insurance Info, Safety |
Often called the “silent killer,” carbon monoxide (CO) is an odorless, colorless gas that claims more than 400 American lives each year, sends 20,000 to the emergency room, and hospitalizes more than 4,000.
It is an indiscriminate killer, striking its victims when they’re unaware or asleep. This poisonous gas is produced by burning fuel in vehicles, stoves, lanterns, fireplaces, gas ranges, furnaces small engines, and portable generators. Here are tips for keeping you, your family, and pets safe from it.
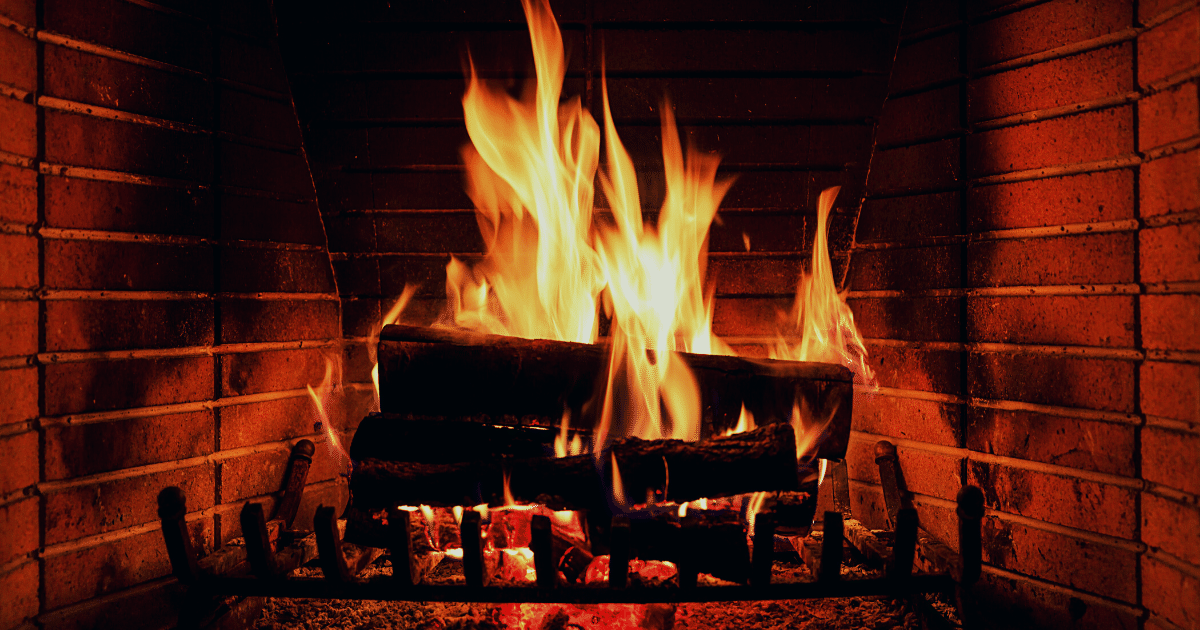
Prevention Tips For Your Home
Here are top strategies to prevent an inadvertent CO leak or exposure in your home.
-
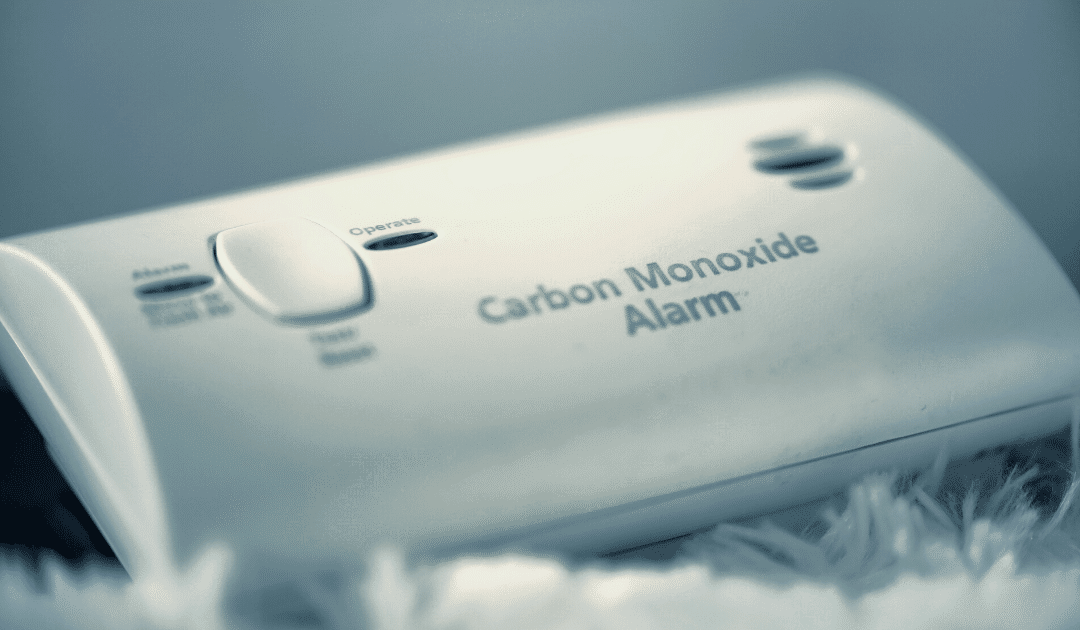
- Install at least one battery-operated or battery back-up CO detector on each floor of your home, including the basement and garage (if it’s attached). Detectors on your main floors should be inside or directly outside the bedroom or sleeping areas.
- Test your alarm(s) monthly, replace batteries every six months and replace the units themselves every five years.
- Maintain yearly inspection schedules for your heating system, furnace, water heater, fireplace, chimney, and any other gas or coal-burning appliances.
- When buying gas appliances, only buy those carrying the seal of a national testing agency.
- Make sure all gas appliances are vented properly.
- Never burn charcoal or use a generator or portable gas camp stove indoors.
- If you smell an odor coming from your gas refrigerator, have an expert check it – the odor could indicate it’s leaking CO.
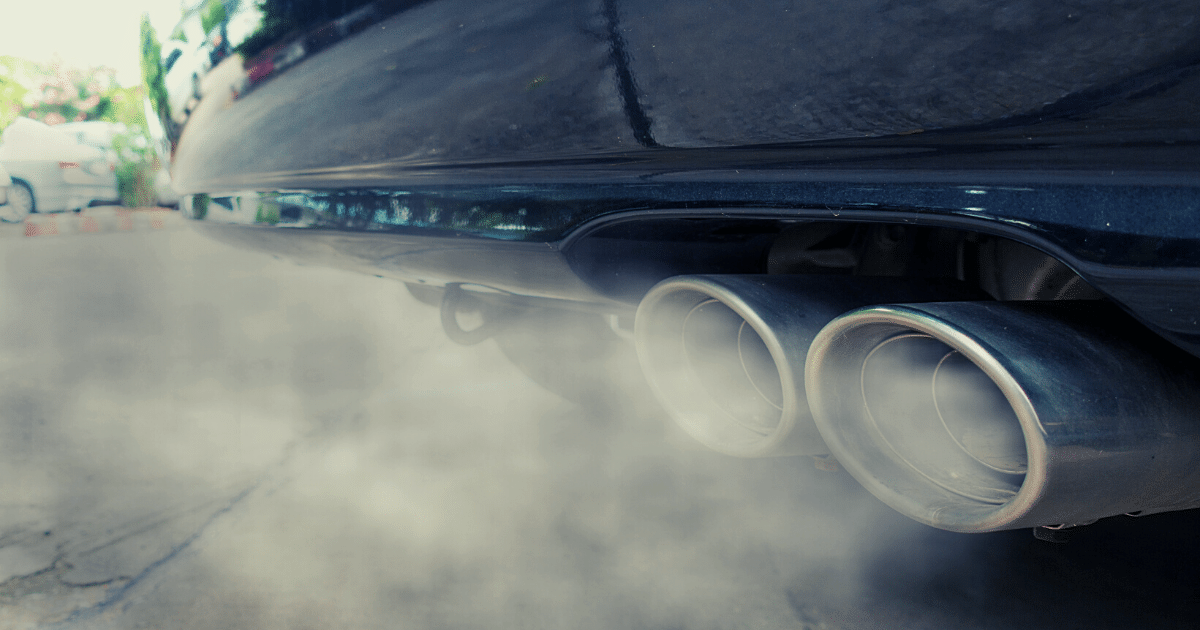
Prevention Tips for Your Car
Your vehicle actively produces CO every time you start the engine, so do the following to stay safe.
-
- Take your vehicle to a trusted mechanic yearly for an exhaust system check. Small leaks can cause CO buildup inside your car.
- Do not run your vehicle inside an attached garage, even with the garage door open.
- If your car has a tailgate, make sure you open vents or windows anytime you open the tailgate while the engine is running – if you open only the tailgate, CO fumes will be pulled into the passenger area.

Symptoms of CO Poisoning
It’s important to know that symptoms can vary in terms of severity, and often mild symptoms are mistaken for the flu (although without fever).
-
- Low to moderate poisoning results in:
- Fatigue
- Headache
- Nausea
- Dizziness
- High-level poisoning results in:
- Confusion
- Vomiting
- Loss of muscular coordination
- Loss of consciousness
- Ultimately death
If you or a family member are experiencing any of these symptoms get outside to fresh air immediately then call 911.
When Your Carbon Monoxide Alarm Sounds
First off, you should know – from regular testing – what the different beep sequences and alarm sounds mean. For instance, there may be different beep patterns indicating low batteries, a detector that needs to be replaced, and a true CO emergency. When you hear the CO emergency signal:
- Do not try to find the source of the leak – instead, immediately move outside to fresh air.
- Call 911, emergency services, or the fire department.
- Do a headcount for all family members and pets (do you have a family emergency plan in place?)
- Do not re-enter your home until emergency responders have given word that it’s safe to do so.
When it comes to carbon monoxide poisoning, it’s best to err on the side of abundant caution. A person can be poisoned by a small amount of the gas over a long period of time, or by a large amount during a short time. The measures above should keep both your indoor air quality and your family safe and healthy.
This article is furnished by California Casualty, providing auto and home insurance to educators, law enforcement officers, firefighters, and nurses. Get a quote at 1.866.704.8614 or www.calcas.com.

by California Casualty | Homeowners Insurance Info, Safety |
With cold weather comes extra hazards. Be on the lookout for these six common ones, so you can avoid injury, accidents, and damage to your home.
1. Unsafe Heaters and Furnaces
Make sure your heating system has been inspected by a professional (ideally well before winter arrives). This will ensure that it’s prepped for the hard work of heating your home through frigid temps and doesn’t break mid-season, leaving you scrambling for repairs. Here’s how you can keep it in working order:
-
- Wipe it down regularly to get rid of dust and debris; you can also gently vacuum it with a nozzle/brush attachment.
- Clean vents and adjust dampers in all rooms.
- Replace dirty filters as needed.
- Listen and watch for strange sounds or behavior. Do a visual check from time to time for frayed wires or other damage (pests can attack without your knowledge!).
- If you have a furnace, be sure to check the pilot light regularly (follow manufacturer’s instructions).
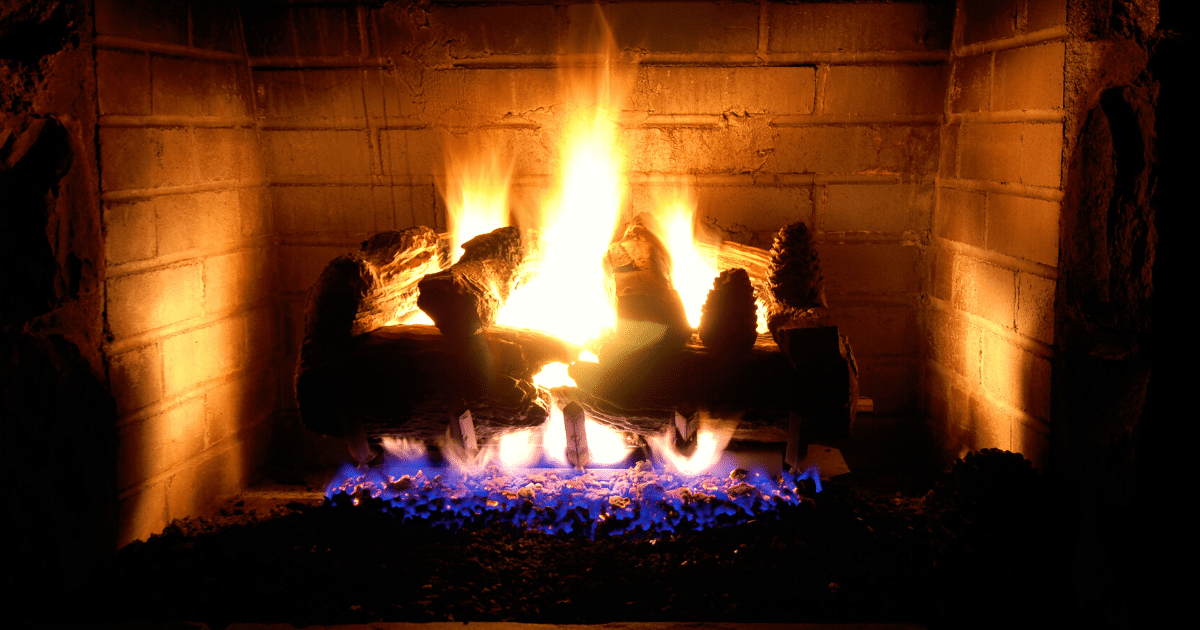
2. Fireplace Hazards
Like your heating system, your chimney, flue, and supporting structures need an annual inspection (and possible cleaning). Schedule inspections at the same time for an easy maintenance routine. Besides inspections, be sure to:
-
- Clean out ash after every fire – excess ash can reduce airflow and make your next fire dangerous.
- Never leave a fire unattended, and always make sure it’s completely extinguished before leaving it for the night.
- Use a fire screen for extra protection and consider fireplace doors if appropriate.
- Check your smoke and carbon monoxide alarms to make sure they’re working properly.
- For more indoor fire safety tips, check out our blog post.

3. Porch and Deck Safety
The areas immediately surrounding your home and entrances pose a special risk for slips, falls, and other injuries resulting from ice. Protect yourself, your family, and any visitors with these precautions.
-
- Remove snow from decks, walkways, porches, and your driveway as soon as possible to prevent a melt-and-refreeze cycle (i.e. black ice).
- Consider slip-resistant finishes and coatings, deck strips, or even mats in high-traffic areas.
- Make sure handrails are secure and in good working order to provide stability when stairs are slick.

4. Gutters and Roofs
Following a theme from earlier on, it’s imperative to get your roof inspected annually so that you become aware of any problems and can get repairs done before winter sets in. Then, throughout the season:
-
- Keep gutters cleared out so that water goes down the spout where it’s supposed to, rather than finding other cracks or crannies to get into.
- If you live in a snowy area, clean gutters can also help prevent ice dams from forming and causing costly damage.
- Remove snow from your roof regularly with a roof rake.
- Use that same rake to remove any icicles that have formed.

5. Power Outage Prep
Snowstorms and freezes can easily take out power lines, leaving you in the cold and dark. Have your emergency plan and power back-up ready in case you need it. Additionally:
-
- Have a two-way radio for news concerning the outage (make sure it’s solar-powered, uses batteries, or is hand-crank).
- Have a hand-crank or solar-powered cellphone charger so you can keep in touch with family, neighbors, and friends.
- Invest in a generator, and always have flashlights, lanterns, and extra batteries on hand.
- If you don’t have an emergency kit or plan for your family, make one today.

6. Germ Safety
Illnesses, including the flu, coronavirus, and others surge during winter months because we’re usually indoors and in close proximity to others. Be sure to stick to the routine precautions for COVID-19 prevention – including mask-wearing, frequent handwashing, and social distancing – to keep yourself and your family safe. Pandemic fatigue is real, but sticking to the guidelines will keep us all – including our nurses, doctors, and other health care workers – healthy until a vaccine is available.
Many times, making sure your home is prepped for winter hazards means thinking ahead in summer and fall. Keeping up with your yearly inspections can uncover problems with chimneys, heating systems, and your roof that could cause major headaches and damage right when the thermometer is plunging. Taking actions early – and keeping an eye out year-round – will give you peace of mind during the winter so you and your family can enjoy a cozy, serene and safe home.
This article is furnished by California Casualty, providing auto and home insurance to educators, law enforcement officers, firefighters, and nurses. Get a quote at 1.866.704.8614 or www.calcas.com.
by California Casualty | Auto Insurance Info, Safety |
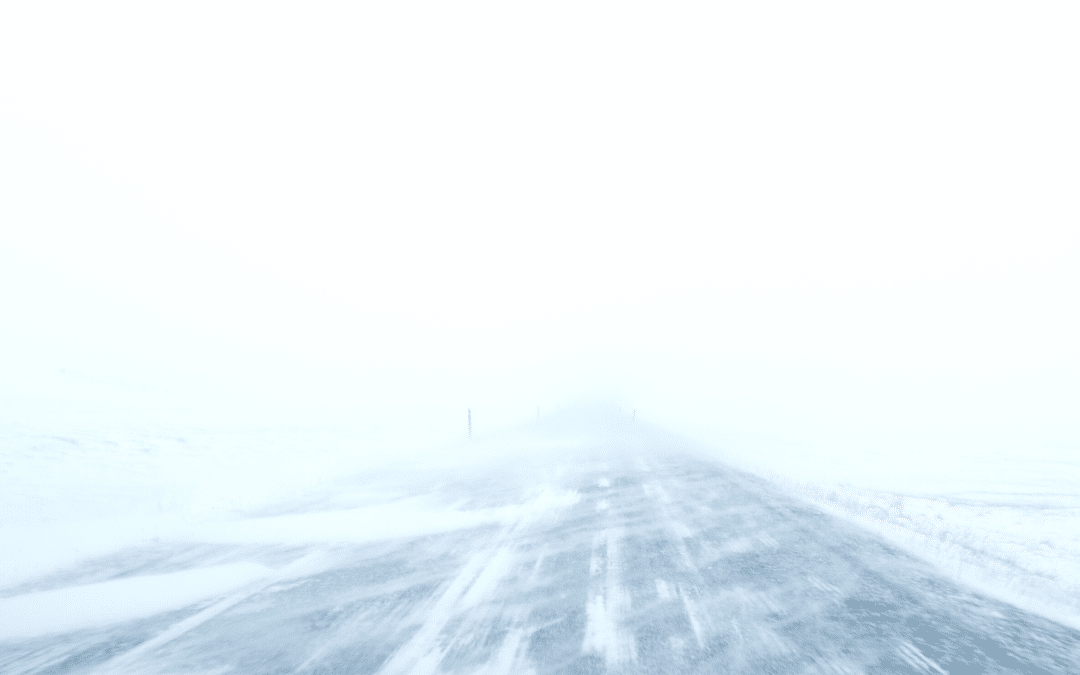
There’s never a good time for severe weather to hit, but among the worst is when you’re on the road. A sudden snowstorm can quickly impair your visibility, make road conditions extremely dangerous, and affect how your car handles.
Stay safe on wintertime roads with these tips for driving in snow, whiteouts, and on ice.
First, some general winter-weather rules of thumb
The below apply to all bad weather driving scenarios.
-
- Make sure your tires have plenty of tread before winter weather hits – or better yet, install winter tires.
- Check the weather before you leave the house; if it’s too bad, wait it out.
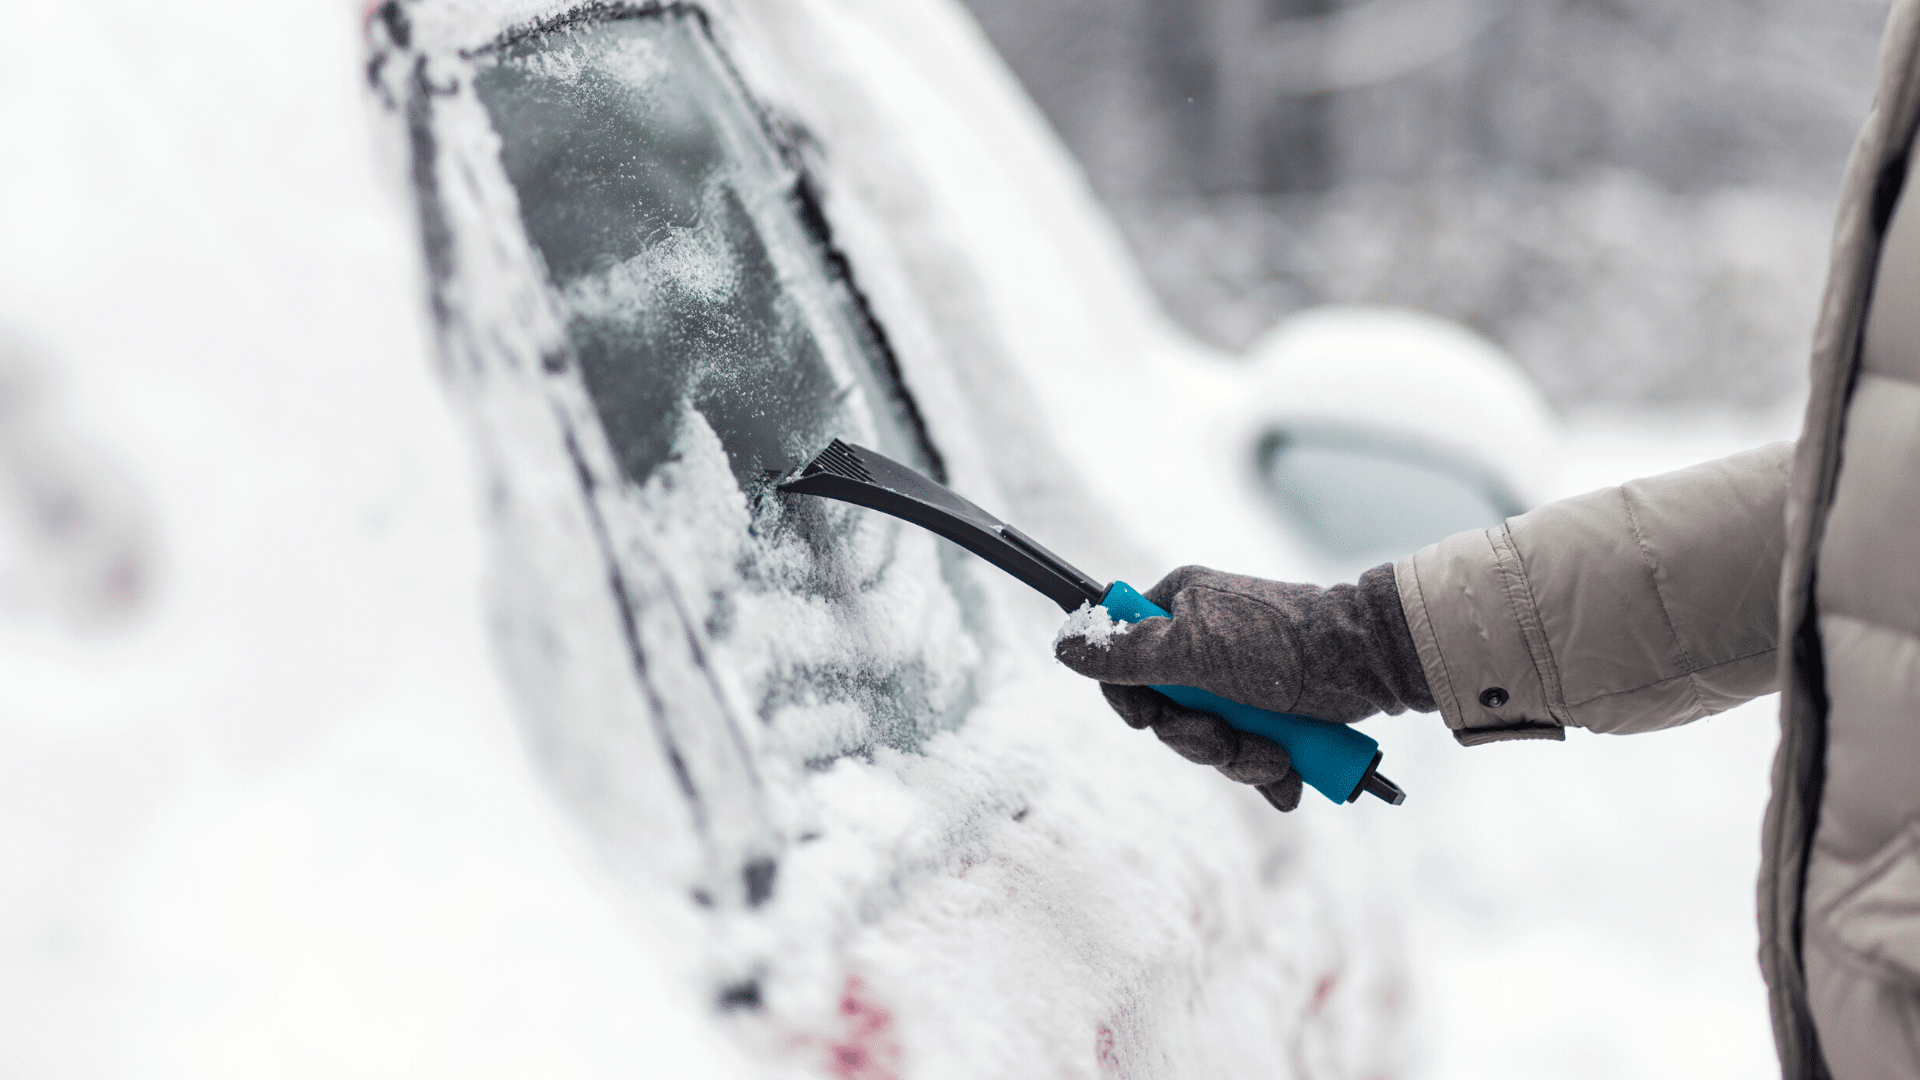
- Clear all snow, ice, and dirt from windows, windshield, brakes, and all other lights before leaving your driveway.
- Drive slowly the entire time while on the road (the more dangerous conditions, the slower).
- Drive smoothly, avoiding sudden movements on the steering wheel, brakes, and control panels.
Driving in Snow
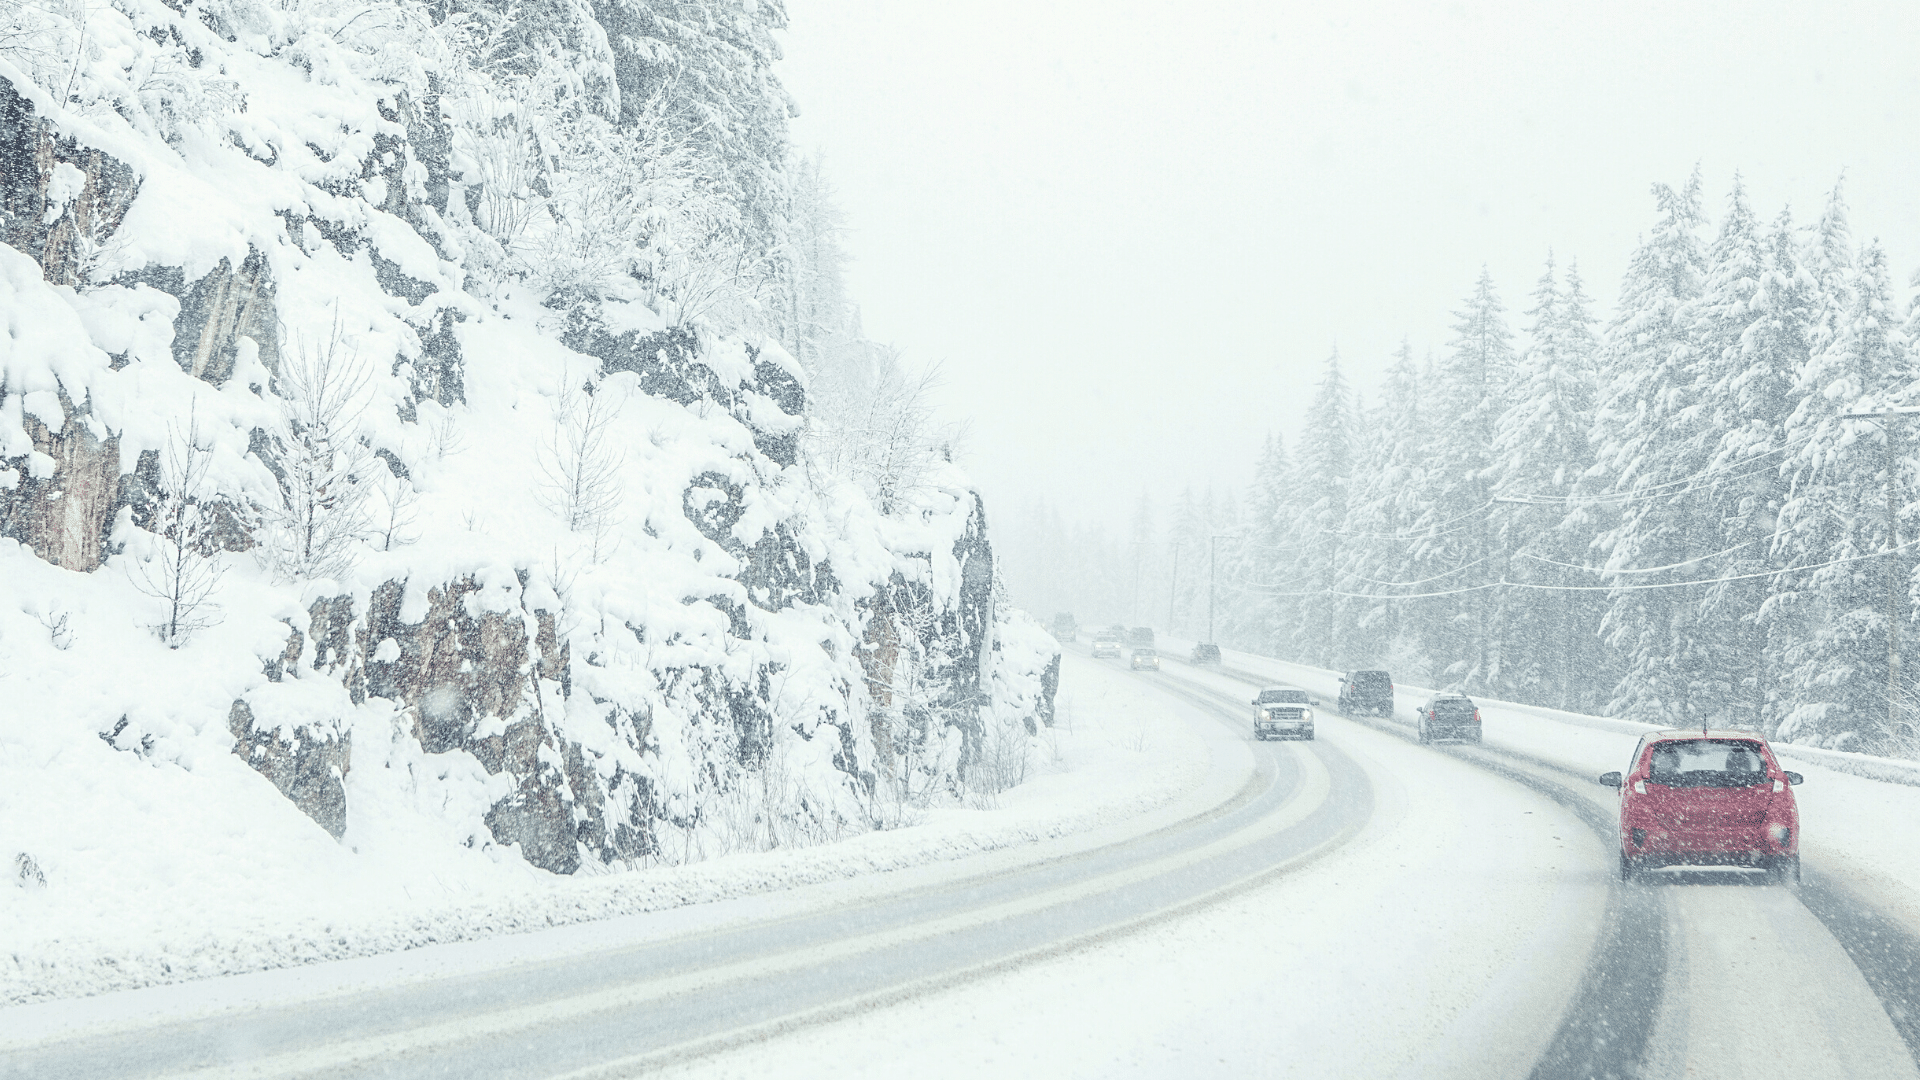
The quality of snow in a snowstorm can vary widely, depending on wind speed and direction, moisture levels and more. The snow might be slushy or dry, sparse or voluminous, and it might be falling straight down or at a sharp angle. All of these variables affect how you should proceed on the road, but the following will keep you safer across many conditions.
-
- Go slow – Increase your following distance to at least 8-10 seconds.
- Be hyper-aware of your surroundings – Vigilance on the road will help you avoid snow dangers and also spot (and get out of the way of) out-of-control drivers who are sliding your way.
- Don’t use cruise control – It’s important that you’re paying close attention and that you’re able to react to road conditions quickly.
- Use your headlights – Make sure your headlights are on (no matter the time of day), and that they’re on dim and not high. This will help your visibility and also help other drivers see you.
- Adjust how you brake – If you’re coming up on a stop sign or signal, come to a stop slowly (that extra following distance comes in handy here). Don’t slam on your brakes, as this can put you into a skid. If you have anti-lock or ABS brakes make sure you’re comfortable with how they work in all weather conditions, including snow.
- Know when and how to stop – Don’t stop if you don’t have to (starting again can be dangerous and difficult), and never stop on a hill. If you must stop, remember it takes vehicles longer to come to a stop in snowy conditions.
- Drive in the tracks of the car in front of you – This will make it easier to control your vehicle.
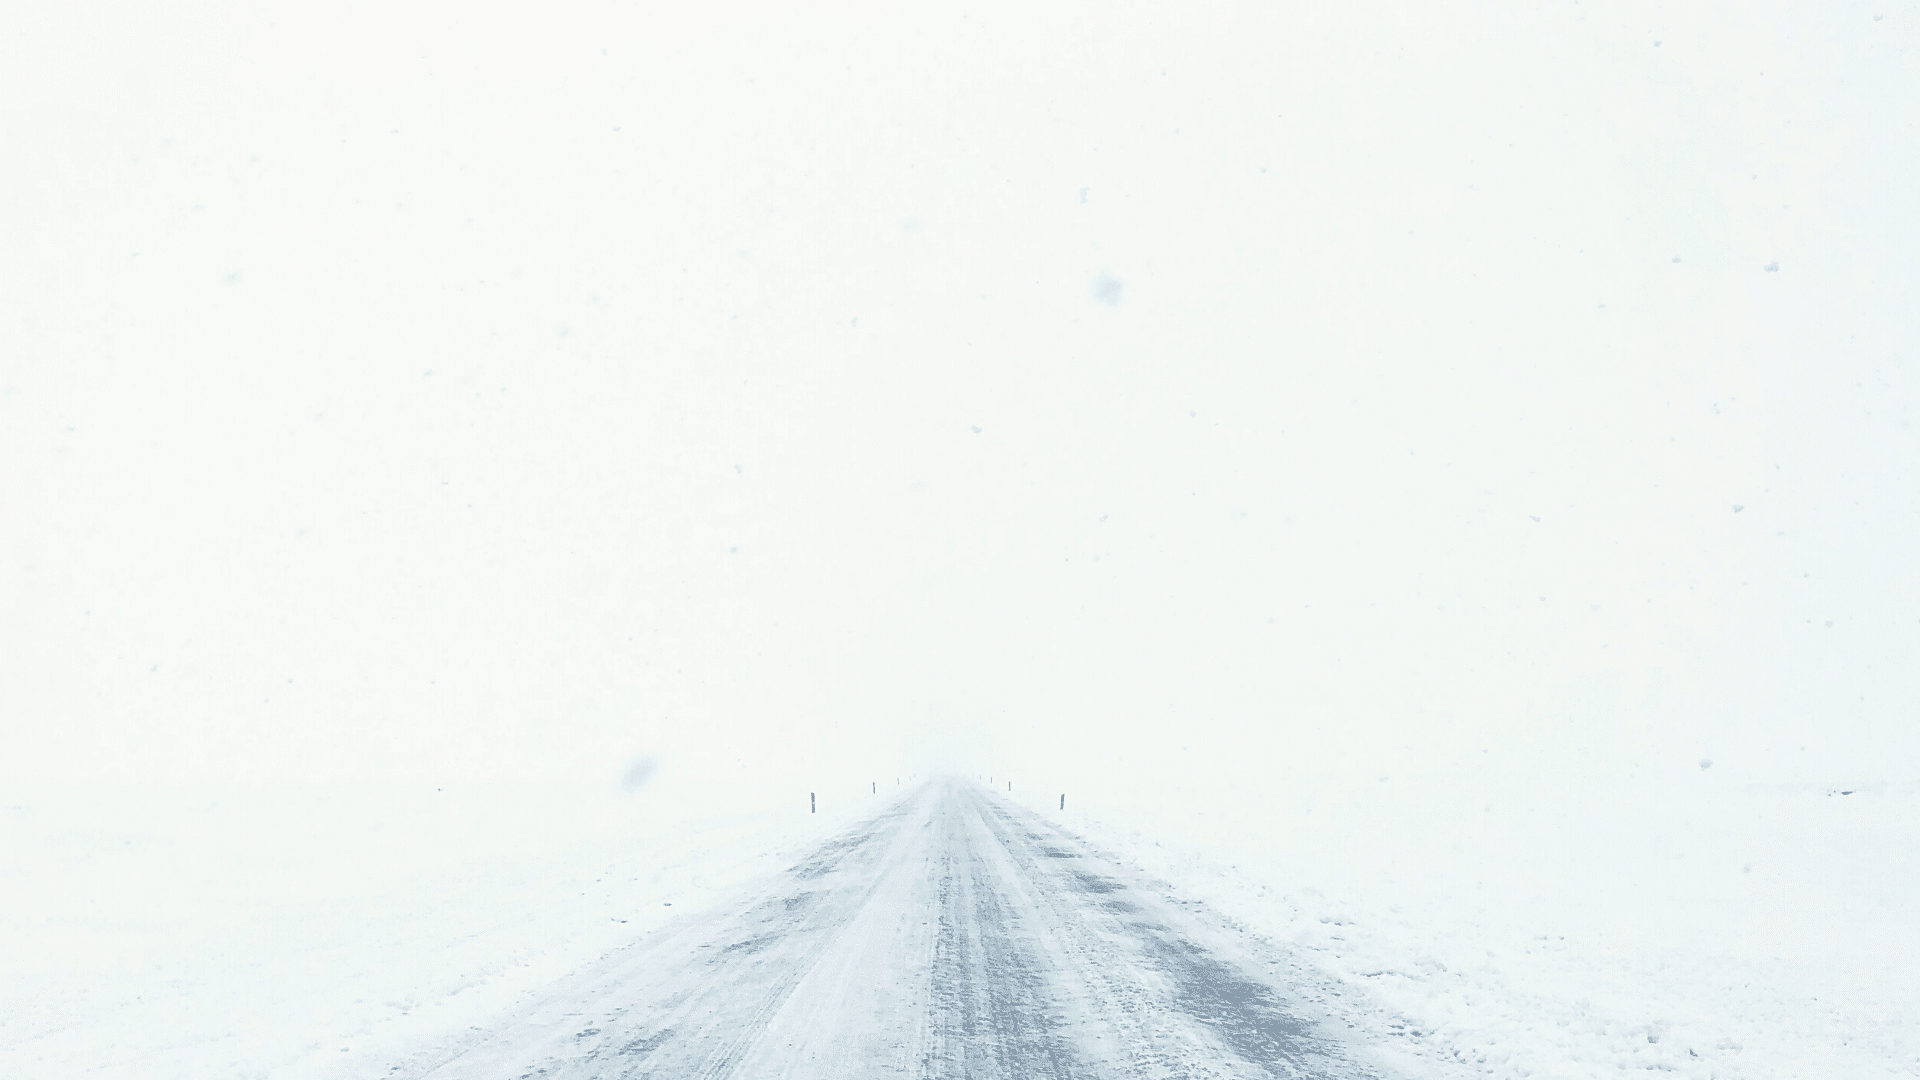
Driving in Whiteout Conditions
Whiteouts may be one of the most dangerous of snowy conditions. Here’s how to handle it if you find yourself in one.
-
- Remain calm – This is harder said than done but trying to remain calm will help you avoid over-reacting or making poor decisions.
- Slow WAY down – The most dangerous thing about a whiteout is the sudden loss of visibility. Slowing down will give you time to see what other drivers are doing and have time to react if an accident or other emergency happens right in front of you.
- Make yourself visible to other drivers – Just as you can’t see other drivers, they can’t see you. Make yourself as visible as possible by turning on your headlights (fog lights are best if you have them), and perhaps even your hazards. You can even use hand signals out the window if you need to.
- Wait out the whiteout – If visibility drops to zero and you feel unsafe, look to the nearest exit and pull off. From there, find a shoulder to pull over on. If there are no exits on your stretch of highway, pull to the side of the road, turn on your hazards, and wait out the storm.

Driving in Ice
Besides the snow you can see, there may be ice that you can’t. Notoriously hard to see, black ice acts as a glaze that coats surfaces and makes them extremely slippery and dangerous. When driving, you’ll want to be on the lookout – and ready – for it on all roads, but especially bridges, overpasses, tunnels, roads beneath overpasses, and at the bottom of hills. Check out our tips for spotting and safely negotiating black ice here.
When it comes to the downsides of winter, hazardous driving situations are among the top. But between staying off the road when possible, and taking precautions when you do have to drive, you can keep yourself, your family, and other drivers safer.
This article is furnished by California Casualty, providing auto and home insurance to educators, law enforcement officers, firefighters, and nurses. Get a quote at 1.866.704.8614 or www.calcas.com.

by California Casualty | Auto Insurance Info, Safety, Travel |
The holidays are HERE, and unfortunately so is the holiday traffic. As millions hit the road to travel near and far this holiday season roadways will quickly become overly congested, traffic delays more frequent, and holiday road rage will start to set in for many drivers.
If you are like the thousands of Americans hitting the road this season, follow our holiday traffic safety tips below.

1.Plan Head
Before you hit the road make sure your vehicle is properly maintained and ready for the trip. Plan out your route ahead of time, and if it’s possible, avoid driving through areas you know will be jammed with holiday traffic. Before you head out it’s also a good idea to check the forecast and plan ahead for inclement weather. Don’t forget to pack your emergency car kit!
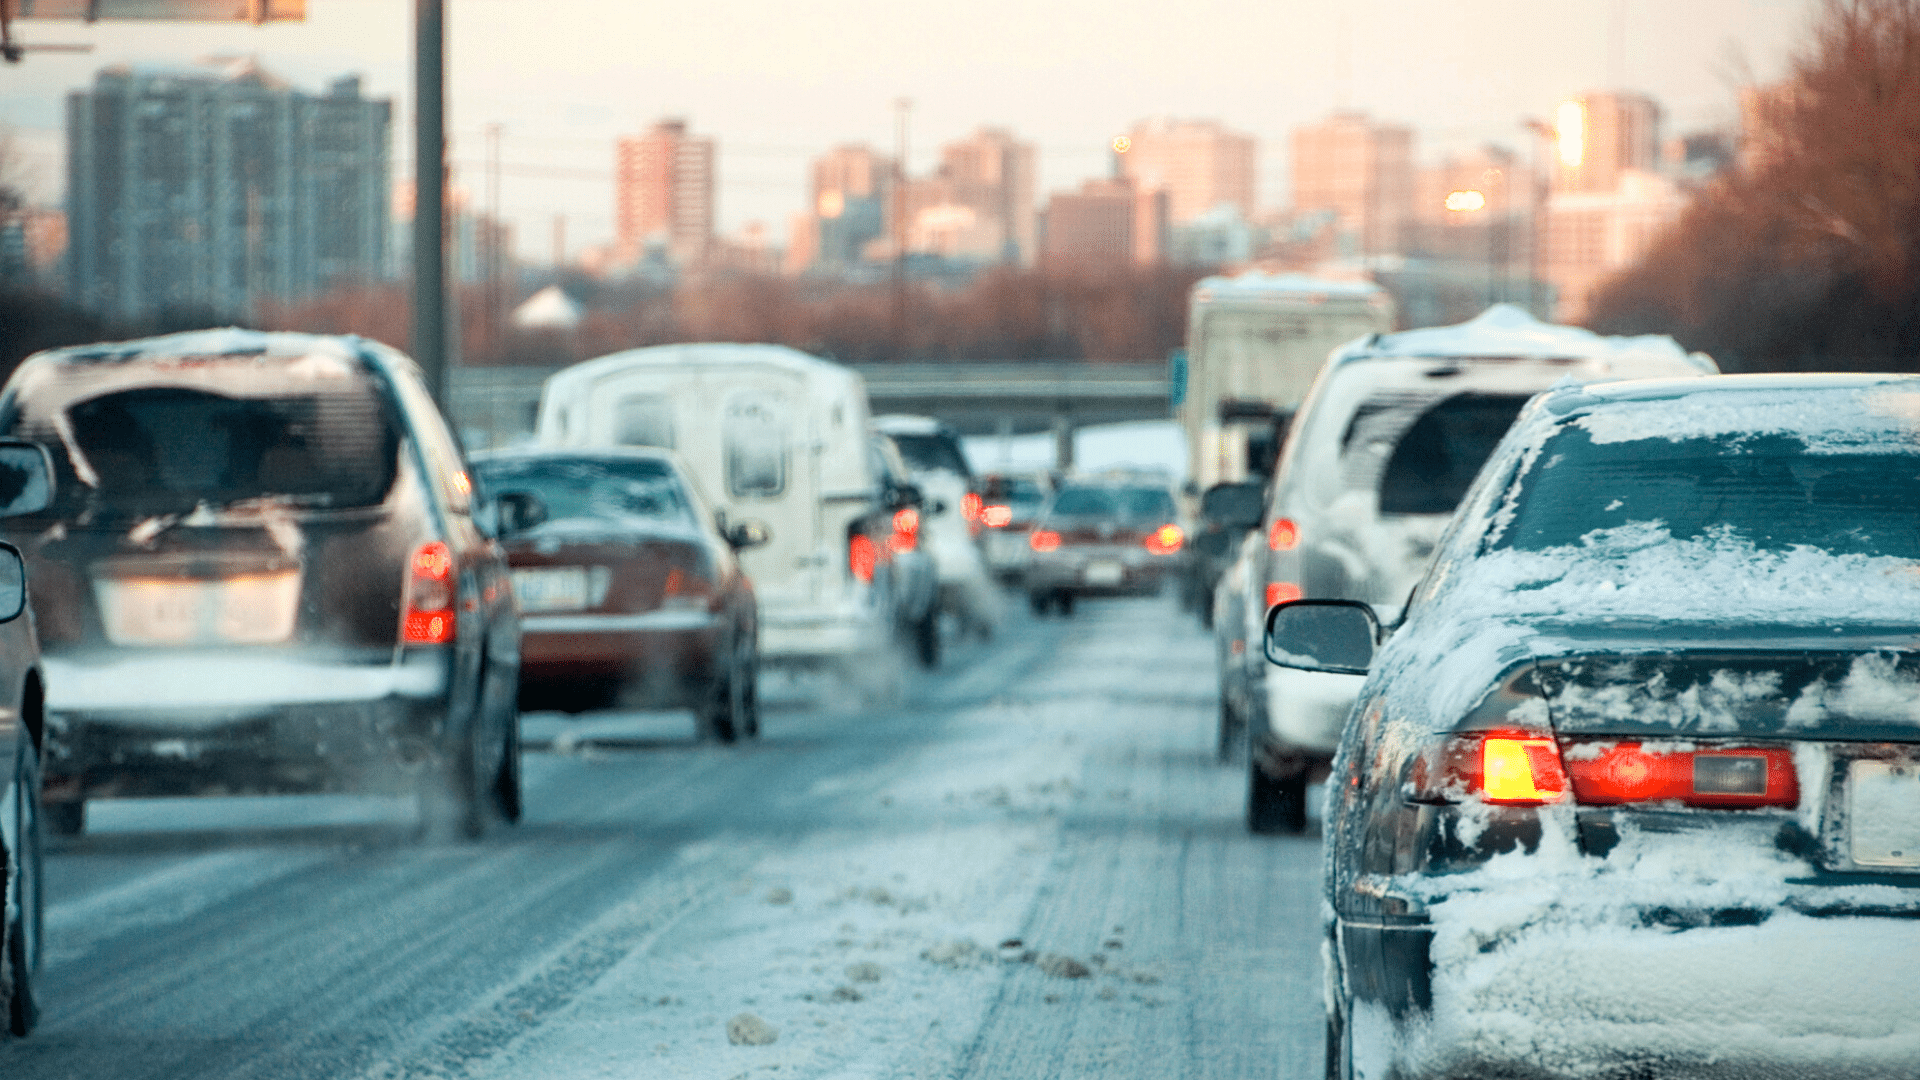
The more traffic, the higher the chance for an accident. It’s important not only to drive safely, but also to keep an eye on other drivers. In holiday traffic jams always expect the unexpected, watch for drivers cutting you off, slamming on their breaks, speeding up and slowing down, etc. Be prepared for anything, and always stay attentive behind the wheel.

3. Avoid Distractions
Distracted driving causes thousands of fatal traffic accidents every single year. Add in holiday traffic and distracted driving becomes even more dangerous and deadly. We know it can be hard to avoid common distractions like your phone, especially when you are driving long distances by yourself, but it’s important for your safety that you keep your eyes on the road and your hands on the wheel at all times.

4. Keep Your Cool
If someone makes a decision that makes you angry when you are driving, try not to let it affect you. This may be hard, but getting angry doesn’t solve anything. Road rage is a form of distracted driving because you cannot think clearly. If you start to feel yourself becoming angry or anxious try listening to music, taking deep breaths, and remember there is nothing you can do about other driver’s decisions or to make traffic move quicker- so stay calm.

5. Watch for Animals
Deer move with cold fronts. This means as the temperature continues to drop and as we get closer to the end of the year, the likelihood of seeing or hitting a deer increases. Hitting a deer, or any other animal, can total your vehicle, hinder your plans, and even cause serious injury (or death). Stay alert and watch for animals, especially if you choose to travel in rural areas at night.
If you plan on making multiple stops or staying at any hotels during your trip, be sure to follow our Traveling Safely During the Pandemic guide.
Safe travels and Happy Holidays! 🙂
This article is furnished by California Casualty. We specialize in providing auto and home insurance to educators, law enforcement officers, firefighters, and nurses. Get a quote at 1.866.704.8614 or www.calcas.com.


