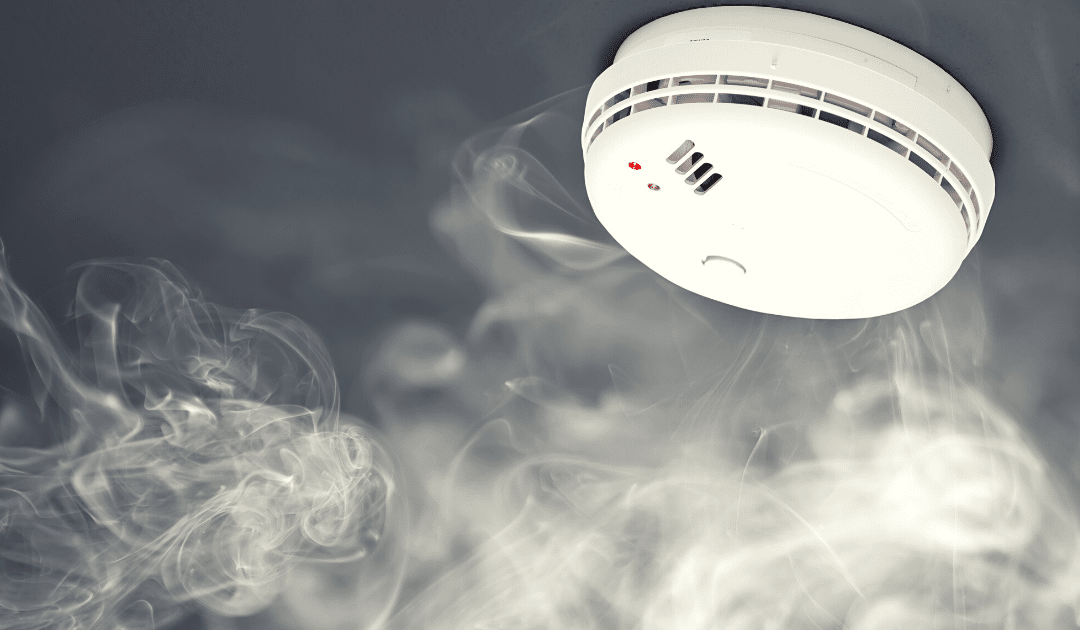
There are many more combustible materials in today’s homes than in years past, which means a spark or small fire can engulf a house in less than five minutes.
Smoke alarms are a critical first line of defense against catastrophic loss. To keep your family and home safe, follow these tips on installing alarms correctly, testing them, and ensuring that they’re properly maintained and cleaned.
Step 1: Installation
First, you should know that there are two types of smoke alarms: ionization and photoelectric. The first is more responsive to flaming fires, the second to smoldering fires. For best protection, use both types or a hybrid of the two. When it comes time to install them, remember to:
-
- Install alarms inside each bedroom as well as outside sleeping areas and on every level of your home, including the basement.
- Choose alarms that display the label of a recognized testing laboratory.
- Install wall-mounted alarms 4 to 12 inches from the ceiling, and ceiling-mounted models at least 4 inches from the closest wall.
- To avoid false alarms, place the units more than 10 feet from cooking appliances and 3 feet from bathrooms (shower steam can trigger them).
- Smoke alarms in the basement should be positioned on the ceiling at the bottom of the stairs leading to the next floor.
- For pitched ceilings, place alarm within 3 feet of the peak but not within the apex.
- Never paint smoke alarms or adhere stickers or decorations, as this can disable them.
- Don’t install alarms near doors, ducts, or windows where drafts might decrease their sensitivity.
- If possible, interconnect your smoke alarms using hard-wiring or wireless technology. This extra safety measure enables all the alarms to sound at once when any single one is triggered. Note that they must be from the same manufacturer.
Step 2: Testing
Be sure to keep the manufacturer’s instructions so you can properly test them and use for reference.
-
- While using ear protection, test alarms at least once a month using the “test” button. This ensures that your alarms have reliable power.
- Never test your alarm with real smoke or exhaust.
- Make sure you know what kind of batteries your smoke alarms have. Some units have non-replaceable 10-year batteries; others have batteries that need to be replaced every 6-12 months. For the latter, always have fresh replacement batteries on hand.
- Always replace batteries following the manufacturer’s instructions. If it specifies a particular battery, use that exact one or the alarm might not work properly.
Step 3: Maintenance & Cleaning
Smoke alarm safety depends on regular maintenance and cleaning. Do the following to ensure yours stay in proper working order.
-
- Maintain a monthly testing schedule and log your maintenance activities, along with any notes.
- If the alarm chirps, that means the battery is low and you should replace it right away.
- Clean alarms by gently vacuuming the outside of the unit with a soft brush attachment. You can also use a can of clean compressed air (sold at office supply stores).
- Never use water, solvents or cleaners on your alarm.
For more tips on home fire safety, be sure to read our Home Fire Safety Tips from Firefighters and check out this handy infographic.
Finally, make sure your family has a fire escape plan in place and that everyone understands and can follow it in an emergency. Use the National Fire Protection Association’s easy-to-use template here.
This article is furnished by California Casualty. We specialize in providing auto and home insurance to educators, law enforcement officers, firefighters, and nurses. Get a quote at 1.866.704.8614 or www.calcas.com.
- Graduation – When to Remove Your Child from Your Auto Policy - May 18, 2023
- How to Prevent Catalytic Converter Theft - May 17, 2023
- How Much Does Home Insurance Cost? - May 17, 2023

