
by California Casualty | Homeowners Insurance Info |
If you rent your home, having renters insurance is a no-brainer: It protects against loss and damage to your belongings and usually costs less per month than a fast-food order. But what about when you add a roommate to the mix? How does that affect your policy and coverage?
Here are answers to some of the most common insurance questions in a roommate situation.
Can I share a policy with a roommate?
California Casualty does not allow roommates to purchase a policy together. However, we offer a low or no cost endorsement, “Other Members of Household” that the insured can add to cover the roommate. This endorsement extends coverage for unrelated household members who live and maintain contents at the insured location, like a review. The maximum number of unrelated roommates that can be added to a policy is two.
How do I add a roommate to my policy?
California Casualty does not require both roommate’s names to appear on the lease. We only need the roommate’s name and the estimated value of property and increase the coverage amount if it is not adequate enough to cover the roommate’s personal belongings. You’ll want to go through the policy in detail with your insurance agent and roommate to make sure all the coverage, liability, and policy details are clear, understood, and agreeable to all parties.
What will the policy cover?
All policies have coverage limits. Typically, in a shared policy situation, the coverage limit doesn’t increase with the addition of a roommate but gets split between you. You’ll need to decide if the coverage limit is adequate given the value of your and your roommate’s possessions combined. Policies typically also cover personal liability, which helps cover the costs due to accidental property damage and accidental bodily injury.
What if my roommate moves out?
You’ll need to update your policy as soon as there are any changes to your roommate situation. If your roommate moves out, you’ll need to make yourself the sole policyholder asap. If you decide to bring in another roommate (and you both want to share a policy), you’d need to go through the policy update process again.
Further considerations
If you’re considering sharing a policy but are just not sure, think about the following.
-
- Take stock of what you own. If your possessions are worth much more than your roommate’s, it may not be worth sharing a policy.
- Check for potential cost savings. Working with your insurance agent, price out a shared policy versus a single policy. In some cases, a solo policy ends up being more affordable while offering more coverage.
- Choose your roomie well! The secret to a good shared policy situation is a strong underlying relationship where you and your roommate are on good terms, can have honest conversations, and trust each other.
Deciding whether or not to share a policy is a very personal and individual choice – only you can know if it’s the best choice for you. But in the end, whether you decide for solo or shared, the most important decision is that you get protection as a renter. Check out the top 5 reasons to get renters insurance here.
This article is furnished by California Casualty, providing auto and home insurance to educators, law enforcement officers, firefighters, and nurses. Get a quote at 1.866.704.8614 or www.calcas.com.
by California Casualty | Homeowners Insurance Info |
Tomato juice is the best way to de-funk a skunked dog. Newspapers are the top choice for getting your windows sparkly clean. You’ve probably heard these tips a million times before? Too bad they don’t actually work!
When it comes to maintaining your home, the last thing you want is to follow myths that don’t work. We’ve rounded up 6 wintertime home maintenance myths that not only aren’t true – but could actually cause damage or a false sense of safety. To save you research time, we’ve also included what to do instead.

Use kitty litter to prevent slipping on ice – The idea is that putting litter on icy walkways and driveways will reduce the slickness by giving some grit to the surface. In actuality, litter really isn’t effective and mostly just ends up making a mess.
Do this instead – Use clay sand – the kind you’d find in a children’s sandbox – to add traction to the surface of the ice and reduce the risk of slipping. It’s cheaper and more effective than litter or the other common go-to’s. Also note that ice melting products, including various salts, are destructive to plants, surfaces, and sometimes pets as well.

Your smoke detector’s test button is all you need for a test – We all know we’re supposed to test our smoke detectors monthly. That usually means pressing the “test” button until you hear an ear-piercing, loud siren from the detector. The thing is, the test button just checks to make sure that the batteries and the alarm sound are working, not the sensor that detects smoke.
Do this instead – To make sure you’re testing for smoke sensitivity, you should test with actual smoke. Light a long wooden kitchen match (or 2-3 small ones if that’s not available), then blow out the flame, holding it up so the smoke wafts up to the unit. If the unit doesn’t sound from the smoke, replace it immediately.
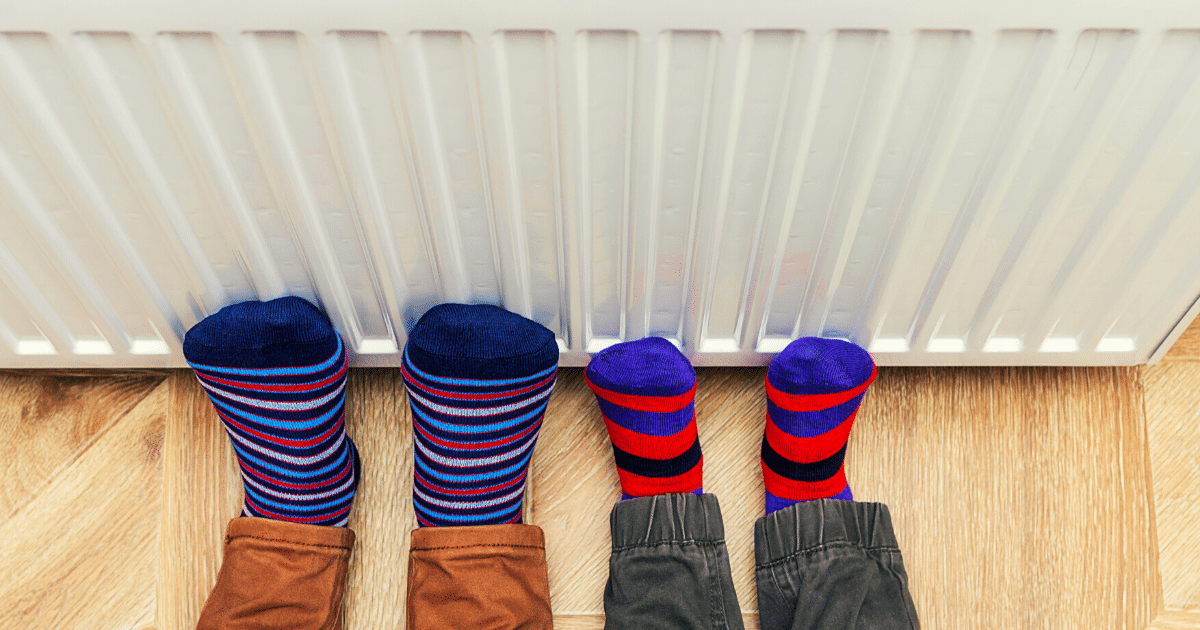
Turn off your heat when not at home – Turning off the heat when you’re out of the house seems like an obvious time and money saver. Turns out that this “best practice” is faulty – and can put your home at risk for frozen and burst pipes, among other damage.
Do this instead – Whether it’s leaving for a whole day, a weekend trip, or even a longer winter vacation, make sure you leave the thermostat set to 55 deg F or higher. If your thermostat has multiple settings, make sure you choose the “permanent/vacation hold” so that it’s not overridden the next day to resume to normal temperatures. Leaving your heater on will also prevent it from having to work extra hard upon your return.
The more insulation, the better – Attic insulation is one of the most cost-effective ways to save energy in your home. So, the thinking goes: more must mean better. Some homeowners end up stuffing their attic full of the fluffy stuff, not knowing they’re dialing down its effectiveness.
Do this instead – Figure out the sweet-spot amount for your attic space. In order for insulation to do its job, its surface needs to be surrounded by air space. So, avoid forcing it into wall cavities so much that it becomes compacted. Also, too much in the main attic space can block ventilation of the soffit and eaves, creating prime conditions for condensation, mold, and eventually rot.
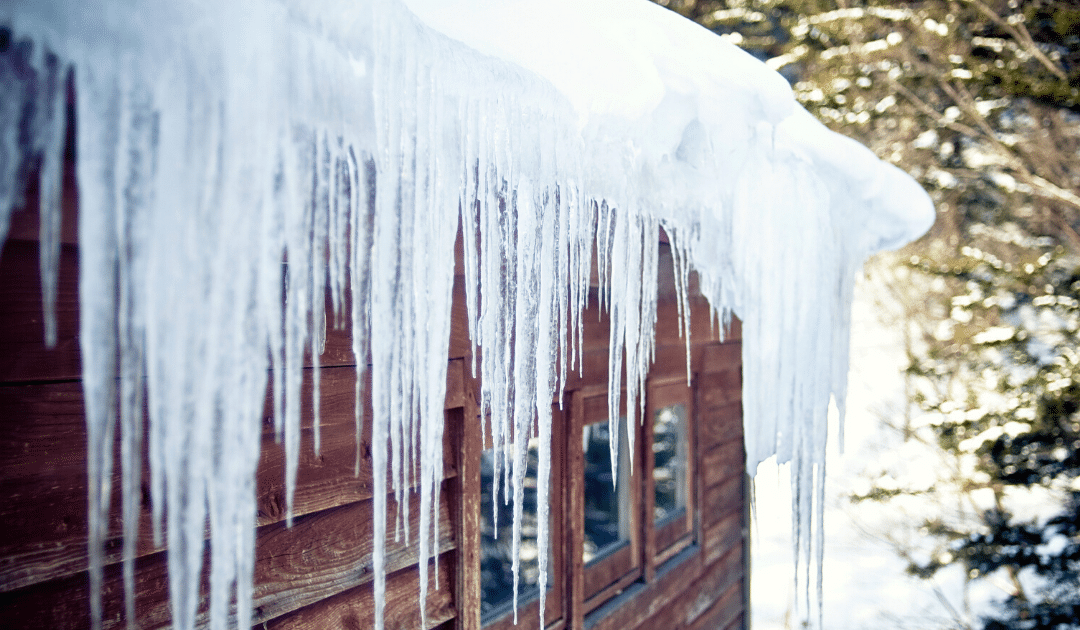
Thaw a frozen pipe quickly with a blowtorch – This myth also has versions starring matches, candles or lighters. Unfortunately, none of these is safe, and all can cause more damage to the pipe. In short, remember never to use an open flame of any sort on a frozen pipe.
Do this instead – A standard, everyday hairdryer is your go-to secret weapon for thawing freezing pipes. You can also use a space heater or heat lamp, but the dryer allows you to sweep, angle, and vary the heat source much easier. For tips on preventing frozen pipes in the first place, check out our post here.
Hot water defrosts windshields fastest – No doubt about it – being delayed by a frozen windshield in the morning is one of winter’s worst annoyances. Many people reach for hot water, wanting to defrost the glass as quickly as possible. Unfortunately, pouring (or even trickling) hot water on your windshield puts you at huge risk for cracking that glass.
Do this instead – First, remove the bulk of the ice with a soft brush or plastic ice scraper. Next, warm it up slowly using lukewarm water, your car’s defroster, and/or even your air conditioning (seriously!). Check out all 5 of our quick tips for windshield defrosting here.
By replacing de-bunked winter maintenance myths with proven strategies, you’ll probably dodge some avoidable damage or even repair costs (at the very least, time and energy). But don’t stop there – pay it forward by passing on your newfound wisdom to friends, family, and neighbors!
This article is furnished by California Casualty, providing auto and home insurance to educators, law enforcement officers, firefighters, and nurses. Get a quote at 1.866.704.8614 or www.calcas.com.
by California Casualty | Homeowners Insurance Info, Safety |
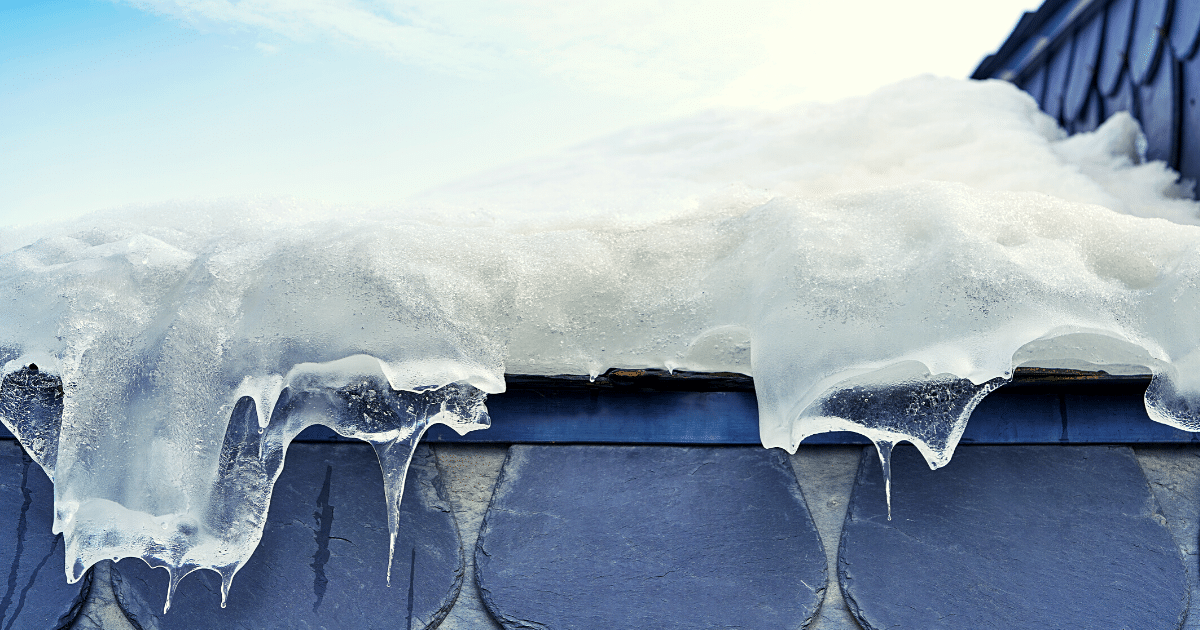
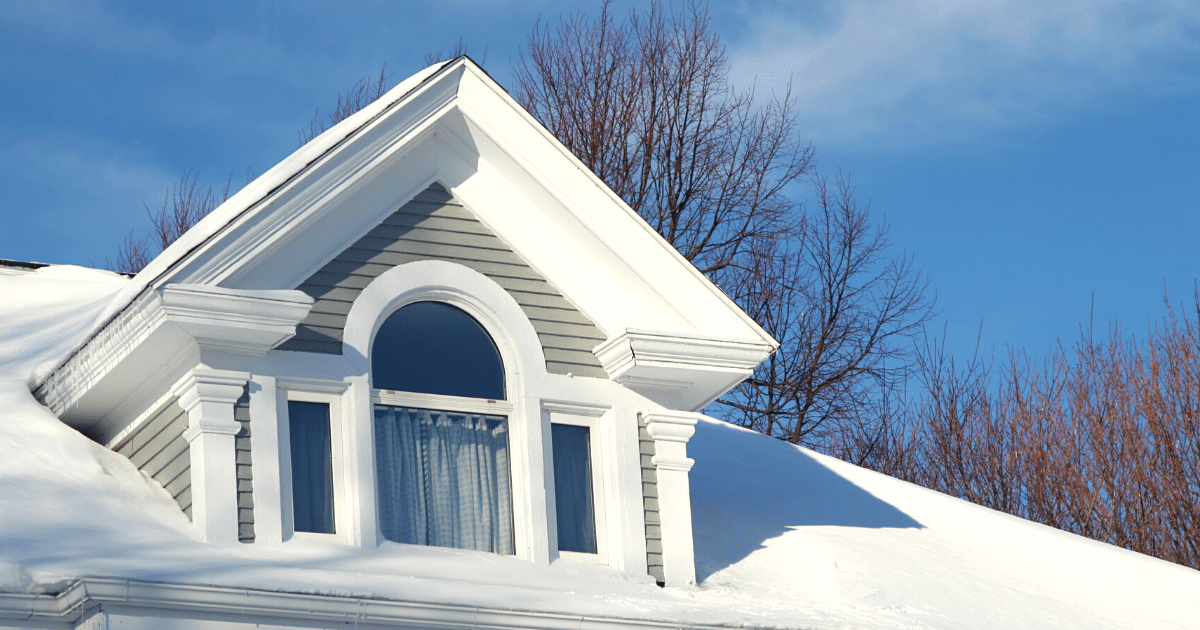
Snow build-up packs a double-punch threat to your roof – and home. As snow piles up on your roof, it creates two threats over time. One is a heavy snow weight which, if left unchecked, can pose a risk of roof collapse. The other is the formation and persistence of ice dams.
Ice dams form when warm air rises inside your house and warms the roof, melting water that then runs down the eaves. Since eaves are colder, it refreezes there and creates a solid ice block, which then backs up future run-off water behind it. The more snow you have, the more run-off will accumulate. Also, the greater the temperature difference along your roof and the more time the ice deposits have to grow, the bigger your ice dam problems will be.
Keeping both these threats at bay requires a steady habit of keeping that snow in check.
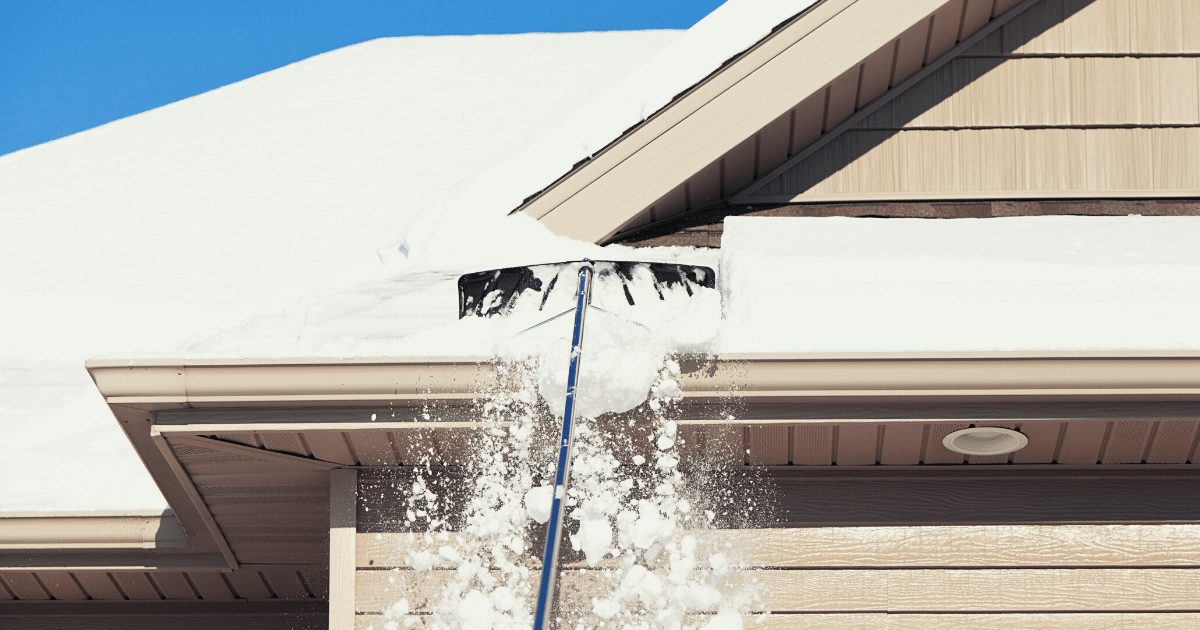
Rooftop Snow Removal
Rooftop snow is typically removed either by raking or shoveling. Your best bet as a DIYer is raking. If you live in a one-story house, you can probably do this yourself. If you live in a two-story or taller home, or you have an abundance of snow to remove, consider hiring a professional (who will most likely shovel, rather than rake). Here are some top tips for safe snow raking.
-
- Get the right rake – Look for a rake that has these important features. First: small bumpers, wheels, or rollers near the blade. These keep the blade off the roof surface, protecting it from damage. Second, the handle should have a slight bend to it. This makes it more versatile and easier to use than a straight-handled rake. Third, consider plastic over metal because it’s lighter. Finally, a telescoping feature will allow you to reach more snow.
- Buy an extension or two – If your rake doesn’t have a telescoping feature, it’s a good idea to buy extra extension poles so that you can rake as high as possible on the roof. And having an extra pole or two tucked away will be good if your main one gets bent or damaged.
- Rake regularly – Making this an ongoing task throughout the winter will help prevent build-up.
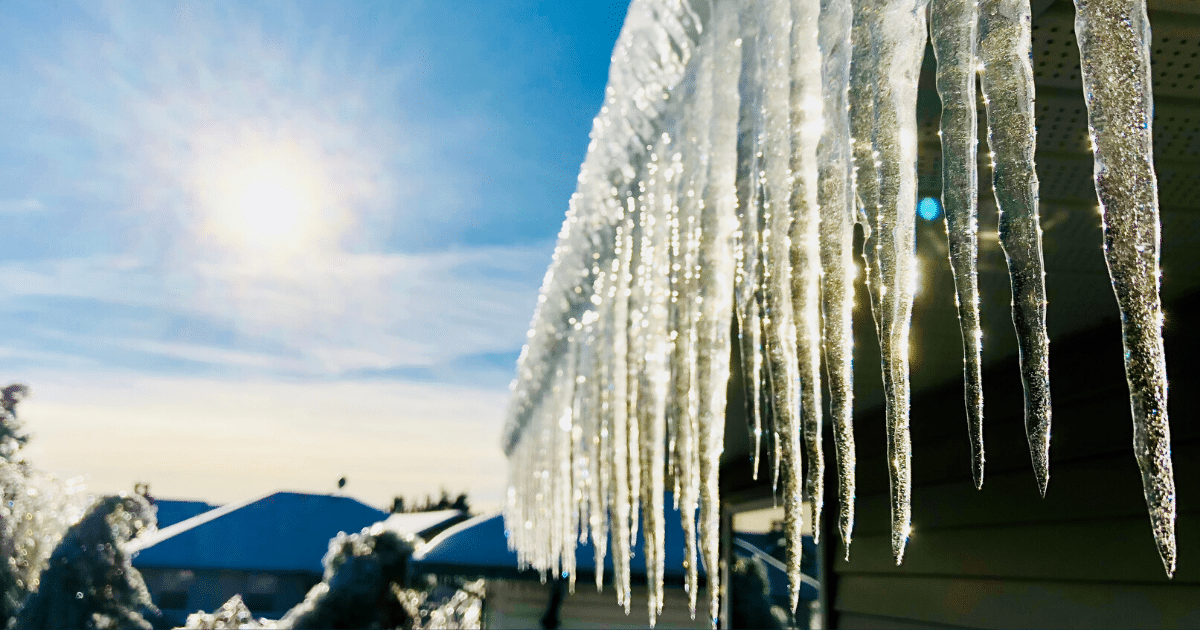
- Have a plan – It’s important to rake in a particular sequence. First, knock down any hanging icicles. Then, with a rake in hand and firm footing on the ground, work your way around the house, starting with the overhangs (which are most prone to ice dams).
- When raking, start low – Start at the bottom of the roof and work your way to the top, pulling off a foot or so of snow at a time. Be warned that starting high or pulling down too much snow could bring it tumbling down on you.
- Stand back – Give yourself some room away from the roof’s edge so that if snow dislodges, it won’t fall on you.
- Watch out for power lines – Be extremely careful not to hit any overhead lines. In fact, take an inspection walk around your house before starting to rake. Overhead lines are common in older homes.
- Think twice before salting – Salting the roof can lead to discolored shingles and dead plants or grass.
Preventing Ice Dams
Ice dams can lead to roof leaks, causing structural damage inside your home, as well as water stains, bubbling paint and wallpaper, and mold/mildew formation. Besides keeping up with snow removal (the best strategy for ice dam prevention), here are some others:
-
- Insulate your attic – This will minimize heat loss, keeping your roof cooler and melting less snow. It will also save on energy costs.
- Eliminate air leaks – Seal leaks in the attic, around the chimney, and at entry points for vents and pipes.
- Vent out the hot air – Proper ventilation will help keep heat from getting trapped and warming concentrated spots on your roof. Consider installing two motor-driven fan vents – one that draws in cold air and one that exhausts hot air.
- Turn down the heat – Dialing down your home temperature will not only help prevent snowmelt and ice dams, but also save on your heating bill. Check out our easy tips here.
- If you already have ice dams – Ice dams can do serious and expensive damage to your home – so if you have them, get them removed by a professional asap.
Preventing wintertime damage to your home saves money and headaches over time. In the case of your roof, keeping it maintained and damage-free will extend its life and protect your home’s value. Follow the strategies above and also remember – if the snow is wet, heavy, voluminous, or hardened you should hire a professional snow shoveling service. Finally, getting a pre-winter roof inspection is always a good idea, as it will surface any structural vulnerabilities or problems with your roof.
For more winter home maintenance tips, click here.
This article is furnished by California Casualty, providing auto and home insurance to educators, law enforcement officers, firefighters, and nurses. Get a quote at 1.866.704.8614 or www.calcas.com.
by California Casualty | Auto Insurance Info, Homeowners Insurance Info, Safety |
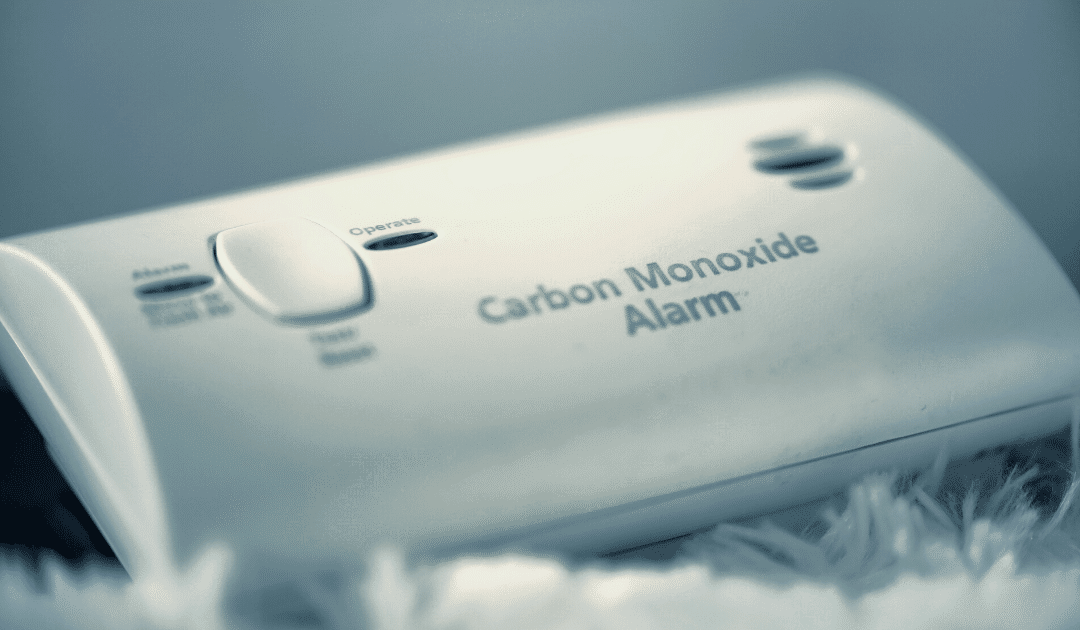
Often called the “silent killer,” carbon monoxide (CO) is an odorless, colorless gas that claims more than 400 American lives each year, sends 20,000 to the emergency room, and hospitalizes more than 4,000.
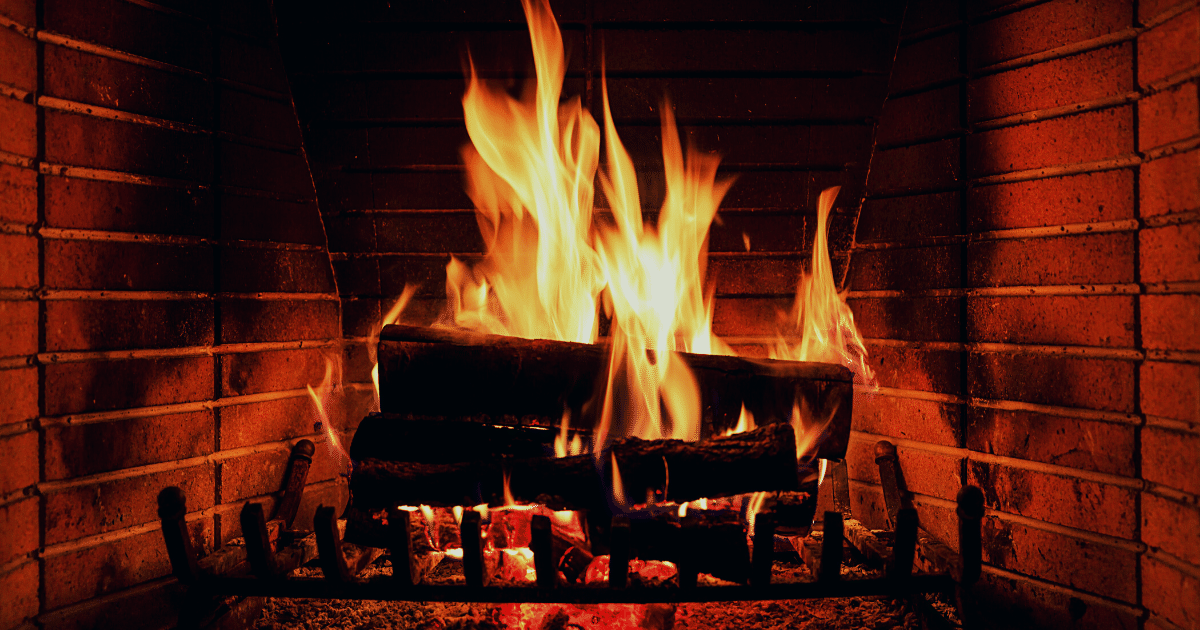
It is an indiscriminate killer, striking its victims when they’re unaware or asleep. This poisonous gas is produced by burning fuel in vehicles, stoves, lanterns, fireplaces, gas ranges, furnaces small engines, and portable generators. Here are tips for keeping you, your family, and pets safe from it.
Prevention Tips For Your Home
Here are top strategies to prevent an inadvertent CO leak or exposure in your home.
-
- Install at least one battery-operated or battery back-up CO detector on each floor of your home, including the basement and garage (if it’s attached). Detectors on your main floors should be inside or directly outside the bedroom or sleeping areas.
- Test your alarm(s) monthly, replace batteries every six months and replace the units themselves every five years.
- Maintain yearly inspection schedules for your heating system, furnace, water heater, fireplace, chimney, and any other gas or coal-burning appliances.
- When buying gas appliances, only buy those carrying the seal of a national testing agency.
- Make sure all gas appliances are vented properly.
- Never burn charcoal or use a generator or portable gas camp stove indoors.
- If you smell an odor coming from your gas refrigerator, have an expert check it – the odor could indicate it’s leaking CO.
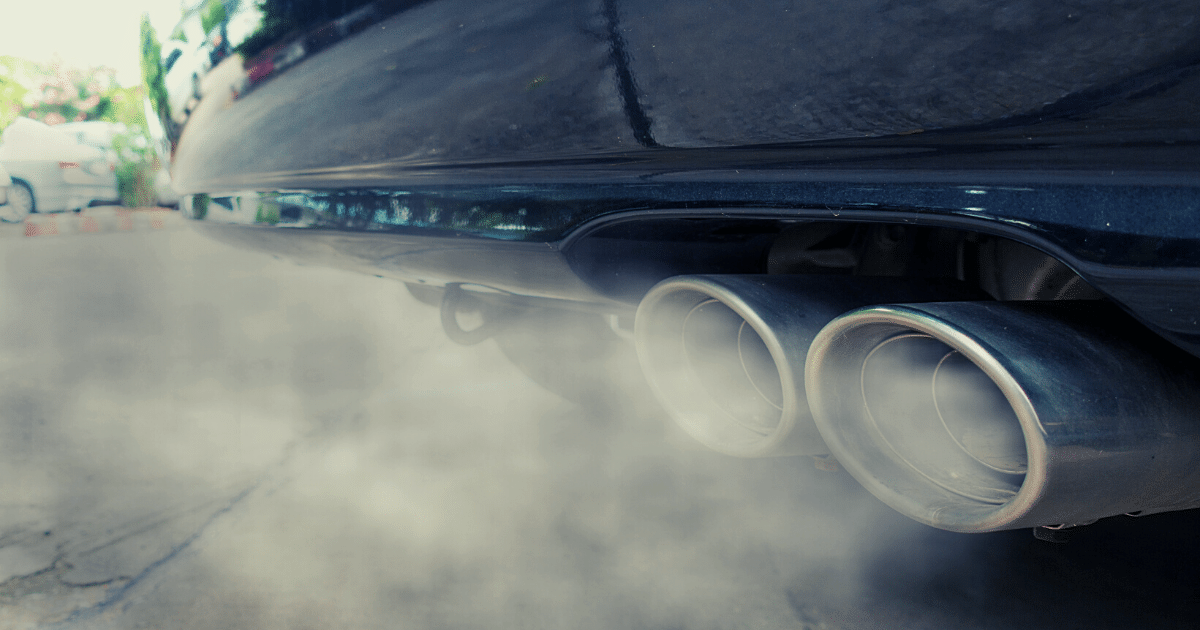
Prevention Tips for Your Car
Your vehicle actively produces CO every time you start the engine, so do the following to stay safe.
-
- Take your vehicle to a trusted mechanic yearly for an exhaust system check. Small leaks can cause CO buildup inside your car.
- Do not run your vehicle inside an attached garage, even with the garage door open.
- If your car has a tailgate, make sure you open vents or windows anytime you open the tailgate while the engine is running – if you open only the tailgate, CO fumes will be pulled into the passenger area.

Symptoms of CO Poisoning
It’s important to know that symptoms can vary in terms of severity, and often mild symptoms are mistaken for the flu (although without fever).
-
- Low to moderate poisoning results in:
- Fatigue
- Headache
- Nausea
- Dizziness
- High-level poisoning results in:
- Confusion
- Vomiting
- Loss of muscular coordination
- Loss of consciousness
- Ultimately death
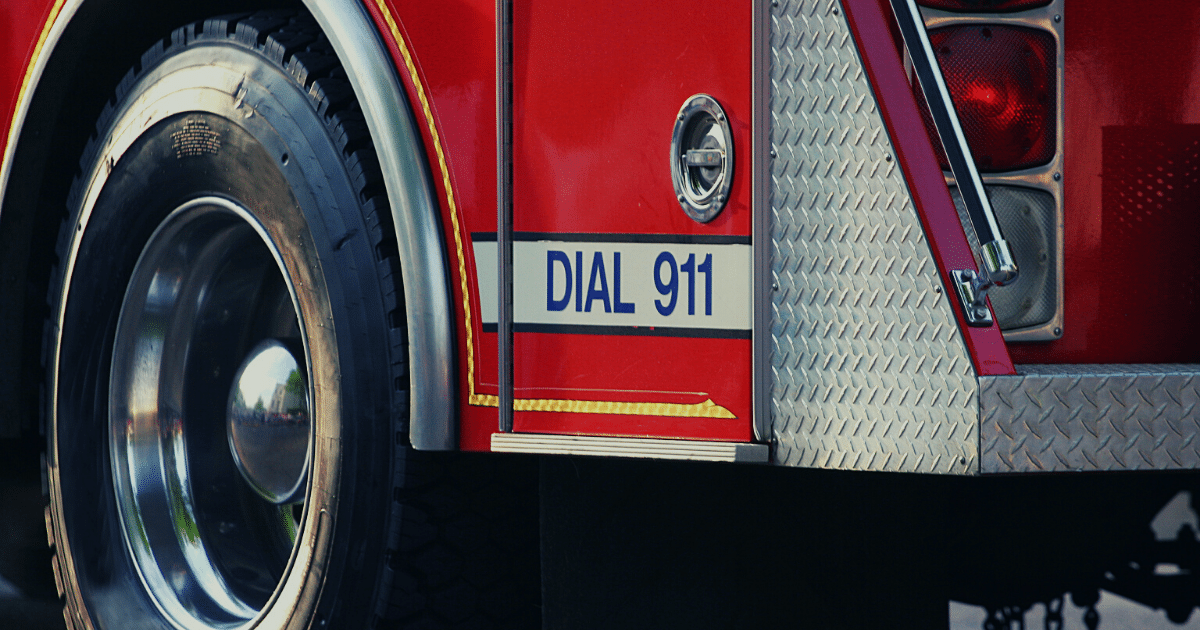
If you or a family member are experiencing any of these symptoms get outside to fresh air immediately then call 911.
When Your Carbon Monoxide Alarm Sounds
First off, you should know – from regular testing – what the different beep sequences and alarm sounds mean. For instance, there may be different beep patterns indicating low batteries, a detector that needs to be replaced, and a true CO emergency. When you hear the CO emergency signal:
- Do not try to find the source of the leak – instead, immediately move outside to fresh air.
- Call 911, emergency services, or the fire department.
- Do a headcount for all family members and pets (do you have a family emergency plan in place?)
- Do not re-enter your home until emergency responders have given word that it’s safe to do so.
When it comes to carbon monoxide poisoning, it’s best to err on the side of abundant caution. A person can be poisoned by a small amount of the gas over a long period of time, or by a large amount during a short time. The measures above should keep both your indoor air quality and your family safe and healthy.
This article is furnished by California Casualty, providing auto and home insurance to educators, law enforcement officers, firefighters, and nurses. Get a quote at 1.866.704.8614 or www.calcas.com.
by California Casualty | Homeowners Insurance Info, Safety |
With cold weather comes extra hazards. Be on the lookout for these six common ones, so you can avoid injury, accidents, and damage to your home.
1. Unsafe Heaters and Furnaces
Make sure your heating system has been inspected by a professional (ideally well before winter arrives). This will ensure that it’s prepped for the hard work of heating your home through frigid temps and doesn’t break mid-season, leaving you scrambling for repairs. Here’s how you can keep it in working order:
-
- Wipe it down regularly to get rid of dust and debris; you can also gently vacuum it with a nozzle/brush attachment.
- Clean vents and adjust dampers in all rooms.
- Replace dirty filters as needed.
- Listen and watch for strange sounds or behavior. Do a visual check from time to time for frayed wires or other damage (pests can attack without your knowledge!).
- If you have a furnace, be sure to check the pilot light regularly (follow manufacturer’s instructions).
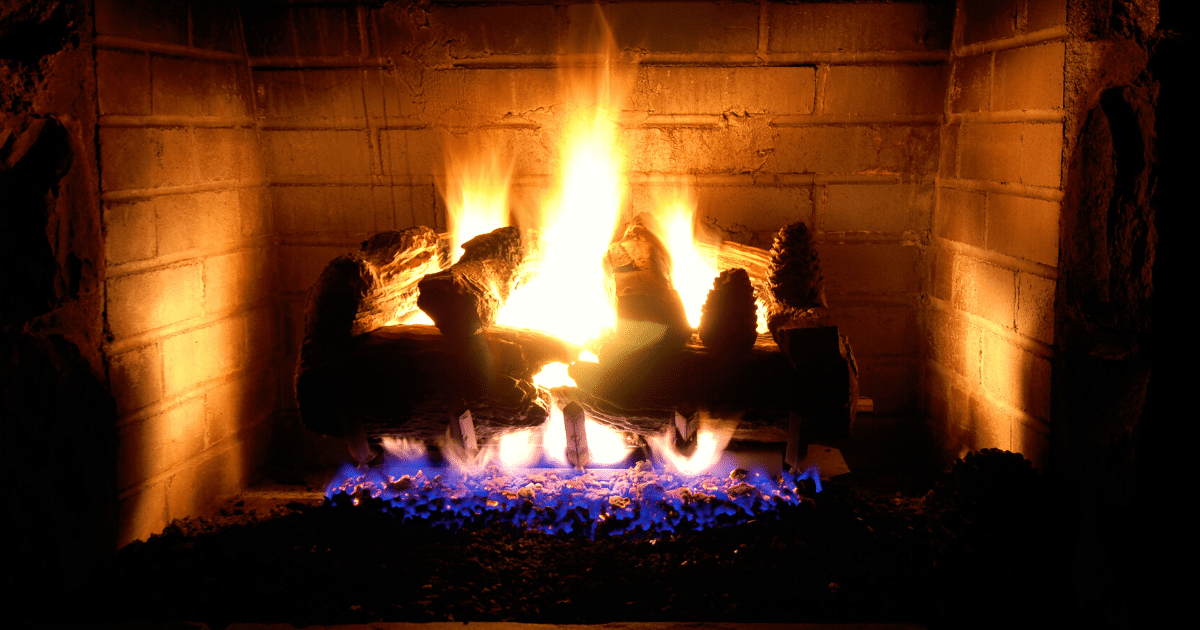
2. Fireplace Hazards
Like your heating system, your chimney, flue, and supporting structures need an annual inspection (and possible cleaning). Schedule inspections at the same time for an easy maintenance routine. Besides inspections, be sure to:
-
- Clean out ash after every fire – excess ash can reduce airflow and make your next fire dangerous.
- Never leave a fire unattended, and always make sure it’s completely extinguished before leaving it for the night.
- Use a fire screen for extra protection and consider fireplace doors if appropriate.
- Check your smoke and carbon monoxide alarms to make sure they’re working properly.
- For more indoor fire safety tips, check out our blog post.
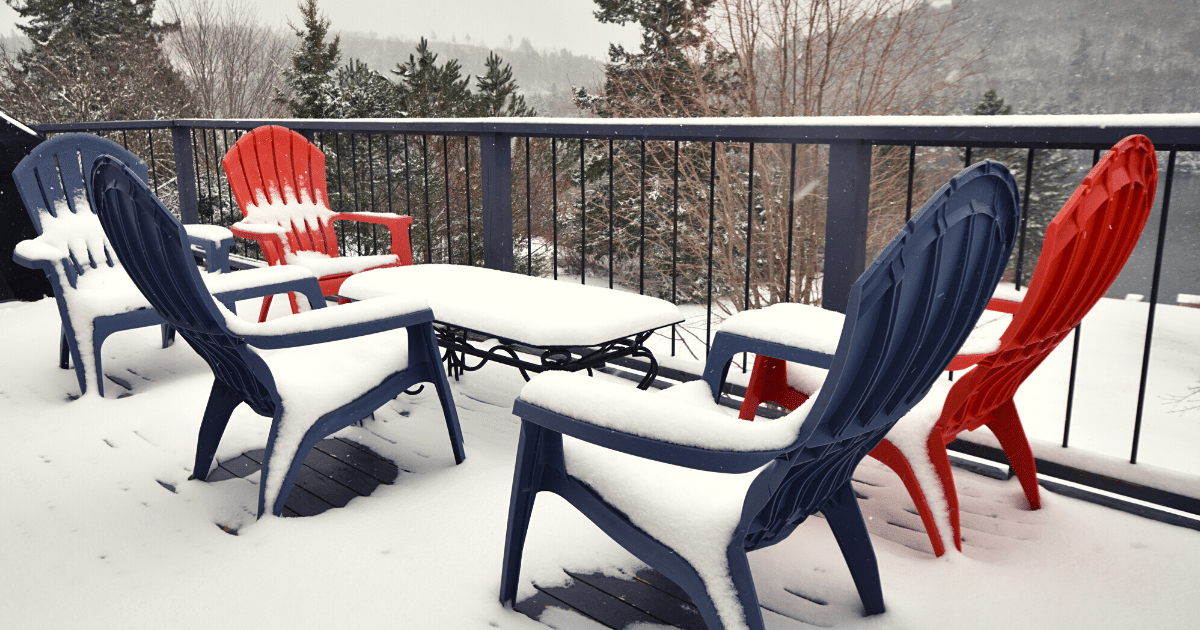
3. Porch and Deck Safety
The areas immediately surrounding your home and entrances pose a special risk for slips, falls, and other injuries resulting from ice. Protect yourself, your family, and any visitors with these precautions.
-
- Remove snow from decks, walkways, porches, and your driveway as soon as possible to prevent a melt-and-refreeze cycle (i.e. black ice).
- Consider slip-resistant finishes and coatings, deck strips, or even mats in high-traffic areas.
- Make sure handrails are secure and in good working order to provide stability when stairs are slick.
4. Gutters and Roofs
Following a theme from earlier on, it’s imperative to get your roof inspected annually so that you become aware of any problems and can get repairs done before winter sets in. Then, throughout the season:
-
- Keep gutters cleared out so that water goes down the spout where it’s supposed to, rather than finding other cracks or crannies to get into.
- If you live in a snowy area, clean gutters can also help prevent ice dams from forming and causing costly damage.
- Remove snow from your roof regularly with a roof rake.
- Use that same rake to remove any icicles that have formed.

5. Power Outage Prep
Snowstorms and freezes can easily take out power lines, leaving you in the cold and dark. Have your emergency plan and power back-up ready in case you need it. Additionally:
-
- Have a two-way radio for news concerning the outage (make sure it’s solar-powered, uses batteries, or is hand-crank).
- Have a hand-crank or solar-powered cellphone charger so you can keep in touch with family, neighbors, and friends.
- Invest in a generator, and always have flashlights, lanterns, and extra batteries on hand.
- If you don’t have an emergency kit or plan for your family, make one today.

6. Germ Safety
Illnesses, including the flu, coronavirus, and others surge during winter months because we’re usually indoors and in close proximity to others. Be sure to stick to the routine precautions for COVID-19 prevention – including mask-wearing, frequent handwashing, and social distancing – to keep yourself and your family safe. Pandemic fatigue is real, but sticking to the guidelines will keep us all – including our nurses, doctors, and other health care workers – healthy until a vaccine is available.
Many times, making sure your home is prepped for winter hazards means thinking ahead in summer and fall. Keeping up with your yearly inspections can uncover problems with chimneys, heating systems, and your roof that could cause major headaches and damage right when the thermometer is plunging. Taking actions early – and keeping an eye out year-round – will give you peace of mind during the winter so you and your family can enjoy a cozy, serene and safe home.
This article is furnished by California Casualty, providing auto and home insurance to educators, law enforcement officers, firefighters, and nurses. Get a quote at 1.866.704.8614 or www.calcas.com.
by California Casualty | Auto Insurance Info, Homeowners Insurance Info |
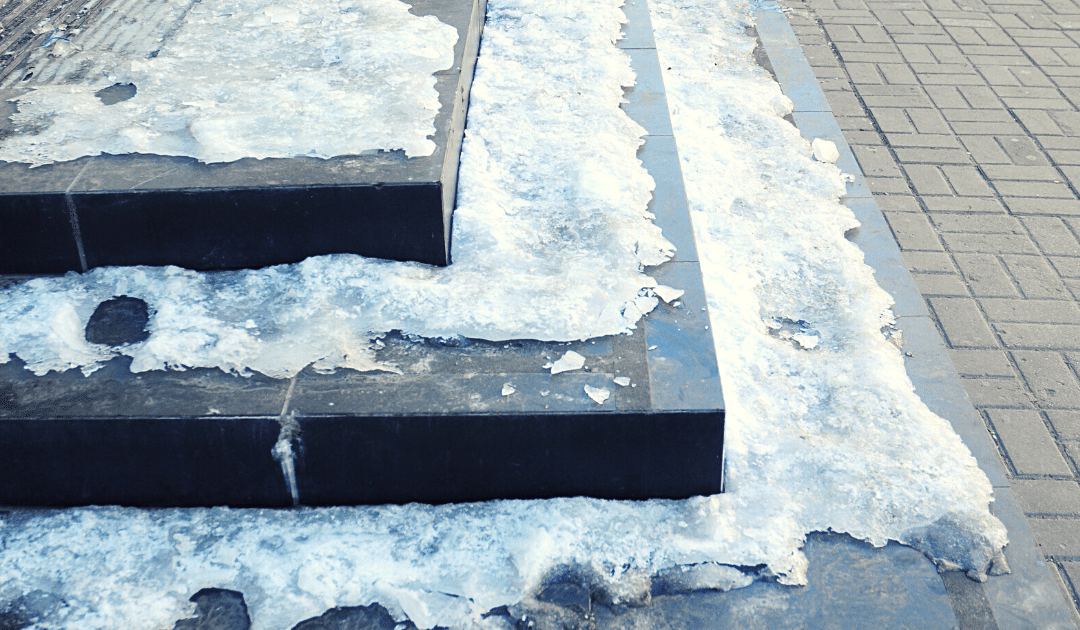
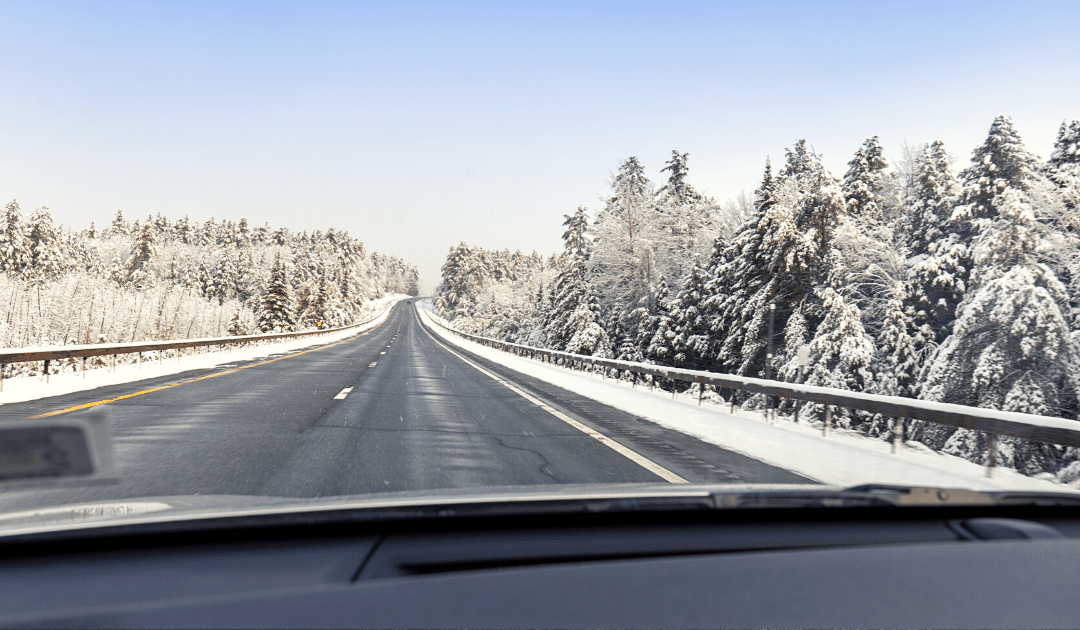
The same winter wonderland scene that gives us soft snowdrifts outside cozy living rooms can also serve up treacherous blizzards, freezes, and black ice.
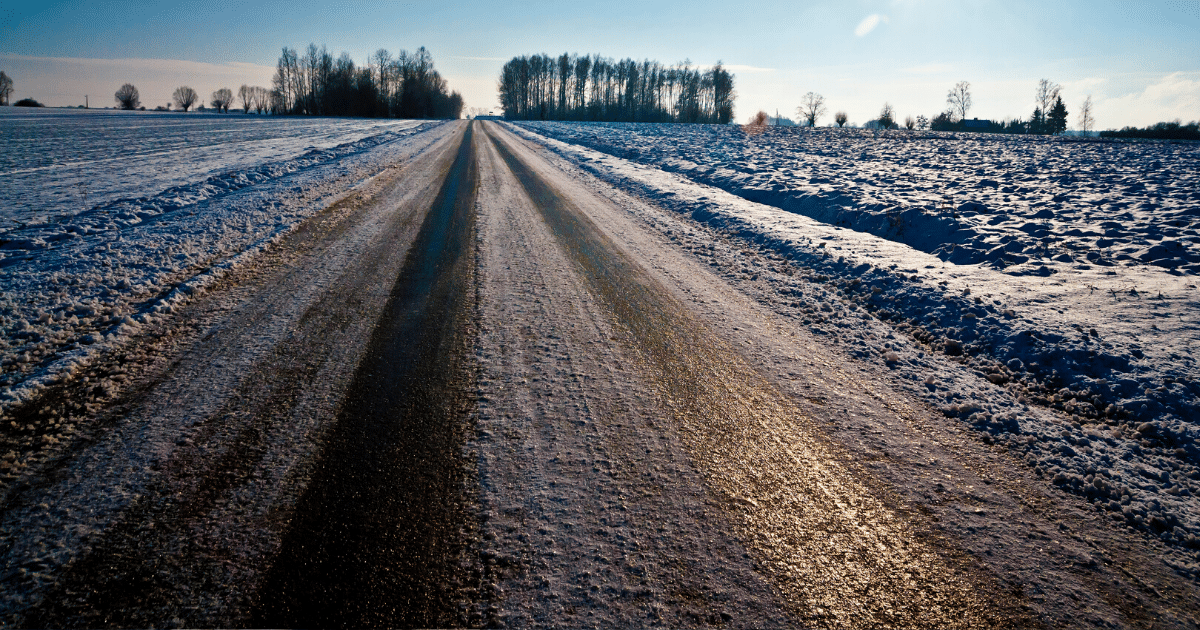
Contrary to its name, black ice is actually clear and forms a frozen “glaze” that coats all kinds of surfaces and can cause slips, falls, and car accidents. It’s incredibly dangerous not only because of how slippery it is but also because it’s so hard to spot. Transparent and thin, it can hide in plain sight.
It frequently occurs on roads, sidewalks, porches, pathways, and driveways – in other words, surfaces we frequent to get where we’re going every day. Here are some ways to stay safe at home and on the road when conditions are ripe for black ice.
At Home
Besides your driveway, you probably have paved walkways or other hard-surfaced paths around your home. These tips will help reduce injury risk when ice is underfoot, and before it forms.
-
- Unblock drains and gutters. This will help melting snow and ice go where you want it to, so it doesn’t freeze on walkways.
- Keep up with snow shoveling. Make sure to keep up with falling snow so that it doesn’t melt and refreeze into a slipping hazard.
- Put out a tarp. If freezing temps are on their way, lay out a tarp or cloth where you want to prevent black ice. This can include your car, porch, pathways, and the driveway.
- Add some grit. You can sprinkle fine gravel, sand, kitty litter, wood ash or coffee grinds on surfaces to reduce slickness. A note of caution that some work better than others and some can leave a mess.
- Consider a snow-melting mat. If you deal with freezing temps very often, you might want to look into heated driveway mats, which can be effective at preventing black ice formation.
- During icy conditions
- Clear out the snow. If snow has fallen, clear it out so the sun can dry the surface rather than melt the snow into ice.
- Consider a de-icer. Use these with caution though (and probably as a last resort), as some can be harmful to pets, your yard, driveway, and the environment. Try not to over-salt, either, for the same reasons.
In the Car
When temps are at or below freezing, avoid driving if you can. But if you have to get on the road, keep these precautions in mind.
-
- Check the tires. Tires are the only part of your car that touches the road. The less tread, the less traction. If they’re getting worn, replace them asap. Better yet, get winter tires.
- Know your brakes. Standard brakes perform differently from anti-lock, or ABS, brakes, so make sure you know what kind you have and how they behave in snowy, icy, and other hazardous road conditions.
- Do a winter safety check. Make sure your vehicle is prepped for winter safety (and stranding as a worst-case scenario!) – follow our tips here.
- Double-check your car kit. All it takes is one small patch of black ice to cause a slide that lands you immobile on the roadside. Check that your emergency winter car kit contains everything you need.
- Warm-up your car. Let your car warm up before getting on the road. When you feel the heat coming through the vents, it’s sufficiently warmed and ready to go.
- Improve your visibility. Make sure you set out with 100% visibility. If your windshield is foggy inside or iced over on the outside, use our tips here to get it cleaned off and clear.
- Take your time. Give yourself extra time to get where you’re going and be sure to drive much slower than you normally would – this will give you and other drivers more time to react if you need to.
- Slow down and increase following distance. Give yourself and other drivers more room than normal – and never tailgate.
- Know what to do in a skid. If your car goes into a skid, do not hit the accelerator or the brakes. Instead, steer gently in the direction of the skid, making sure not to jerk the steering wheel. Get the full step-by-step info here.
Your best bet against injuries caused by black ice is to use an abundance of caution, make prevention a habit and develop a “sixth sense” for spotting this wintertime danger. Stay safe out there!
This article is furnished by California Casualty. We specialize in providing auto and home insurance to educators, law enforcement officers, firefighters, and nurses. Get a quote at 1.866.704.8614 or www.calcas.com.
