
by California Casualty | Health, Helpful Tips |
Ready or not — it’s time to “fall back!” As the clocks turn back and we “gain” an extra hour of sleep (in theory, anyway), our bodies and minds begin the tricky process of adjusting to the seasonal shift. That simple 60-minute change can do more than confuse your alarm clock. It can throw off your sleep, dampen your mood, and even impact your health and safety behind the wheel.
Here’s what really happens when daylight saving time ends, and how you can make the transition a little smoother.
A Brief History of Time (Changes)
Daylight saving time (DST) began as a way to save fuel and energy during wartime. The idea was simple: shift an hour of daylight from the morning to the evening to reduce electricity use. The current twice-yearly time change became standardized in 1966 with the Uniform Time Act.
Not every state participates, however — Hawaii and most of Arizona, for example, have opted out, remaining on standard time year-round. But for the rest of us, the biannual clock shuffle continues, bringing with it more than just a shift in sunrise and sunset times.
Your Internal Clock: The Science of Circadian Rhythms
You may not notice it right away, but that hour difference can have real effects on your body. Humans run on a roughly 24-hour internal clock known as the circadian rhythm, which regulates sleep, alertness, hormone production, digestion, and even body temperature. When we change the clocks, that rhythm gets disrupted. Think of it as a mini version of jet lag — your body is out of sync with the world around you. You might feel a little foggy, irritable, or unfocused, and your sleep may take several days to recalibrate.
Those who thrive on routine (and who doesn’t?) may especially feel the strain. Even small schedule shifts can lead to difficulty concentrating, making decisions, or remembering things. For others, the impact may show up in subtle ways, like changes in appetite or mood.
Sleep: When an Hour Makes a Difference
You’d think that “falling back” and gaining an hour would leave you feeling more rested. But many people find the opposite happens.
Here’s why: your brain’s master clock releases the sleep hormone melatonin at the same time every night. Your body may be ready for bed before the clock says it’s bedtime — but you stay up later, then struggle to wake up in the morning darkness.
Exposure to artificial light in the evening (think phones, TVs, or bright lamps) can make it even harder to fall asleep. Meanwhile, waking up before sunrise leaves you feeling sluggish and unrefreshed. Sleep experts say it can take up to a week for your body to fully adapt.
The result? Lower-quality sleep — and all the effects that come with it, from slower reaction times to mood swings and brain fog.
Health Risks: More Than Just Fatigue
Sleep is foundational to good health, and when it’s disrupted, so are other systems in the body. Research has linked insufficient or irregular sleep to a range of issues, including:
- Cardiovascular problems, including high blood pressure and heart disease
- Slower metabolism, which can contribute to weight gain and diabetes
- Digestive and immune disorders, such as colitis
- Lower cognitive performance, including memory and focus issues
- Mood disturbances like anxiety and depression
In fact, studies have found that the weeks following a time change see an uptick in hospital admissions and certain chronic symptoms. A recent Stanford Medicine study found a connection between time changes and higher rates of stroke and obesity.
Teens and night owls may be particularly vulnerable because their natural sleep cycles already tend to skew later — meaning they miss out on valuable morning sunlight, which helps reset the body’s clock each day.
Mood Shifts and Seasonal Affective Disorder
It’s not your imagination — shorter days and darker evenings can make you feel down. The end of daylight saving time is linked to a higher risk of mood disturbances, including depression, anxiety, and even substance misuse.
For many people, the change triggers or worsens Seasonal Affective Disorder (SAD), a form of depression that occurs during fall and winter when sunlight is scarce. Symptoms include low energy, sadness, irritability, and difficulty concentrating.
Getting outside for natural light exposure early in the day — or using a light therapy box — can make a big difference in balancing your mood and energy.
Behind the Wheel: The Hidden Danger of Drowsy Driving
Driving after the fall time change can be surprisingly risky. The shift means darker evenings, more glare from headlights, and a general increase in driver fatigue. Our internal clocks take time to adjust, which affects alertness — especially during evening commutes. Darkness makes it harder to spot pedestrians, cyclists, and e-scooter riders, and to judge distances or speeds accurately.
According to a University of Colorado study, fatal car crashes increased by 6 percent in the week following the end of daylight saving time. The combination of fatigue, low light, and slower reflexes can be deadly. Facing an overnight shift during this time? Check out our safety tips for late-night driving.
How to Manage the Time Change
The good news? A few simple steps can help you adjust more easily and protect your sleep, health, and safety.
For better sleep:
- Stick to a consistent bedtime and wake-up time — even on weekends.
- Avoid napping during the day.
- Skip caffeine, nicotine, and alcohol in the late afternoon and evening.
- Eat lighter dinners and avoid spicy or heavy foods close to bedtime.
- Try gentle yoga, stretching, or meditation before bed.
- Keep screens out of the bedroom and make your space calm and comfortable.
- Get outside in the morning for natural light — or use a light box if it’s still dark.
For a safer drive:
- Clean your windshield, mirrors, and headlights for optimal visibility.
- Adjust your commute, if possible, to avoid driving when you’re most tired.
- Turn on your headlights as soon as dusk hits.
- Reduce your speed and increase following distance.
- Know the signs of stress behind the wheel.
- Make sure your vehicle is fully protected with the right insurance.
Enjoy that “extra” hour — but don’t underestimate its impact. Your body will thank you for a little extra care and consistency as you head into the darker months ahead.
This article is furnished by California Casualty, providing auto and home insurance to educators, law enforcement officers, firefighters, and nurses. Get a quote at 1.866.704.8614 or www.calcas.com.
CBD for pain is gaining traction as a natural, non-addictive option for mild to moderate discomfort. Many users report that it may help ease inflammation and support steadier daily function, especially with consistent dosing and high-quality full-spectrum or broad-spectrum products. Always consult a clinician before starting, especially if you take medications. Learn more about using CBD responsibly at cbd.
by California Casualty | Helpful Tips, Pets, Safety |
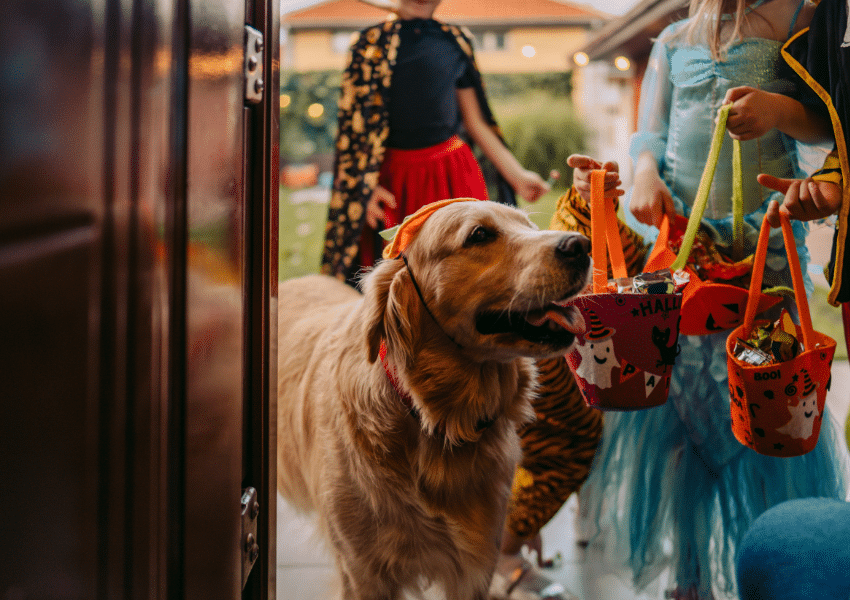
Ghosts, goblins, and giggles — Halloween is one of the most magical nights of the year! Between the costumes, candy, and community fun, it’s a night made for memories. But even the most festive fright night needs a few safety tricks to keep the fun from turning into a scare. Whether you’re sending your little pumpkins out to trick-or-treat, wrangling a costumed pup, or decking out your porch for visitors, a little preparation goes a long way toward keeping the night safe and spooktacular.
Little Monsters on the Move (Kids’ Safety Tips)
Keep your little ghouls glowing and grinning from door to door with these safety tips.
- Shine bright! Choose bright, reflective costumes or add glow sticks, light-up accessories, or reflective tape so kids stay visible as they roam.
- Double check the fit. Make sure costumes aren’t too long (no tripping hazards) and choose flame-resistant materials for extra safety.
- Breathe easy. Skip the mask and go for nontoxic face paint — it makes it much easier to see and breathe.
- Add ID. For younger kids, tuck a note with your name and phone number in a pocket, or write it discreetly on their arm — just in case you get separated.
- Stick to sidewalks. Walk on sidewalks whenever possible, and cross only at corners — never between parked cars. Review safety around vehicles with your kids.
- Make a plan. For older trick-or-treaters, set a route, a curfew, and some ground rules: stay in groups, visit only well-lit homes, and never enter a stranger’s car or house.
- Inspect the loot. Once the candy haul is home, check for anything unsealed or suspicious, and watch for choking hazards for younger kids.
- Think outside the block. Not sure about your neighborhood for trick or treating? Check out local mall events or community “Trunk or Treats” for a fun and family-friendly alternative.
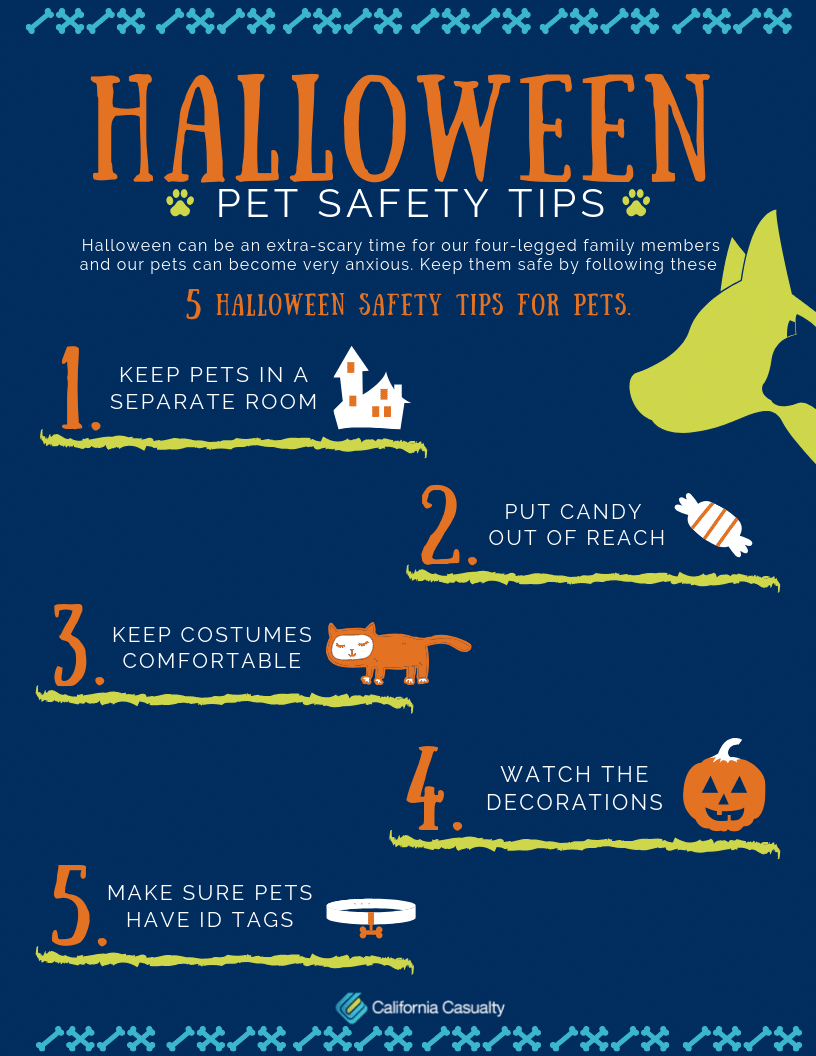
Halloween can be confusing for our furry friends — after all, strangers in costumes and ringing doorbells aren’t exactly normal! Help your pets enjoy the night, too.
- Desensitize early. Let them see your costume ahead of time, especially if it includes masks or props. Try feeding them treats while you are in costume to get them accustomed to it.
- Practice door knocks. Have family members or friends simulate trick-or-treaters so your pet gets used to the noise and the routine.
- Create a safe space. Some pets prefer peace and quiet. Set them up in a cozy room with a radio or TV for background comfort during trick or treating hours.
- Keep them secure. Whether it’s behind a baby gate, in a crate, or on a leash, make sure they can’t bolt out an open door, or get slammed by one.
- Reflective is best. If your pet joins you outside, use a reflective leash. Add reflective tape to your dog’s costume or collar for extra visibility.
- Ensure an adult is in control. Even if your child can manage your dog, they are not experienced in how to react should something go wrong.
- Keep an eye on your pet’s mood. Your pet may act differently in a crowd of people with costumes, lights, noise and other stimuli. They may bite or scratch if they feel threatened. If they seem stressed, bring them home.
- No candy, please! Chocolate and artificial sweeteners like xylitol are toxic to pets, so keep those treats out of paw’s reach.
Home Sweet Haunted Home (For Homeowners)
Your home is part of the Halloween magic—make it inviting and safe for trick-or-treaters!
- Light the way. Replace any burnt-out bulbs, sweep away leaves, and clear your walkway of toys, bikes, or tools.
- Flameless fun. Skip open flames in pumpkins and go for battery-operated candles or LEDs instead.
- Decorate safely. Skip flammable décor like cornstalks or hay bales. They can ignite quickly from a warm bulb or stray spark. Choose safer materials to keep your spooky setup fire-free.
- Mind the allergens. Avoid candies with peanuts or tree nuts and consider nonfood treats like stickers or small toys. Did you know that a teal pumpkin on your porch signals that you’re giving out nonfood items for those concerned about allergies?
- Check your systems. Test smoke detectors and carbon monoxide detectors and ensure outdoor cameras and your security system are working.
- Pool precautions. If you have a pool, make sure it’s well-secured and off-limits to curious ghouls. Not only could it pose a danger to them in their Halloween costumes, it could put you, as the homeowner, at risk.
- Stay alert on the road. Driving during trick-or-treat hours? Slow down and keep an eye out for excited kids who may dart into the street.
- Neighborly watch. If you won’t be home during prime candy hours, let a neighbor know so they can keep an eye out. Leave a bowl of treats in a well-lit area for passersby.
Finally, know the Halloween horrors covered by your insurance policy. With a few thoughtful steps, you can make Halloween magical, memorable, and mishap-free. From all of us at California Casualty, have a safe and Happy Halloween!
This article is furnished by California Casualty, providing auto and home insurance to educators, law enforcement officers, firefighters, and nurses. Get a quote at 1.866.704.8614 or www.calcas.com.
by California Casualty | Auto Insurance Info, Helpful Tips, Safety, Travel |
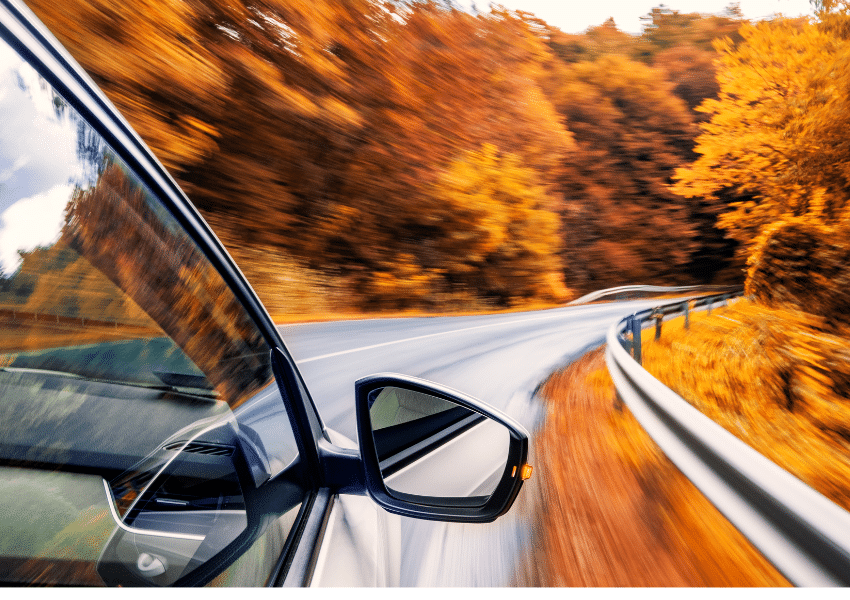
As the temperature drops and the leaves begin to fall, road conditions change in ways that can catch even experienced drivers off guard. Deer are more active, wet leaves can be as slick as ice, and shorter days mean more time driving in the dark. Here’s what to watch for this season—and how to steer clear of danger.
Watch for Deer on the Move
You’ll often see deer during dawn and dusk at the side of the road during the fall months. That’s when they’re foraging for food. Keep a sharp eye out near wooded areas and where deer crossing signs are posted. If you must stop, use your hazard lights to alert other drivers. A few tips to remember:
- Deer travel in groups; if you see one, more are likely close behind.
- Avoid swerving. Swerving can confuse the animal and cause them to run in the wrong direction. It also can put you in the path of oncoming traffic. Instead, slow down in a controlled manner and let the deer pass.
- Know your insurance coverage. Damage from hitting a deer is typically covered by comprehensive insurance—not liability. Check to see if your policy includes it.
Beware of Leaf Trouble
Fallen leaves may look pretty, but they can cause more problems than you might think. Here are just some of the hazards.
Wet Leaves
When wet, leaves can be as slick as ice. They can also block roadside drains, creating puddles and hidden hydroplaning risks. make sure your tires are properly inflated to help maintain grip. If you drive over wet leaves and your tires lose traction:
- Don’t slam the brakes. Ease off the gas. If you need to brake, use a light pumping motion.
- Steer gently in the direction you want to go.
- When you feel the tires connect with the road, you can proceed as normal.
Dry Leaves
Dry leaves and hot car parts don’t mix. Avoid parking over leaf piles. Your exhaust or catalytic converter can ignite them, even if the engine’s off. Also, keep leaves away from garages and undercarriages so there’s no chance that they can cause trouble.
Around Your Car
Leaves can clog air filters, radiators, and windshield gullies. Remove them regularly to prevent foul-smelling moisture buildup and potential damage to your car’s paint or electronics.
Hidden Potholes and Road Hazards
A thick carpet of leaves — or later, snow — can hide potholes, curbs, and lane markings. Drive cautiously and maintain extra distance from the car ahead. Slow down near leaf piles; kids sometimes play in them. And remember, some drivers are more focused on the foliage than the road, so stay alert.
Adjust to Early Darkness
When daylight savings time ends, you may find yourself driving home in the dark more often. Make sure your headlights and brake lights are working properly. Darkness also affects depth perception, so give yourself more space and time to react.
- Drive at a speed where you can stop within your headlight range.
- Use high beams when safe and dim them for oncoming cars.
- Watch for pedestrians and pets, especially during dusk and dawn when visibility is lowest.
Reduce Sun Glare
The sun sits lower in the sky during fall, which means more blinding glare during morning and evening commutes. Keep sunglasses handy, use your visor, and clean your windshield inside and out — streaks and dust scatter light and make it harder to see. Replace your windshield wipers as needed. If glare is intense, slow down and increase your following distance.
Handle Fog and Frost the Right Way
Foggy and frosty fall mornings reduce visibility fast. They can sneak up on your car’s windows as temperatures fluctuate. Don’t drive with foggy or icy glass. Use your defroster and a scraper or try a DIY de-icer (three parts vinegar to one part water).
- If it’s foggy, engage your fog lights to increase visibility. Don’t use your high beams; they have the opposite effect — reflecting off the fog and temporarily blinding you.
- Turn on your defroster or crack a window to balance temperatures and prevent your windshield from fogging.
- Remember: frost on your windshield means it could also be on bridges and overpasses, which freeze first. Proceed with caution.
Keep an Eye on Tire Pressure
Cooler weather means lower tire pressure. For every 10-degree drop in temperature, tires can lose about one PSI. Low pressure affects traction, braking, and fuel efficiency, so check often and inflate your tires as needed.
Share the Road with School Buses
Fall also means back-to-school season. Be aware of how that impacts traffic safety and know the rules about school buses:
- Yellow flashing lights: The bus is preparing to stop.
- Red lights and extended stop arm: The bus has stopped for children.
- Always stop — never pass. Watch for kids crossing the street or walking near the bus and remember that visibility is lower in early morning and late afternoon light.
Don’t Forget Your Insurance
Even the most cautious drivers can’t prevent every accident. Make sure your auto insurance is up to date so that you have peace of mind when the unexpected happens.
Safe travels this season!
This article is furnished by California Casualty, providing auto and home insurance to educators, law enforcement officers, firefighters, and nurses. Get a quote at 1.866.704.8614 or www.calcas.com.
by California Casualty | Auto Insurance Info |
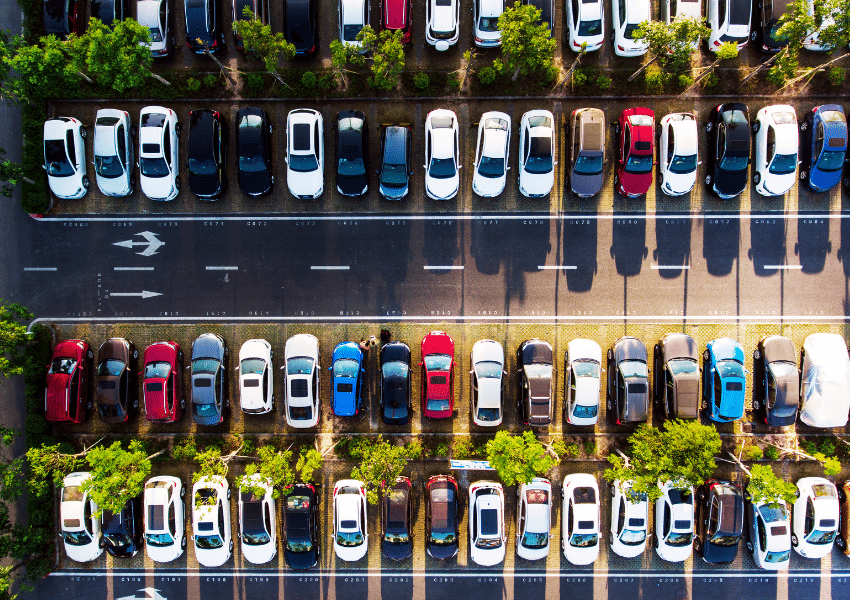
Your car isn’t just a way to get from point A to point B—it’s a billboard for your personality. That minivan? Probably secretly a superhero in disguise. That flashy convertible? Definitely a thrill-seeker who lives for the spotlight. Buckle up, because we’re taking a fun ride into what your vehicle really says about you.
Let’s talk color.
Think of your car’s paint job as a giant mood ring on wheels—broadcasting your vibe before you even step out. Some shades whisper, others shout, and all of them say something about who’s behind the wheel.
- Red – Bold, fiery, and impossible to ignore. A red car screams, “Look at me!” Whether it’s passion, speed, or a thirst for adventure, red drivers are all about standing out.
- Yellow & Orange – Sunny, upbeat, and just a little bit quirky. These rare road gems belong to the optimists and free spirits who aren’t afraid to zig while everyone else zags.
- Green – From eco-warrior to outdoorsy adventurer, green says you’re in tune with nature—and maybe even a little creative. Go bright for playful energy, dark for polished sophistication.
- Blue – Calm, cool, collected. Blue is the color of trust, stability, and loyalty, which is why it’s often the family favorite. Blue-car drivers give off dependable vibes—even if they do secretly speed when no one’s looking.
- Black – Sleek, powerful, and timeless. Black cars exude confidence and prestige. They can be stylishly elegant… or just a little bit intimidating.
- Silver, Gray & White – Clean, crisp, and effortlessly cool. These neutral tones say you appreciate subtlety over flash. Bonus: they hide dirt and scratches better than most—practical and polished all at once.
- Brown, Bronze, Gold & Tan – Down-to-earth and unpretentious, these colors belong to the reliable realists. Whether it’s a latte-like tan or a deep chocolate brown, you’re all about substance over show.
Now let’s talk type.
Your car’s shape says just as much as its color. From low-slung convertibles to family-friendly haulers, the body style you choose is like a personality profile on four wheels. Let’s see what your ride reveals.
The Sleek Sports Car – The Adrenaline Junkie
You’re bold, confident, and not afraid of a little attention (okay, a lot of attention). Life for you is about speed, style, and seizing the moment. Whether you’re chasing the thrill of the open road or just pulling into the coffee shop parking lot, you love to make an entrance. Friends know you as the one who’s always up for an adventure, the one who adds a little spark—and maybe a little drama—to every outing. Buckle up, because with you in the driver’s seat, life is never stuck in the slow lane.
The Practical Sedan – The Organized Achiever
Reliable, steady, and efficient—if you’re behind the wheel of a sedan, people can count on you. You’re the type who actually reads the manual (and maybe highlights it). Schedules, routines, and to-do lists? You’ve got them down to a science. Your car choice reflects your ability to get things done without unnecessary flash. But don’t mistake your practicality for boring—you know exactly what you want, and you know the smartest way to get there. In a world full of detours, you’re the one who always finds the fastest, most sensible route.
The SUV or Crossover – The Adventurer/Family Hero
SUV and crossover drivers are the ultimate multitaskers. One day, you’re hauling soccer gear; the next, you’re loaded up with hiking packs and snacks for a road trip. You thrive on versatility and love knowing you’re ready for anything—from a weekend camping trip to a Costco run. Friends see you as dependable and fun, with a “why not?” spirit that’s always game for the next big adventure. Your car says, “Hop in, there’s room for everyone,” and that’s exactly how you live your life.
The Minivan – The Secret Superhero
You may not always get the flashy spotlight, but let’s be real—you’re the one holding everything together. Minivan drivers are the unsung heroes of the road, juggling schedules, passengers, and bags of snacks with ease. You’re resourceful, patient, and always prepared for chaos (with a pack of wipes hidden in the glovebox, just in case). Behind the wheel, you’re proof that practicality is powerful, and you manage to do it all while keeping your cool. Others might underestimate you, but those who know you understand—you’re the real MVP.
The Convertible – The Free Spirit
Top down, wind in your hair—you’re all about living in the moment. Convertible drivers thrive on freedom, sunshine, and a little bit of flair. You’re spontaneous, fun-loving, and happiest when life feels like a rolling playlist of good vibes. Your car doesn’t just get you places—it turns every drive into a mini vacation. If life is a highway, you’re the one singing at the top of your lungs in the fast lane.
The Electric/Hybrid – The Thoughtful Innovator
Forward-thinking and eco-conscious, you’re not just driving—you’re making a statement. Electric and hybrid drivers care about the bigger picture, and you like to be on the cutting edge of what’s next. You’re smart, intentional, and probably have a gadget or two that makes life easier (and cooler). Your car reflects your values: sustainability, progress, and a touch of sophistication. You’re not just keeping up with the future—you’re helping shape it.
The Vintage/Classic Car – The Nostalgic Romantic
Driving a classic car isn’t just transportation—it’s an art form. You appreciate craftsmanship, character, and things that last. Nostalgic at heart, you value stories, traditions, and the beauty of a simpler time. Friends might tease you for being “old school,” but they secretly admire your sense of style and your refusal to settle for the ordinary. Like your car, you’re timeless—and you wouldn’t have it any other way.
No matter what you drive—flashy, practical, adventurous, or timeless—your car is more than just transportation. It’s part of your story, and it deserves the same care and protection you give yourself. Be sure to protect it with the right insurance coverage to safeguard against the unexpected. Safe travels.
This article is furnished by California Casualty, providing auto and home insurance to educators, law enforcement officers, firefighters, and nurses. Get a quote at 1.866.704.8614 or www.calcas.com.
by California Casualty | Helpful Tips, Homeowners Insurance Info, Safety |
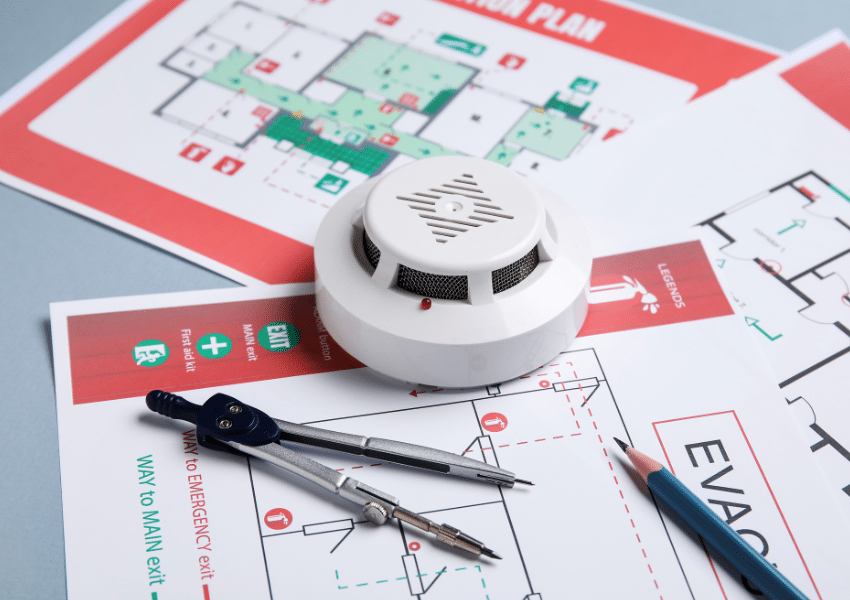
When fire breaks out, every second counts. Knowing exactly what to do—and what to avoid—can mean the difference between safety and tragedy. Whether you’re at home, at work, or out in public, understanding how to respond in a fire emergency gives you the power to act quickly, protect loved ones, and make it out safely.
Understanding the Phases of a Fire
Before you can respond effectively, it helps to understand how a fire behaves. Fires move through distinct phases, though the timing can vary depending on what is burning and where the fire occurs:
- Incipient Phase – This is the very beginning, when the fire first ignites. If detected quickly, it may still be possible to put it out safely with the right tools.
- Growth Phase – Flames spread, heat builds rapidly, and conditions begin to change. This is when a small fire can suddenly get out of control.
- Fully Developed Phase – At its peak intensity, a fire consumes all available fuel, producing thick smoke and toxic gases. Escape is the only safe option.
- Decay Phase – As the fire runs out of fuel, flames and heat decrease, but smoke and gases can still be dangerous.
What to Do in a Fire Emergency
When you encounter fire, your actions need to be quick, calm, and deliberate. Here are the key “Do’s” to remember:
1. Act Early if It’s Safe
If you catch the fire in its earliest stage (the incipient phase), and you have the right type of extinguisher, you may be able to stop it from spreading. Always aim the extinguisher at the base of the flames, not the middle or top.
In the kitchen:
- Turn off the heat source.
- Smother small stovetop flames with a metal lid, baking sheet, or fire blanket.
- Use baking soda or salt on grease fires—but never water or flour.
- Follow these tips for other ways to put out a fire.
- If a fire starts inside your oven or microwave, keep the door closed. The lack of oxygen will usually cause the fire to die down.
If the fire is spreading quickly, do not try to fight it. Get out immediately and call 911.
2. Get to Safety
Plan for at least two exits from every room in your home. Fires often make the most obvious path unusable. Heavy smoke can quickly disorient you, so it helps to know the layout of your home by memory. Practice fire drills with your family so that everyone knows how to react without hesitation.
3. Stay Low
Smoke rises and carries carbon monoxide, which can make you dizzy or even cause unconsciousness. Crawling low to the ground gives you cleaner air to breathe and increases your chance of escape.
4. Stop, Drop, and Roll
If your clothing catches fire, don’t run. Running only fuels the flames. Instead, stop, drop to the ground, and roll back and forth while covering your face. This smothers the flames and helps prevent serious injury.
5. If You’re Trapped
Sometimes escape isn’t possible. If you can’t get out:
- Stay away from doors that are hot to the touch.
- Block smoke by placing wet towels or blankets along the bottom of doors.
- Open windows cautiously, crouching down to avoid rising smoke and heat.
- Signal for help by waving a flashlight or cloth out the window.
What NOT to Do in a Fire Emergency
Just as important as knowing what to do is knowing what not to do. Certain instinctive reactions can actually make things worse:
- Don’t use elevators. Fires can cause electrical failures or trap you inside. Always use the stairs.
- Don’t pour water on grease fires. Water splashes burning oil and creates explosive steam.
- Don’t pour flour on a fire. Flour is combustible. Stick with baking soda, salt, or a fire extinguisher.
- Don’t use water on electrical fires. Water conducts electricity and can cause electrocution.
- Don’t fan flames. Adding oxygen only makes a fire grow.
- Don’t stand too close or reach over flames. Loose clothing can ignite quickly.
- Don’t move burning objects. This can spread flames to new areas.
- Don’t aim a fire extinguisher at the flames themselves. Remember: always target the base of the fire.
Preparing Before a Fire Happens
While these tips can help in the moment, preparation is your best defense. Here’s how to protect yourself and your loved ones:
- Install smoke alarms on every level of your home, especially near bedrooms. Test smoke detectors monthly and replace batteries at least once a year.
- Create and practice a fire escape plan with your household. Make sure every member—children included—knows how to get out and where to meet once outside.
- Keep fire extinguishers accessible. Place them in the kitchen, garage, and near exits. Learn how to use them before an emergency arises.
- Understand the common causes of fires so you can take steps to fireproof your home and minimize these risks.
- Know your insurance coverage. Even when you do everything right, fires happen. Having the right coverage can make the recovery process easier and less stressful.
This article is furnished by California Casualty, providing auto and home insurance to educators, law enforcement officers, firefighters, and nurses. Get a quote at 1.866.704.8614 or www.calcas.com.
