by California Casualty | In Your Community |
Every year, Impact Teen Drivers and California Casualty offer enrolled students, ages 14 to 22, the opportunity to win prizes for their original works (creative writing, video, graphic design, or music) showcasing creative solutions for preventing the #1 killer of their peers –reckless and distracted driving.
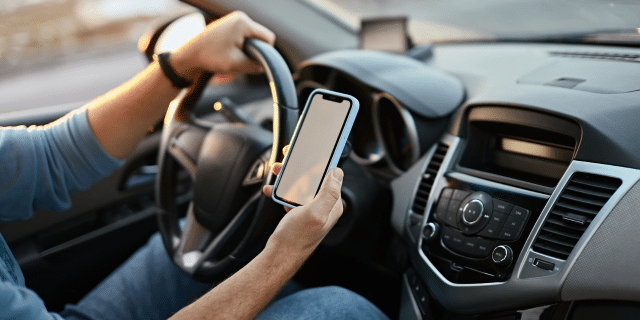
Distracted driving is anything that takes a driver’s eyes off the road, hands off the wheel, mind off driving, or keeps ears from being alert to surroundings. Commonly referred to as accidents, these crashes are actually 100% preventable.
The Create Real Impact contest is a proactive movement to reduce poor decision making and inattentive driving by 16 to 19-year-olds that has become an epidemic. Empowering messages from young people urging their peers to adopt safer driving attitudes and avoid the tragic result of bad choices behind-the-wheel can save lives.
The Fall 2020 Create Real Impact contest winners were recently selected.
Prizes are awarded by a panel of qualified judges based on the following weighted criteria: 25% concept/creativity; 25% execution of the idea; 50% effectiveness of the message emphasizing solution(s).
The following students will receive $1,500 Grand Prize educational grants for their entries:
-
- Jessie M., Sunbury, PA, in the music category for the work titled, “Some Things Change”
- Andre M., Halethorpe, MD, in the video category for “Don’t Drop the Ball”
- Erika A., Honolulu, HI, in the creative writing category for “A reverse poem of the preventable killer of teens – distracted driving”
- Mayumi D., Las Vegas, NV, in the graphic design category for the piece “No Distraction is Worth Risking Your Life”
Guohang (Henry) Z., Rowland Heights, CA, received $500 as the first runner-up for his video, “JUST DRIVE! (it’s free!)”
These students won for their works in Spanish:
-
- Fiorella M., Doral, FL, in the Spanish language category for the video “Create Real Impact- Como Prevenir Manejar con Distracciones” – a Judges Pick, receiving $1,000
- Alejandra B. Cheyenne, WY, for “Vale la pena?” – Honorable Mention Spanish Graphic Design, receiving $250
- Belen T., Salinas, CA, for “Informacion Para Padres De Conductores Adolecente” – Honorable Mention Spanish Video, receiving $500
These students had the most online votes for their submitted works. Each will receive $500 in grant funds:
-
- Maxwell R., Boston, MA, in the music category for “I Don’t”
- Gaby G., Bergenfield, NJ, in the video category for “Choose Today to Have a Tomorrow”
- Annaka T., Lemoore, CA, in the creative writing category for the piece “Anything can happen in a matter of a second”
- Alec B., Aptos, CA, for a graphic design submission titled, “It’s the mindset”
The 2021 Create Real Impact contest will kick off in January. Entries will be taken at www.createrealimpact.com. For more information on how to get schools and students involved, please contact [email protected].
About Impact Teen Drivers
Impact Teen Drivers was founded in mid-2007 by the California Association of Highway Patrolmen, California Casualty, and the California Teachers Association. The organization has emerged as a leading non-profit organization dedicated to reversing the pervasive yet 100% preventable crisis of teens killed in car crashes. ITD’s mission is to develop, promote, and facilitate evidence-based education and strategies to save lives and reduce injuries and fatalities caused by reckless and distracted driving. To learn more visit www.ImpactTeenDrivers.org or send an email to [email protected]
This article is furnished by California Casualty. We specialize in providing auto and home insurance to educators, law enforcement officers, firefighters, and nurses. Get a quote at 1.866.704.8614 or www.calcas.com.

by California Casualty | Pets, Safety |
Halloween can be an extra-scary time for our four-legged family members. Our pets don’t understand why the doorbell keeps ringing or why strange creatures- that kind of resemble humans- keep yelling and trying to come into their house and yard. These factors and...

by California Casualty | Auto Insurance Info, Safety |
Stopping the texting habit can be really hard. We’re glued to our phones seemingly 24/7, and the alerts, dings, and chimes make them irresistible even when we’re behind the wheel.
This dangerous yet pervasive habit is causing some sobering statistics: 1.6 million crashes each year, with almost 390,000 injuries and more than 2,800 deaths.
Technology’s not going away anytime soon and self-driving cars are still off in the future – so how do we stop texting? Let’s look to psychology for some guidance – specifically, to some mental hacks to kick a habit.
How Habits Form
For a habit to become ingrained, a “habit loop” must first become established. This loop has 3 elements:
- This is the trigger that tells your brain to do something, like grabbing the phone when you hear a text chime. It’s often automatic—we don’t even realize we’re doing it.
- This is the behavior or action itself. Here, it’s picking up the phone and typing out a text reply.
- If there’s a reward after the behavior, it strengthens the habit loop. In this case, that might be an actual or anticipated reply, or the satisfaction of sending off that text that you keep meaning to send.
No wonder habits are so “sticky”—each step reinforces the next. Understanding how it works in your life is key to breaking the habit and forming a new one. It just takes a little self-awareness and a commitment to change.
Breaking the Habit Loop
By disrupting one or more components of the loop, you can transition to a life of text-free driving.
1.Review Your Cues: Figure out what’s making you reach for your phone.
-
-
- If you can’t ignore the sound alerts, turn your phone to silent and stash it out of sight (or better yet, out of reach).
- Install an app that silences your phone while you’re driving. These apps detect when your car is in motion and automatically silence it for the duration. Options include Not Disturb While Driving (iphones), Driving Detective for Android, or Google’s Android Auto.
- If your cue is boredom, practice mindfulness (a great skill for all aspects of life).
2. Refresh Your Routine: A few tweaks could make a big difference.
-
-
- Send texts before you leave, then put away the phone.
- If you have a passenger with you, have them be your thumbs.
- Sign off a conversation with X or #X, which means you’re driving.
- Let your 5 closest contacts know you’re changing it up. Most of our communications are just with them.
3. Reframe Your Rewards: Really contemplate the risks of texting while driving.
-
-
- Think back to a texting close call. Think through the worst-case scenario. Now write it down and keep it in plain view in your car. Read it every time you get in.
- Whenever you feel a temptation to reach for your phone, think of who would be devastated if you were to crash while texting.
- When not reaching for your phone, embrace the feeling of not being anxious and distracted.
Want to really kickstart your commitment? Sign The National Safety Council’s Just Drive pledge.. If you have young drivers at home, team up, and make the commitment together (and get safe driving tips for them here).
This article is furnished by California Casualty. We specialize in providing auto and home insurance to educators, law enforcement officers, firefighters, and nurses. Get a quote at 1.866.704.8614 or www.calcas.com.

by California Casualty | Auto Insurance Info, Safety |
Teen drivers are the most accident-prone of all drivers because of one major factor: inexperience. In fact, their first 6-12 months of solo driving is the most dangerous stretch of their lifetime as a licensed driver.
Because they’ve logged far fewer hours compared to other drivers, they are less able to predict – and properly respond to – hazards, sudden changes in traffic and erratic behaviors by other drivers. They also typically haven’t made a habit of defensive driving techniques, leaving them vulnerable to making wrong decisions in the moment.
If you have a young driver (or soon-to-be licensed driver) in the house, as a parent, your years of driving experience are an invaluable asset. Here are some ways you can leverage that knowledge and expertise to help boost your teen’s safe driving know-how.
The Learning Permit Phase: A Golden Opportunity
Many new teen drivers complete their learner’s permit training lacking important real-world driving skills. You can help your teen shore up that deficit by serving as co-pilot in a range of driving scenarios and situations during the permit phase. By exposing them to – and coaching them through – diverse experiences behind the wheel, you will help them become a confident, safe and independent driver.
Although you may feel more secure behind the wheel, here are some driving scenarios that teens need to experience.
1. Bad Weather
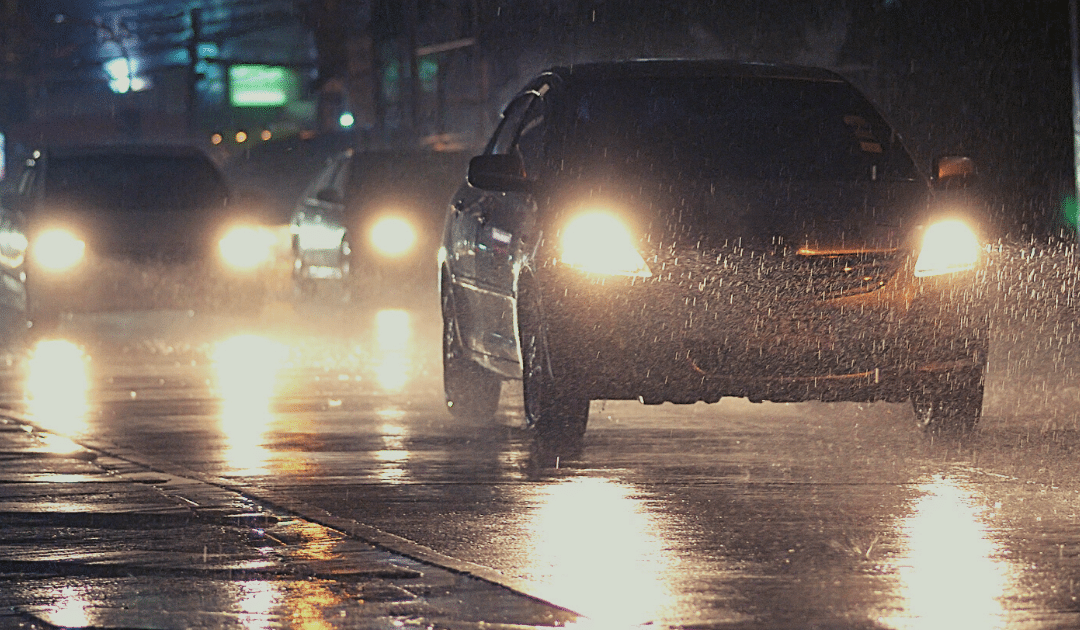
There’s a big difference between answering driver test questions about how to handle bad weather and how to actually do it in the moment. When possible, have your teen drive you during the following weather events.
- Snow
- Wind
- Heavy rain
- Sleet
2. Different Roads
Different roadways (and intersections) call for different driving skills and techniques. Ditto for traffic situations. Expose them to as many as you can, including:
- One-way roads
- Two-lane roads with high-speed limits
- Peak commute traffic
- Multi-lane highways and interstates
- Congested roads in urban centers
- Residential streets
3. Day, Night, and Everything in Between
Bright light at dawn and sunset, as well as low light at dusk, affects drivers’ visibility and also influence traffic patterns and behaviors. Practice driving with your teen at different times of day and night. Coach them on the adjustments they need to make in terms of following distance and defensive driving, as well as personal adjustments with visors, sunglasses, headlights, and more.
4. Switch up passengers
For a new driver, devoting their full attention to driving and the road is incredibly important. Knowing that your teen won’t be driving alone forever, why not invite another family member or friend along so your teen can start strengthening their “focus muscles”? Distractions are a major cause of accidents among teens, so the sooner they can begin successfully managing distractions while driving, the better.
5. Different cars
If your family has multiple cars, have your teen practice in each of them. Sedans drive much differently from SUVs, and stick shifts from automatics, etc. – all are good for them gaining familiarity with a variety of vehicles.
Teen Drivers’ Most Common Errors
In addition to exposing your young driver to a range of on-the-road experiences, be sure to also help them cultivate good driving habits. Here are the top errors that inexperienced drivers make – keep an eye out for them and coach your teen along the way.
- Lack of scanning – Inexperienced drivers typically detect hazards later than more experienced drivers and may be unsure how to react. Left turns are especially dangerous for them.
- Distractions – No matter whether they come from inside or outside the vehicle, distractions are a common reason for teen crashes.
- Speeding – This includes driving too fast for road conditions or weather as well as inadequate braking. This error commonly ends in rear-end events.
- Tailgating – Inexperienced teens haven’t yet gained a feel for safe cushion distances and can easily follow other vehicles too closely.
Teens need extra time and experience to master good driving skills. By accompanying them in a variety of driving settings and conditions – as well as lending your years of expertise – you’ll help them develop critical skills for more safely navigating our roadways. For more teen driver safety tips, click here.
This article is furnished by California Casualty. We specialize in providing auto and home insurance to educators, law enforcement officers, firefighters, and nurses. Get a quote at 1.866.704.8614 or www.calcas.com.

by California Casualty | Auto Insurance Info |
Car crashes are the number one cause of death for teens, with drivers aged 16-19 the most likely to be in a fatal car crash of all drivers.
Teens’ inexperience behind the wheel is a primary reason for these tragic statistics. Another is reckless and distracted driving – unfortunately, exhibited by many drivers but especially problematic for younger drivers.
As parents, educators, and adults in teens’ lives, we have an important role to play in helping reduce these preventable deaths.
Teens & Distracted Driving
Because of their driving inexperience, teens are much more likely to engage in distracted driving – which is any activity that distracts their attention away from driving and the road.
Distractions can be visual, manual, or cognitive. Examples are eating food, fiddling with the stereo, applying make-up, engaging with passengers, or reaching for things in their car. Far and away, the biggest one is cell phones: texting, emailing, watching videos, talking.
What You Can Do
As adults in teens’ lives, we have a great opportunity to lead by example, encourage responsible behaviors, and support teens in developing safe driving habits.
- Parents – As a parent, you may have more influence than you think: Teens who say their parents set rules and gave advice in a supportive, helpful way are 50% less likely to crash. Here are some things you can do:
-
- Set an example by practicing safe, non-distracted driving every time you get in the car.
- Talk to your teen about the rules of the road, responsibilities of being a licensed driver, and statistics about distracted driving. Look up your state’s penalties for using the phone while driving and inform them that in states with graduated driver licensing, a violation could mean a suspended license.
- Take the pledge. Have everyone in your family sign a pledge to drive distraction-free (resources below).
- Set consequences for distracted driving, which could include suspension of driving privileges and/or their phone.
- Encourage your teen to be an ambassador of safe driving with their peers. Teens are often the best messengers to their peers.
- Teachers/educators – Teachers have a unique opportunity to add important safety messaging during their class day. Look for resources (see below) for the classroom – whether that’s remote or in-person. Model safe driving whenever you drive.
- Employers – If you have young employees, promote a culture of safe driving. Car accidents are the leading cause of on-the-job deaths. Set policies for cell phone use in the workplace and educate staff members about safe-driving habits.
- Law enforcement officers – Peace officers are on the front lines of keeping our roads safe and have an outsized influence in reinforcing safe driving habits whenever dealing with young drivers.
- Community members – As a member of your community, take advantage of all the ways you can help keep teen drivers safe. Drive safely every time you get into the car, advocate for teen drivers, join pledges, and make your support visible.
Pledges and Resources
Whether at home, in the classroom, or at the workplace, use the resources below to reinforce safe driving messaging.
- Safe driving pledges
- Resources
-
- Impact Teen Drivers has abundant resources for teachers, including videos, posters, and lesson plans. Also, check out their contest for teens to use their creativity to communicate the importance of safe driving. (Disclaimer: California Casualty is a founding sponsor of this important organization – read more
- TextLess Live More – a student-led, peer-to-peer advocacy group focused on ending distracted driving.
- Traffic Safety Marketing offers downloadable materials for National Teen Driver Safety Week: general safety resources as well as some specifically for distracted driving.
- The Centers for Disease Control and Prevention offers resources for parents, pediatricians, and community partners to keep teen drivers safe on the road.
Reducing needless teen deaths from car crashes is a cause we can all take part in. One of the most important things you can do is to lead by example. Together we can end distracted driving.
This article is furnished by California Casualty. We specialize in providing auto and home insurance to educators, law enforcement officers, firefighters, and nurses. Get a quote at 1.866.704.8614 or www.calcas.com.


