by California Casualty | Auto Insurance Info, Safety, Travel |
Whether you’re making the trek to visit relatives for the holidays or finally taking that delayed summer getaway, you may be getting ready to hit the open road again.
Of course, a road trip during a pandemic is quite different from our carefree road trips of the past. But with some prep work, some new safety habits, and a go-with-it attitude, you can still make your trip memorable and safe.
Service and Prep Your Vehicle
You want to be comfortable and safe on your trip, so put your mind at ease by giving your car a little love before heading out.
-
- Get it serviced. Schedule your car for a full service and inspection, which may include oil change, fluids check and top-off, tire check, brakes, etc.
- Double-check the emergency kit. Add, update, and replace items as needed. Use our handy essentials emergency kit article as your guide. Make sure it includes a first aid kit.
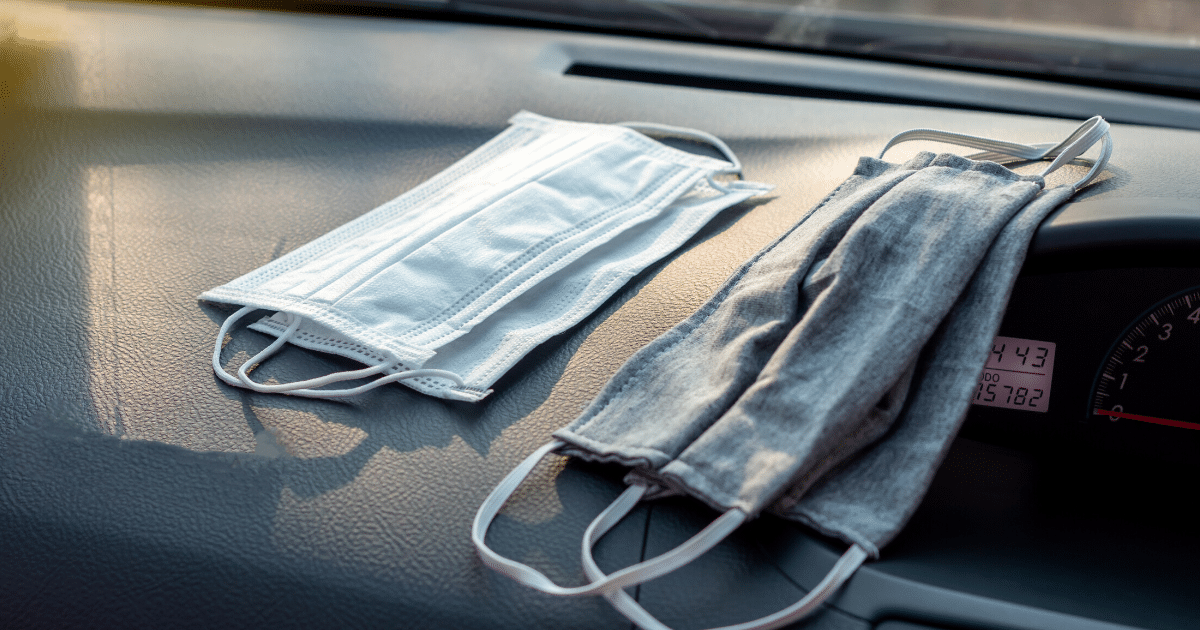
- Add Covid-specific supplies. Throw in extra masks, sanitizing wipes and gel (at least 60% ethanol or 70% isopropanol), and disposable gloves into your kit.
- Pack for comfort. Knowing you’ll be spending hours on the road, pack music, tablets, blankets, comfy shoes, and flip-flops, as well as jackets and easy-to-throw on layers. Sunglasses, stick-on sunshades, and sunscreen will help protect against all those UV rays (though not as hot in autumn, the rays can still do damage).
- Limit shopping along the way. Bring along things from home that you know are not contaminated, such as snacks, bottled water, medicine, phone chargers, and trash bags.

Plan It Out & Prep Ahead of Time
A lot has changed in the last several months, which means you’ll need to do a little more legwork ahead of your trip.
-
- Map out your route. Even if you’ve made this trip before, there may be unexpected closures along the way. Use a mapping app to get ahead of any problem areas.
- Check states and counties for Covid-19 case counts. Avoid traveling through areas with high breakouts or infection rates.
- Check travel restrictions for your destination and locations along the way. Some states and cities are requiring travelers from other areas to quarantine for 14 days upon entry (or are outright barring visitors).
- Before setting out, download one or two payment apps such as Apple Pay, Google Pay, Samsung Pay, and Android Pay to limit the number of germy PIN pads you have to touch.
- Have a plan in case you or a family member gets sick. This virus is wily, and sometimes sickness happens despite all your best prevention efforts. So have a contingency plan ready to go.
Have a Plan for Dining & Restaurants
Restaurants can be especially risky as hotspots for coronavirus transmission. Reduce yours and your family’s risk with these tips.
-
- Bring your own stash of non-perishable food in case of restaurant closures or limited dining options.
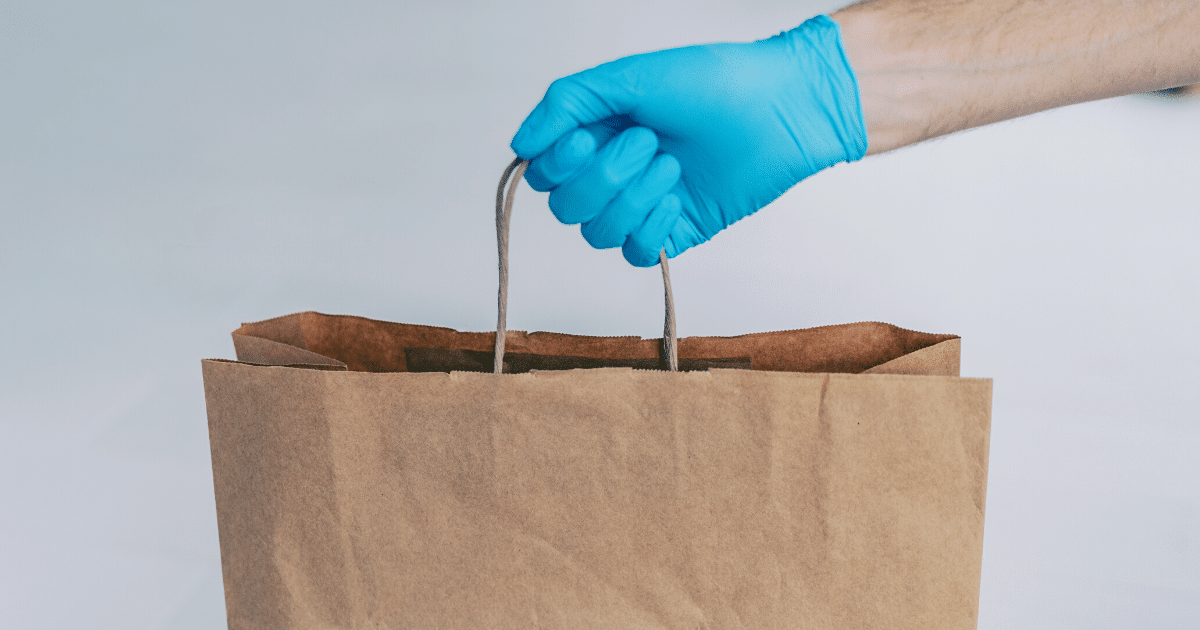
- Utilize drive-through, delivery, take-out, and curbside pick-up options if you want to reduce your exposure. Pack a family-sized picnic set (and blanket) ahead of time so you’ll have utensils and plates at the ready. Scout out parks or lakes where you and your family can eat.
- If a restaurant offers outdoor seating, choose that over sitting indoors. Bring coats and lap blankets if it’s chilly.
- If dining indoors, choose restaurants that maintain social distancing between tables indoors. Wear your mask as much as possible.

Know Your Game Plan for Hotels & Lodging
Because hotels are high-traffic areas, it’s important to take extra safety steps before, during, and after your stay.
-
- Research hotels and reserve in advance.
- Call ahead and ask about their policies on cleaning and disinfecting, as well as contactless check-in and check-out.
- Whatever the hotel’s stated cleaning policies, make sure you swipe high-touch areas in your room with disinfectant wipes: doorknobs and handles, bathroom fixtures and counters, light fixtures, TV buttons, and remote control, and any surface where you might put bags, computers, purses, etc.
- Ask the front desk to forgo housekeeping services, as it limits the number of people in your room.
- Minimize use of high-traffic areas such as lounge areas, dining areas, saunas, fitness centers, and salons.

Must-Do’s for the Entire Trip
Make a habit of the following, and safety will soon become second nature.
-
- Follow the basics at all times: Frequent handwashing, mask-wearing in indoor public spaces (and outdoors where you can’t socially distance), and 6 feet distance between you and others outside your household.
- Limit the number of stops along your route.
- Use contactless payments wherever possible.
- Be cautious when touching fuel pumps – diligently use hand sanitizer after every use or use disposable gloves.
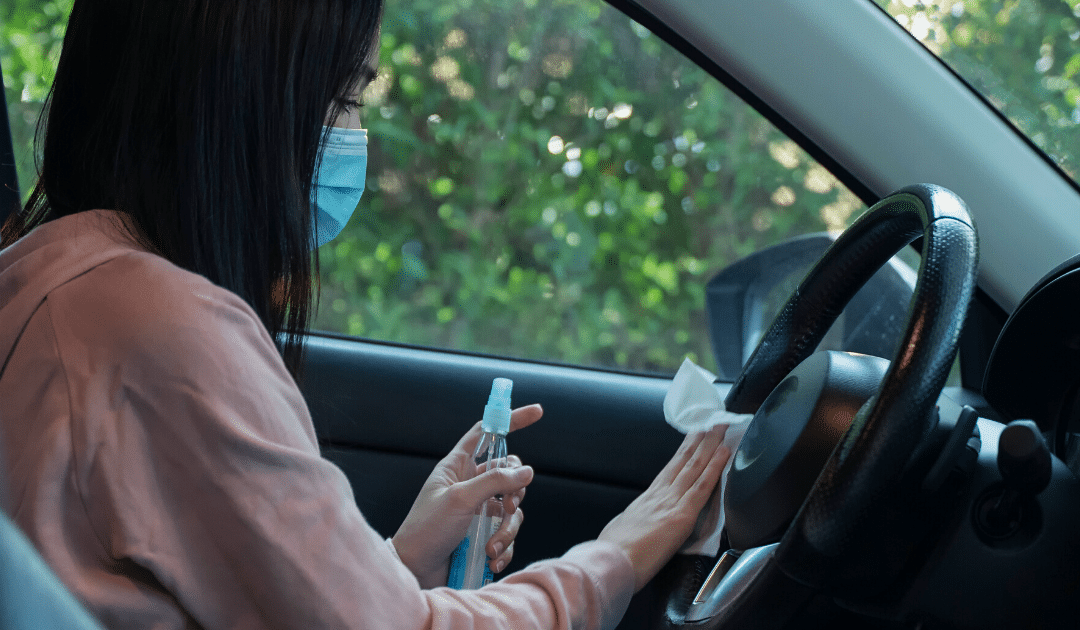
- Use hand sanitizer every time you enter your vehicle (same goes for family members), which will keep your vehicle’s interior clean.
- Wipe down your car’s interior every day – preferably multiple times. Especially germy surfaces include door handles, steering wheel, gear knob, stereo and temperature control dials, cup holders, and seatbelts.
- Have your whole family make a habit of wiping down their phones multiple times a day – phones may well be our most-touched item.
While road trips in 2020 may be nothing like those of the past, yours can still be something you and your family look back on with fondness, good feels, and probably some laughs as well.
This article is furnished by California Casualty. We specialize in providing auto and home insurance to educators, law enforcement officers, firefighters, and nurses. Get a quote at 1.866.704.8614 or www.calcas.com.

by California Casualty | Safety |
It’s no secret that 2020 has been a hard year for everyone- our friends, our community, our teachers, our first responders, our family, and the list goes on…
We are all figuring out how to live in this “new normal” together, and that can be stressful (and scary) at times, but that shouldn’t change our attitude towards our neighbors. You may not strike up conversations with strangers, tip with cash, or hold the door open while others pass you by anymore, but there are still many ways that you can continue to show kindness.
If there was ever a year to show true kindness- it’s 2020. You need it. Your neighbor needs it. The world needs it. Here are 8 easy ways you can be kind in 2020.
1. Wear Your Mask
Even if your state doesn’t have a mask mandate, do your part in helping stop the spread by wearing your mask when you are out and about. It may seem annoying or a nuisance, but you are doing your community a kindness and possibly saving lives by wearing it.
2. Take Care of Your Own Mental Health
There has never been a more mentally exhausting year than this. Between quarantines and the election and all else in between, you owe it to yourself to put your needs and your mental health first- get enough sleep, drink enough water, exercise, and take a mental break and do something that brings you joy.
3. Reach Out to Someone You Love
Call or Facetime a friend or relative you haven’t been able to see. Ask them how they are doing and have a long conversation. People, especially those older and more susceptible to COVID-19, are missing social interaction more than ever, and a simple phone call could make their entire day/week.
4. Get Some Socially Distant Fresh Air
Go on a walk, play in the back yard, or invite friends and neighbors to take part in a socially distant outdoor gathering before the weather becomes too cold. Not only does it give you a chance to catch up with friends and family, but Vitamin D in the sunshine is proven to help decrease depression.
5. Shop Local
Many mom and pops have already closed their doors and local businesses are hurting more than ever, thanks to COVID-19. If you find yourself shopping online try a local boutique instead of Amazon, a market instead of Walmart, and a family-owned restaurant instead of fast food. And don’t forget to tip! Due to a decrease in traffic, servers are also hurting.
6. Donate to a Food Bank or Shop for Someone
If you are healthy and have the ability to go to the store, ask someone in your community, who is more susceptible to getting sick, if you can pick up groceries for them. Or buy extra groceries when you go to the store and drop them at your local food bank or shelter.
7. Adopt a Furry Friend
Show yourself and an animal kindness by making the choice to adopt a shelter pet. Having a pet is a lot of responsibility (so please only adopt if you have the means to do so), but it is so worth it. Due to lockdowns, many people have been left completely alone in their homes without anyone to talk to. A pet will not only love you unconditionally, but they lift your spirits and let you know that you are not alone.

8. Don’t Forget to Show Your Appreciation
Everyone in your community is working hard to keep themselves and others safe, while continuing to make a living. Say “thank you” to the clerk at the grocery store, the food delivery person, the teacher working hard teaching remote, the healthcare workers, and first responders you see after their shift, etc. These people have been working hard and non stop since the pandemic began to serve others, and your few words of appreciation mean more than you know.
For other ideas on showing kindness, check out our Easy Random Acts of Kindness blog here.
This article is furnished by California Casualty. We specialize in providing auto and home insurance to educators, law enforcement officers, firefighters, and nurses. Get a quote at 1.866.704.8614 or www.calcas.com.
by California Casualty | Safety |
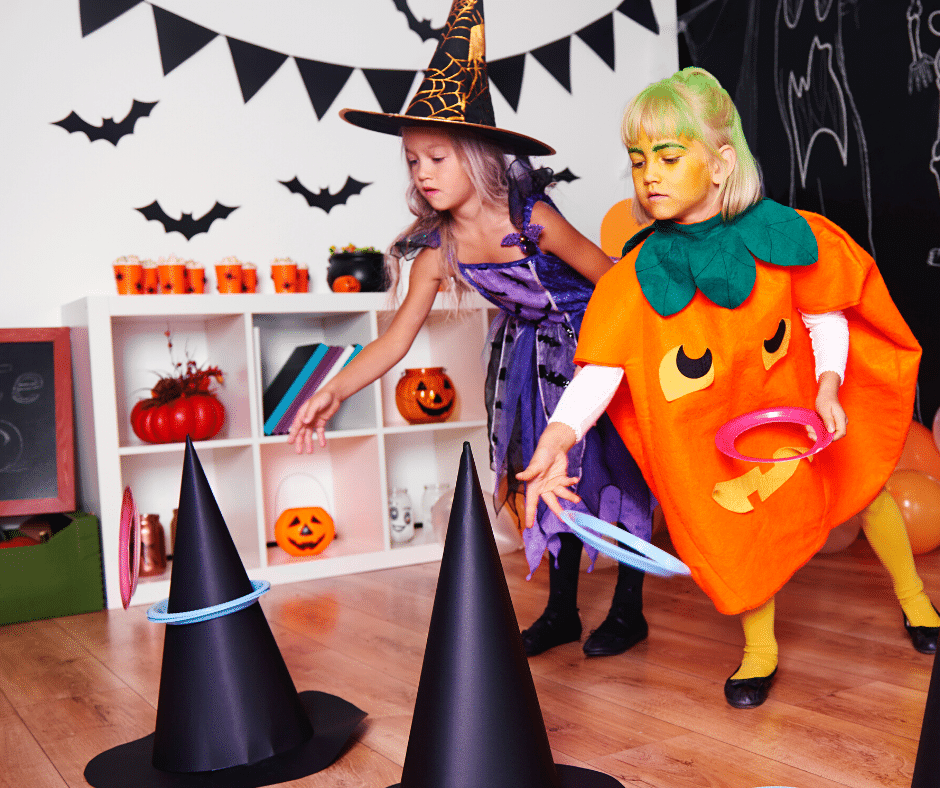
Halloween may look a little different this year, but that doesn’t mean your family has to miss out on all of the fun!
If you plan on staying in this Spooky Holiday Season, get your kids excited about Halloween again by enjoying these 10 fun and safe stay-at-home Halloween activities.
Host a Family Pumpkin Carving Contest
Have each member of your family carve a pumpkin early in the night and set them up in your living room with a fake candle inside, so you can watch them glow while you continue on with your other Halloween activities. You could even hand out prizes or ribbons for the best pumpkin.
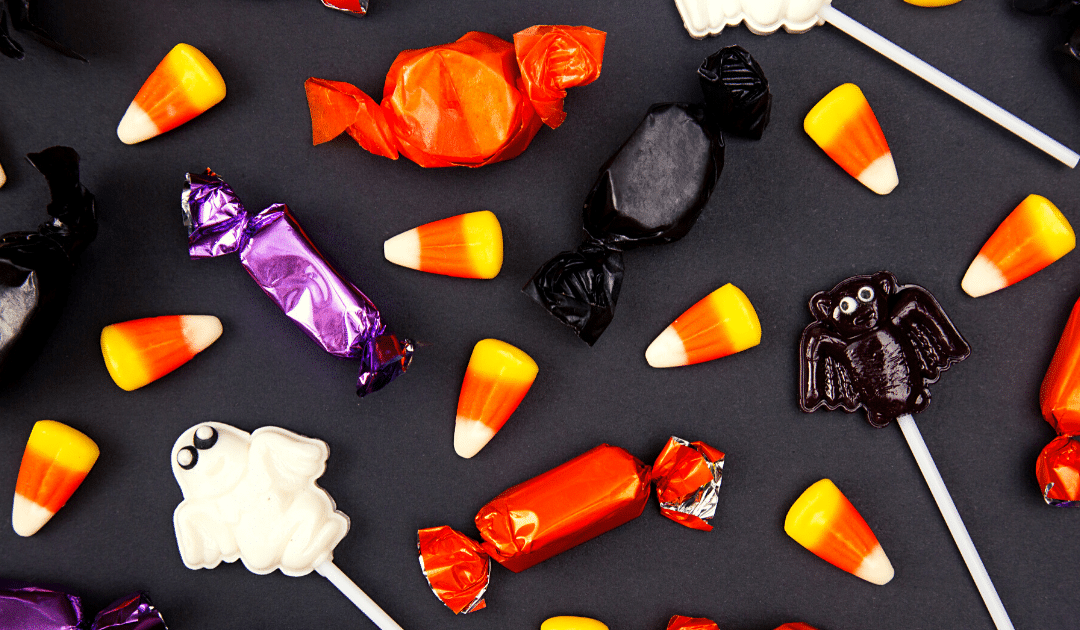
Go Indoor Trick-or-Treating
Set a different kind of candy in each room of your home and let your kids dress up and trick-or-treat to each room to get all of the different kinds of candy to fill their baskets. You can even invite close family (not a large group) to help you join in on the fun!
Make a Homemade Scary Movie OR Reenact Your Favorite Halloween Scene on TikTok
Have the whole family dress up and get in on the action. Act out a scene based on your Halloween costume or find your favorite scene from a Halloween movie, grab some props and your phone to capture it all, and let the fun begin! This is an easy tradition that you could start to do yearly and then watch them every Halloween.
Make Some Scarily Delicious Treats
Popcorn balls, Monster Cookies, Edible Slime, Frankenstein Guacamole, Jack-o-Lantern Taco Dip, Eye Ball Pretzel Rods; we have all these spooky treats and MORE on our Pinterest Board, “Easy Halloween Treats” check them out and see what you and your family want to have on Halloween night!
Have a Halloween Candy Scavenger Hunt
Hide candy all throughout your home (be careful it’s not in the reach of your pets) and in your backyard. Have your kids put on their costumes and go candy hunting! This is a fun alternative to trick-or-treating and could be done at day or night, as long as flashlights are available.
Have a Scary Face Painting Contest
Buy some Halloween face paint and have each member of your family choose what scary creature they would like to look like. Print out the photos and get to painting. Whoever painted the person’s face that looks the most like their scary creature, wins a prize.
Play Halloween-Themed Games
Halloween Charades, Toilet Paper Mummies, Bobbing for Apples, Pumpkin Patch Stomp, Pin the Tail on the Black Cat; there are all kinds of games that you could tailor to the Halloween-theme for your family. For more ideas, check out these games from Scattered Thoughts of a Crafty Mom.
Throw Your Own Monster Mash
Can’t go to a Halloween party? Throw your own! Make some space in your living room, get some spooky décor, set out foods and drinks, get on your costumes and play some spooky tunes (Here’s our free Halloween Spotify Playlist) and let the party begin.
Have a Scary Movie Marathon
All kinds of TV Channels have Halloween marathons all month long, including AMC’s FearFest, Syfy’s 31 Days of Halloween, and the more kid-friendly Disney Channel’s Monstober, and Freeform’s 31 Nights of Halloween. For those of you that would rather stream, check out the new and classic Halloween movies on Amazon Prime, Netflix, and Hulu’s Huluween.

Camp in the Backyard…. or Your Living Room
If you live in an area where it is possible to set up a tent and a bonfire (or a fire pit) in the backyard, have the whole family sit around the fire telling scary stories and making s’mores, and then camp under the full moon. If you do not, improvise by going camping in your living room! Set up a blanket fort, turn on a scary show, and make s’mores in the microwave.
If you live in an area where families will still be trick-or-treating, but you are choosing to stay in; don’t forget to leave a basket of candy at your door. This way you won’t have to continue to answer the door and be in close proximity of anyone, but trick-or-treaters can still get their candy.
Have a spooky and safe Halloween!
This article is furnished by California Casualty, providing auto and home insurance to educators, law enforcement officers, firefighters, and nurses. Get a quote at 1.866.704.8614 or www.calcas.com.

by California Casualty | Pets, Safety |
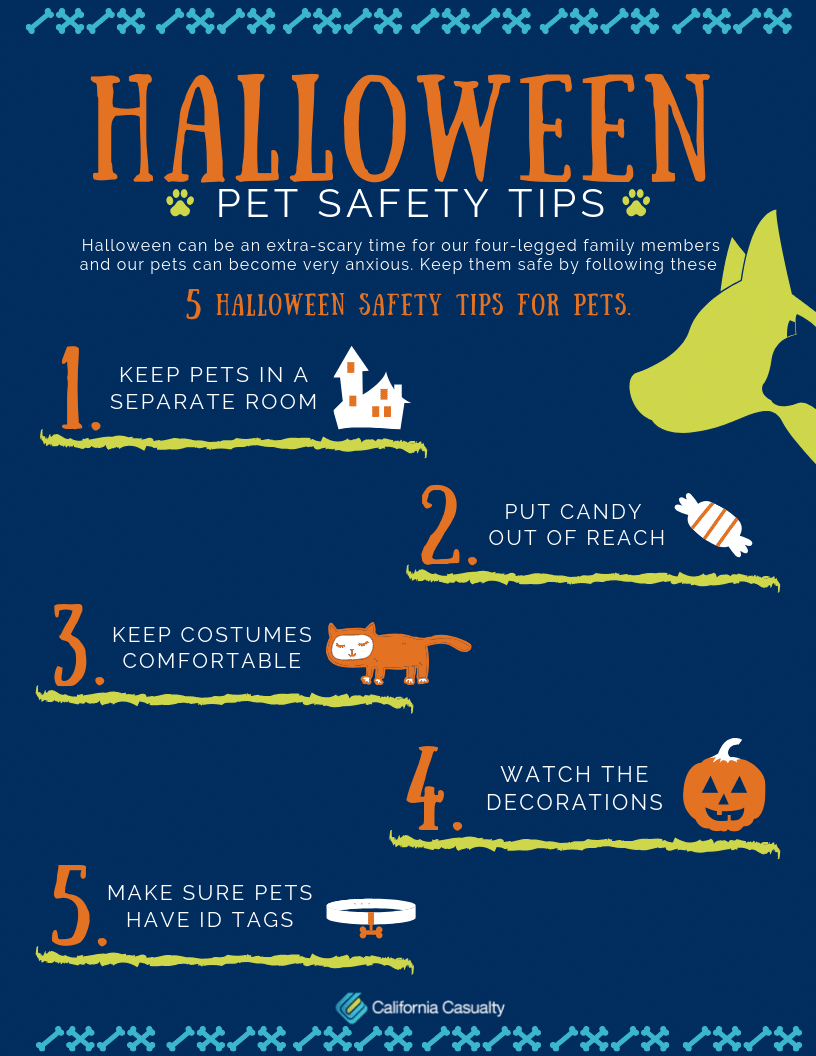
Halloween can be an extra-scary time for our four-legged family members. Our pets don’t understand why the doorbell keeps ringing or why strange creatures- that kind of resemble humans- keep yelling and trying to come into their house and yard.
These factors and more can cause our pets to become anxious and start acting out of the ordinary with their behaviors like, panting, crying, running, jumping, and even becoming aggressive. That is why it is important to keep your pet (and Trick-or-Treaters) safe this Halloween by following these Five Simple Halloween Safety Tips for Pets.
1. Keep Your Pet in a Separate Room
Bring pets indoors and lock them in a separate room, far away from the commotion, with a TV or noise machine on during prime trick-or-treating hours (6pm- 8:30pm). This will give you peace of mind that your pet will not harm or scare away trick-or-treaters and you don’t have to worry about your pet escaping every time you open the door.
2. Keep the Candy Out of Reach
Most Halloween candy is toxic to pets, especially chocolate, so make sure bowls of candy are stashed in a cupboard or a shelf high enough where they cannot reach them. If your dog or cat does ingest any candy or wrappers contact your vet immediately.
3. Don’t Put Your Pet in a Costume Unless They Love It
Dressing your pet up could cause extra anxiety for them, and if they try to escape their costume and get stuck, they could seriously injure themselves. If you decide to dress them up, keep it comfortable for them and let them try on their costume before Halloween to make sure they love it and have time to get used to how it feels.
4. Watch the Decorations
Using a real flame to light a Jack-O-Lantern is rare these days, but if you do make sure it is placed somewhere your pet can’t accidentally run into it. Be sure to also keep any decoration that could harm your pet like, plastic, fake spider webs, and lights/electrical cords out of your pet’s reach.
5. Keep Your Pets Identified
Always make sure your pet is wearing a collar with tags that are up to date and that they are microchipped, just in case they do happen to escape.
Have a safe and Happy Halloween with your fur-babies! 🙂
This article is furnished by California Casualty, providing auto and home insurance to educators, law enforcement officers, firefighters, and nurses. Get a quote at 1.866.704.8614 or www.calcas.com.
by California Casualty | Auto Insurance Info, Safety |
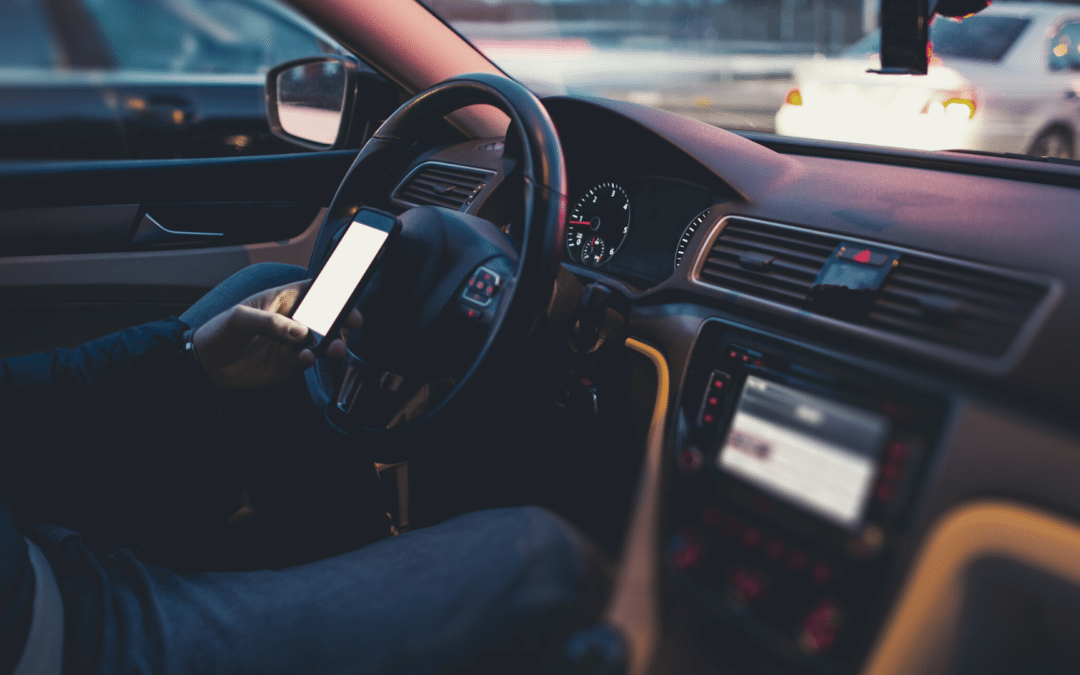
Stopping the texting habit can be really hard. We’re glued to our phones seemingly 24/7, and the alerts, dings, and chimes make them irresistible even when we’re behind the wheel.
This dangerous yet pervasive habit is causing some sobering statistics: 1.6 million crashes each year, with almost 390,000 injuries and more than 2,800 deaths.
Technology’s not going away anytime soon and self-driving cars are still off in the future – so how do we stop texting? Let’s look to psychology for some guidance – specifically, to some mental hacks to kick a habit.
How Habits Form
For a habit to become ingrained, a “habit loop” must first become established. This loop has 3 elements:
- This is the trigger that tells your brain to do something, like grabbing the phone when you hear a text chime. It’s often automatic—we don’t even realize we’re doing it.
- This is the behavior or action itself. Here, it’s picking up the phone and typing out a text reply.
- If there’s a reward after the behavior, it strengthens the habit loop. In this case, that might be an actual or anticipated reply, or the satisfaction of sending off that text that you keep meaning to send.
No wonder habits are so “sticky”—each step reinforces the next. Understanding how it works in your life is key to breaking the habit and forming a new one. It just takes a little self-awareness and a commitment to change.
Breaking the Habit Loop
By disrupting one or more components of the loop, you can transition to a life of text-free driving.
1.Review Your Cues: Figure out what’s making you reach for your phone.
-
-
- If you can’t ignore the sound alerts, turn your phone to silent and stash it out of sight (or better yet, out of reach).
- Install an app that silences your phone while you’re driving. These apps detect when your car is in motion and automatically silence it for the duration. Options include Not Disturb While Driving (iphones), Driving Detective for Android, or Google’s Android Auto.
- If your cue is boredom, practice mindfulness (a great skill for all aspects of life).
2. Refresh Your Routine: A few tweaks could make a big difference.
-
-
- Send texts before you leave, then put away the phone.
- If you have a passenger with you, have them be your thumbs.
- Sign off a conversation with X or #X, which means you’re driving.
- Let your 5 closest contacts know you’re changing it up. Most of our communications are just with them.
3. Reframe Your Rewards: Really contemplate the risks of texting while driving.
-
-
- Think back to a texting close call. Think through the worst-case scenario. Now write it down and keep it in plain view in your car. Read it every time you get in.
- Whenever you feel a temptation to reach for your phone, think of who would be devastated if you were to crash while texting.
- When not reaching for your phone, embrace the feeling of not being anxious and distracted.
Want to really kickstart your commitment? Sign The National Safety Council’s Just Drive pledge.. If you have young drivers at home, team up, and make the commitment together (and get safe driving tips for them here).
This article is furnished by California Casualty. We specialize in providing auto and home insurance to educators, law enforcement officers, firefighters, and nurses. Get a quote at 1.866.704.8614 or www.calcas.com.

by California Casualty | Auto Insurance Info, Safety |
Teen drivers are the most accident-prone of all drivers because of one major factor: inexperience. In fact, their first 6-12 months of solo driving is the most dangerous stretch of their lifetime as a licensed driver.
Because they’ve logged far fewer hours compared to other drivers, they are less able to predict – and properly respond to – hazards, sudden changes in traffic and erratic behaviors by other drivers. They also typically haven’t made a habit of defensive driving techniques, leaving them vulnerable to making wrong decisions in the moment.
If you have a young driver (or soon-to-be licensed driver) in the house, as a parent, your years of driving experience are an invaluable asset. Here are some ways you can leverage that knowledge and expertise to help boost your teen’s safe driving know-how.
The Learning Permit Phase: A Golden Opportunity
Many new teen drivers complete their learner’s permit training lacking important real-world driving skills. You can help your teen shore up that deficit by serving as co-pilot in a range of driving scenarios and situations during the permit phase. By exposing them to – and coaching them through – diverse experiences behind the wheel, you will help them become a confident, safe and independent driver.
Although you may feel more secure behind the wheel, here are some driving scenarios that teens need to experience.
1. Bad Weather
There’s a big difference between answering driver test questions about how to handle bad weather and how to actually do it in the moment. When possible, have your teen drive you during the following weather events.
- Snow
- Wind
- Heavy rain
- Sleet
2. Different Roads
Different roadways (and intersections) call for different driving skills and techniques. Ditto for traffic situations. Expose them to as many as you can, including:
- One-way roads
- Two-lane roads with high-speed limits
- Peak commute traffic
- Multi-lane highways and interstates
- Congested roads in urban centers
- Residential streets
3. Day, Night, and Everything in Between
Bright light at dawn and sunset, as well as low light at dusk, affects drivers’ visibility and also influence traffic patterns and behaviors. Practice driving with your teen at different times of day and night. Coach them on the adjustments they need to make in terms of following distance and defensive driving, as well as personal adjustments with visors, sunglasses, headlights, and more.
4. Switch up passengers
For a new driver, devoting their full attention to driving and the road is incredibly important. Knowing that your teen won’t be driving alone forever, why not invite another family member or friend along so your teen can start strengthening their “focus muscles”? Distractions are a major cause of accidents among teens, so the sooner they can begin successfully managing distractions while driving, the better.
5. Different cars
If your family has multiple cars, have your teen practice in each of them. Sedans drive much differently from SUVs, and stick shifts from automatics, etc. – all are good for them gaining familiarity with a variety of vehicles.
Teen Drivers’ Most Common Errors
In addition to exposing your young driver to a range of on-the-road experiences, be sure to also help them cultivate good driving habits. Here are the top errors that inexperienced drivers make – keep an eye out for them and coach your teen along the way.
- Lack of scanning – Inexperienced drivers typically detect hazards later than more experienced drivers and may be unsure how to react. Left turns are especially dangerous for them.
- Distractions – No matter whether they come from inside or outside the vehicle, distractions are a common reason for teen crashes.
- Speeding – This includes driving too fast for road conditions or weather as well as inadequate braking. This error commonly ends in rear-end events.
- Tailgating – Inexperienced teens haven’t yet gained a feel for safe cushion distances and can easily follow other vehicles too closely.
Teens need extra time and experience to master good driving skills. By accompanying them in a variety of driving settings and conditions – as well as lending your years of expertise – you’ll help them develop critical skills for more safely navigating our roadways. For more teen driver safety tips, click here.
This article is furnished by California Casualty. We specialize in providing auto and home insurance to educators, law enforcement officers, firefighters, and nurses. Get a quote at 1.866.704.8614 or www.calcas.com.


