
Summer is a great time to tackle outdoor projects. We’ve highlighted 5 of our favorites—fun and easy DIY ideas that will transform your yard and your summer.

Project #1: Build a hammock stand.
The hammock is a classic addition to any yard. Plus, a project that gives us a reason to nap afterward is okay by us! This hammock stand is light enough to move around the yard. You’ll need to purchase the actual hammock but if you prefer, you could make your own hammock, too. The project requires some knowledge of power tools and saws; if you aren’t used to them, ask for help from an experienced DIYer.
-
- You can get some big box stores or lumber yards to cut the wood planks for you.
- If you don’t have weatherproof wood stain or paint, use regular versions. Just add two coats of varnish.
- Put your hammock in a shady corner, and preferably one with a view.
- Make sure to supervise kids in a hammock. Hammocks can be an attractive nuisance where children can get stuck or injured.
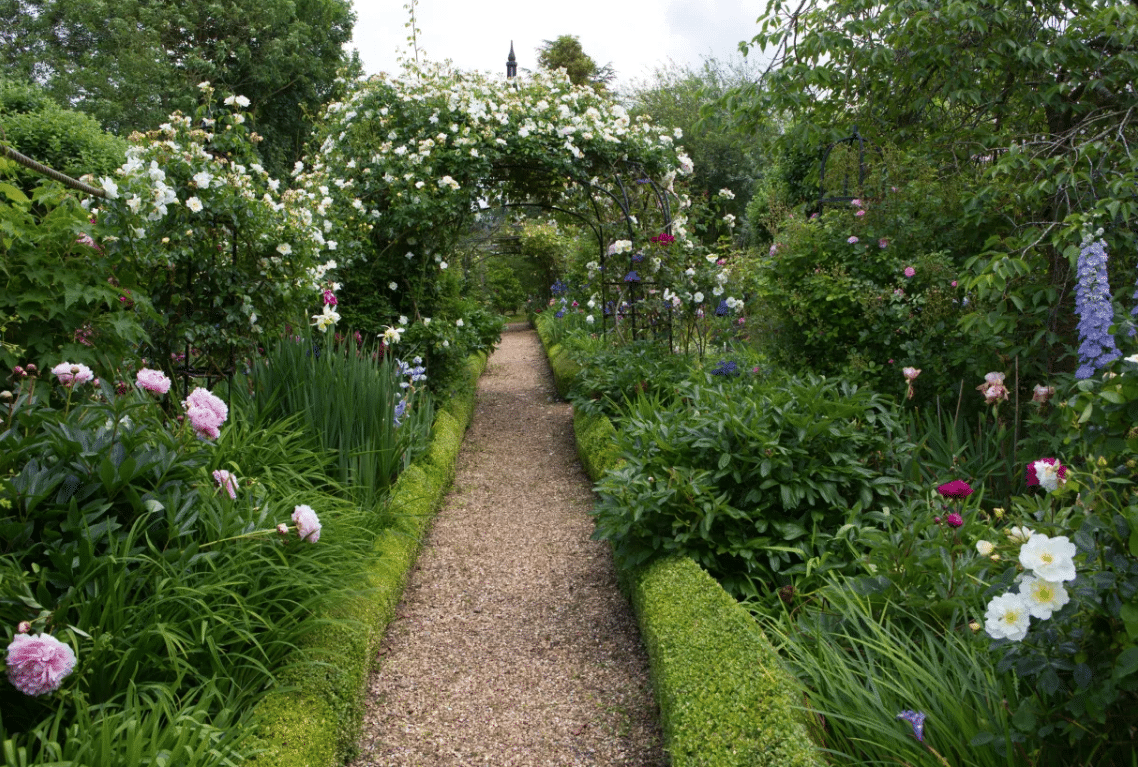
Project #2: Create a garden path.
A garden path is a beautiful addition to your home and can add curb appeal. While you could create expensive versions with stone or pavers, we’ve chosen an easy and lower cost version that uses gravel as its base. Gravel has several advantages. It works in many different climates. It allows rain to soak through to the ground. It’s also easy to reverse if you decide later to do something else.
-
- Gravel comes in different colors. Choose one that complements the color scheme of your house or garden.
- Include a decorative edge to set off your gravel path.
- Add flowers along the edges for a pop of color.
- Add interest with flat stepping stones in the center of the path.
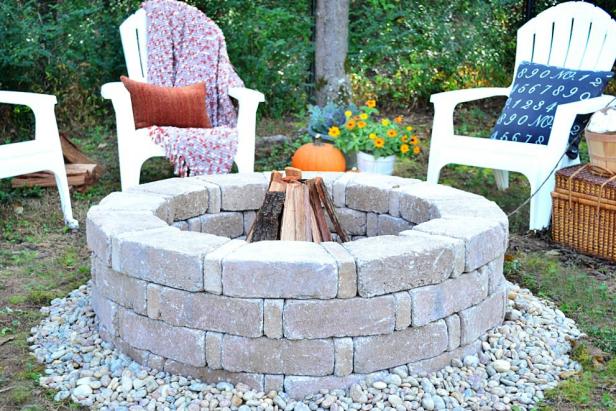
Project #3: Build a fire pit.
Gathering around the fire pit is the perfect activity to cap off a summer night. The supplies aren’t necessarily expensive, but they can be heavy so ask for extra help if needed. Make sure the fire pit is a safe distance from the house and away from high grass, bushes, and low-hanging trees. Clear and level the ground. Then build the pit using large and small bricks in a circular shape. Fill it in and edge it with small rocks. Then create a seating area, and let the fun begin.
-
- Check your local building codes and requirements so you know what is allowed.
- Avoid burning treated wood, wet wood, or anything that gives off a gas or dense smoke.
- Don’t use flammable fluids to start or relight a fire.
- Check the weather. If windy conditions are forecast, it could be dangerous to light a fire. Embers could easily blow towards your home creating a house fire.
- Supervise children closely around a fire pit. Do not leave them unattended for any reason.
- Safely dispose of ashes when you’re done for the night.
- Keep a fire extinguisher nearby.
- Your homeowner’s insurance may require extra coverage. Talk to your agent.
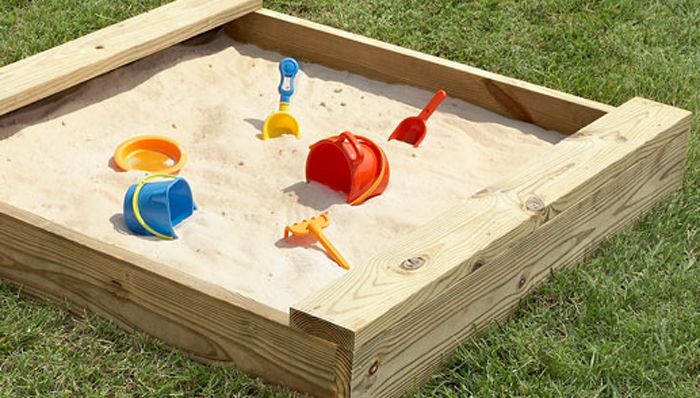
Project #4: Build a sandbox.
When you can’t take your kids to the beach, a sandbox is the next best thing. This DIY project is easy to construct and can offer hours of fun. With this sandbox plan, you construct the sides and use the earth for the bottom. Choose the right spot, clear the area and dig down a little bit further into the soil to help keep the walls in place. Then cover it with landscape fabric, assemble the sandbox and fill it with play sand.
-
- Add seats by adding 4 triangles to the corners of the sandbox.
- Add space for a beach umbrella by drilling a hole for a short piece of PVC pipe.
- Make sure you put the sandbox in a place where you can easily see the children.
- Cover the sandbox when not in use. Plywood works well. So does a plastic tarp.
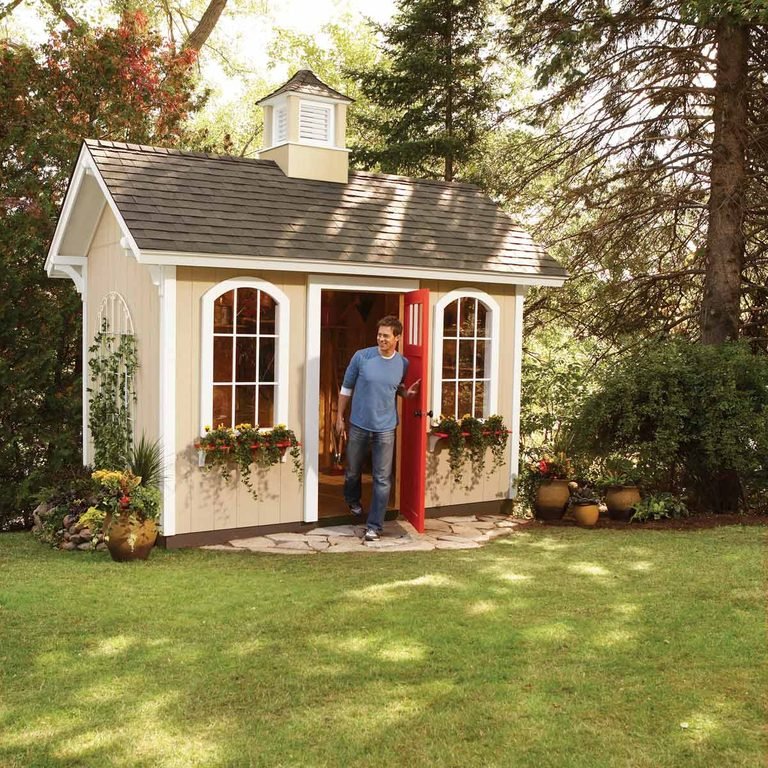
Project #5: Create a she-shed.
You can turn your storage shed into a fun, livable space, such as a music studio, children’s playhouse, or craft room. You’re only limited by your imagination. Start with a new coat of paint. Caulk any cracks, add insulation and drywall. Hire a subcontractor if you’d like to install electricity, lighting, air conditioning, or heat. Add some furnishings, décor and enjoy!
-
- Check with your town to determine if you need a permit for the renovation.
- If electrical or plumbing work is needed, chances are you will need to get a permit.
- Consider painting your shed in the same colors as your home for a “mini” version.
- Find inexpensive décor and furnishings on Facebook marketplace.
- Make sure you can lock your shed to protect your new living space.
If your project increases the value of your home or adds liability, you may need to adjust your insurance. Check with your agent or get a free policy review to find out more.
This article is furnished by California Casualty, providing auto and home insurance to educators, law enforcement officers, firefighters, and nurses. Get a quote at 1.866.704.8614 or www.calcas.com.
- Graduation – When to Remove Your Child from Your Auto Policy - May 18, 2023
- How to Prevent Catalytic Converter Theft - May 17, 2023
- How Much Does Home Insurance Cost? - May 17, 2023