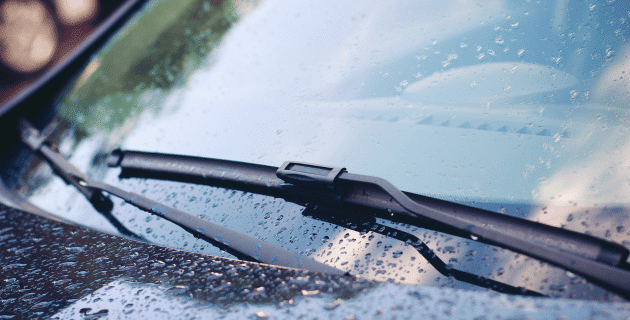
If your windshield wipers are leaving long streaks and making loud squeaks, they’re trying to tell you something. They’re ready to be replaced.
Your wipers are not meant to last forever. The rubbery blade wears down over time. Squeaks, streaks, and smears happen when the blades don’t make proper contact with the glass. That causes dangerous driving conditions and potential accidents when you can’t see clearly through your windshield.
You generally have to replace your wiper blades every 6-12 months. Look for these signs that your blades are ready for replacement:
• Worn edges
• Cracks, tears, and missing pieces
• Stiffness in the rubbery part (inability to flex)
• Squeaking or chattering
• Streaks on your windshield
If your wipers are leaving streaks but not making sounds, you can clean the blades, which are the rubbery part of your wiper. Dip a rag or paper towel into rubbing alcohol. Wipe it along the blades, and the windshield. This can help extend the life of your blades for another month or two before you have to replace them.
How to replace your wipers
Step #1: Get the right wipers for your vehicle.
Windshield wiper blades come in many different sizes so it’s important to get the right ones. Your vehicle may even use two different lengths of front wiper blades. (Don’t forget your rear one, too.) One way to find the right size(s) is read your car’s manual. You also can go to an auto parts store in person or online to get assistance. The online sites will often have you type in your car’s make and model.
Once you find the right size, you’ll have other choices to make. Conventional and synthetic rubber blades are usually the cheapest. They will break down over time with exposure to the sun’s UV rays. If you are looking for longer-lasting blades, consider silicone, which is more expensive. There are options for sturdy winter wipers, flat blades, and hybrid blades, too. The difference is that with the conventional kind, you can replace just the rubbery blade. With the others, you have to replace the whole piece.
Many national auto parts stores will install the wipers that you just bought there, sometimes for no additional charge.
Step #2: Get the wipers in position.
You’re ready to start the replacement. Turn the car on and give your windshield a squirt of wiper fluid to lubricate it. Then, turn on the wipers just so you can get them into position. When the two blades are pointed upward toward your roof, turn your car off. Get out of your car and pull the wipers forward so they’re standing upright at 90 degrees.
Step #3: Place a towel on the glass.
Wiper blades are spring-loaded. That means that they can snap back against the windshield. Once you expose the metal wiper arm, this could result in a cracked windshield. To protect against that, cover your windshield with towels. Alternatively, you could wrap the metal hook of the wiper arms with a rag once you detach the blades.
Step #4: Detach the blades.
There are two basic types of traditional wiper connections: tab and pin type. There is a slightly different installation process for each type.
Look for the spot on the wiper where the blade attaches to the arm. There may be a tab where the blade connects. If you don’t have a tab, you may have a pin-type connector. If in doubt, check your vehicle’s user manual for blade removal steps.
• For tab connectors, use your finger to push the tab outwards or inwards. As you push, grab the blade and pull it down parallel to the arm. You should be able to pull it all the way out. You may need to tug a bit if there’s built-up debris.
• For pin-type connectors, you will need to pull the tab up, and pull the pin out. Use a small flathead screwdriver to lift the connecting pin. You should then be able to slide the blade off.
Step #5: Install the new blades.
Remove the new blades from their packaging and then proceed depending upon the type of connection.
• For tab connectors, look for a tab suspended in the middle of a long rectangular hole. Slide the arm hook up and over the tab. Pull the blade up until you hear a snap.
• For pin-type connectors, look at the new blade and look for a small hole in the body. Pull the black tab up slightly. Align the hole with the pin on the wiper and it will snap into place.
Step #6: Clean the windshield.
You’ve got new wipers so you’ll want to make sure your windshield is clean, too. Lift the blades up so they are off of the windshield. Use automotive glass cleaner, a clean and dry microfiber cloth, and a little elbow grease. Alternatively, you can use water, dishwashing liquid, and a few drops of vinegar. Dry your windshield with a clean microfiber cloth. Put your blades back down and you’re ready to go.
If you just want to replace the rubber inserts
You can replace the entire windshield wiper assembly (as described above) or you can simply buy new blade inserts if they are available for your vehicle. This can save you money; however, it is a bit more complicated to replace just the rubber and may require tools. Consult your car’s manual for details.
Replacing wiper blades is part of good car maintenance. And as always, don’t forget to protect your vehicle with the right insurance for added peace of mind.
This article is furnished by California Casualty, providing auto and home insurance to educators, law enforcement officers, firefighters, and nurses. Get a quote at 1.866.704.8614 or www.calcas.com.
- Graduation – When to Remove Your Child from Your Auto Policy - May 18, 2023
- How to Prevent Catalytic Converter Theft - May 17, 2023
- How Much Does Home Insurance Cost? - May 17, 2023

